
Video Version: https://youtu.be/3zLWCNn0Vqk
In this article, we’ll look at how to migrate an existing Postgres database on DigitalOcean created through their "managed database" function to a Relational Database Service (RDS) instance on AWS.
For an introduction to RDS, you can read my previous article on migrating a local database to RDS, or watch the video.
Prerequisites:
- Managed database on DigitalOcean with some data in it
- AWS account
- (optional) TablePlus or any other tool to manage a Postgresql DB
Steps:
- Check DigitalOcean and download the connection certificate
- Install TablePlus (GUI tool for managing relational databases)
- Check DigitalOcean database
- Create RDS instance
- Test empty RDS instance
- Backup DigitalOcean DB
- Restore RDS database
- Final Test
Check DigitalOcean and Download CA certificate
First, let's visit our DigitalOcean account’s Database page. We should see something like this:
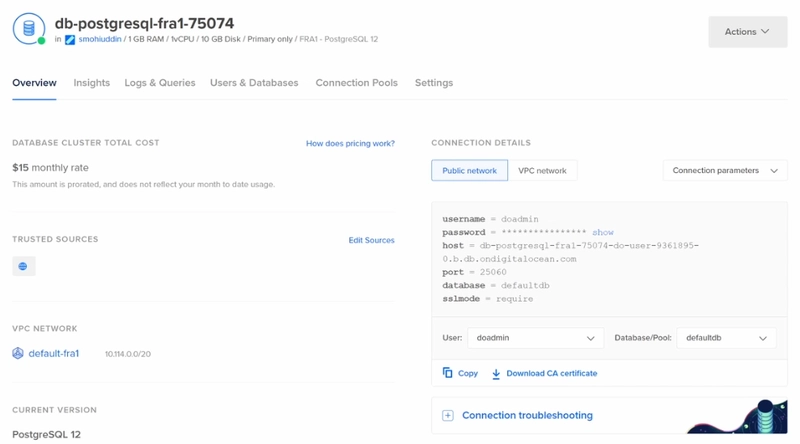
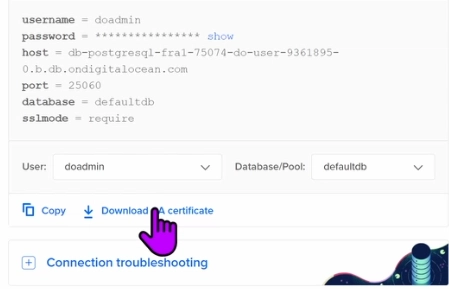
Download the CA certificate locally. We need this because managed databases on DigitalOcean don't allow insecure connections.
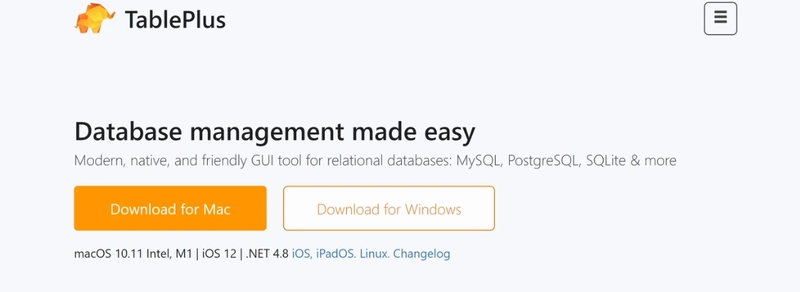
TablePlus
To access the DB, we can use whatever tool we want (command line interface, Pgadmin, etc.). In this demo, we will use TablePlus (available on Mac/Windows), so if you want to follow along exactly I suggest you download it. We’ll use the free version.
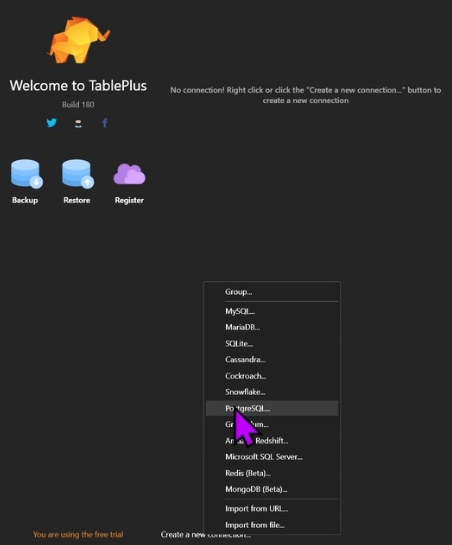
Check DigitalOcean Database
Let's create a new connection on TablePlus:
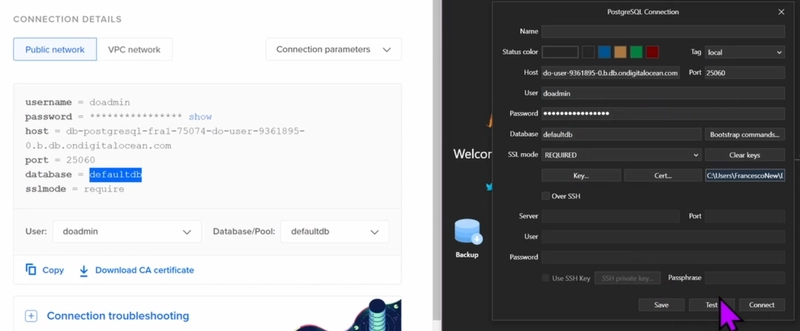
Add the details for your DigitalOcean database:
- Host
- Port
- Username
- Password
- Database name
- SSL mode: REQUIRED
Remember also to add the certificate we just downloaded.
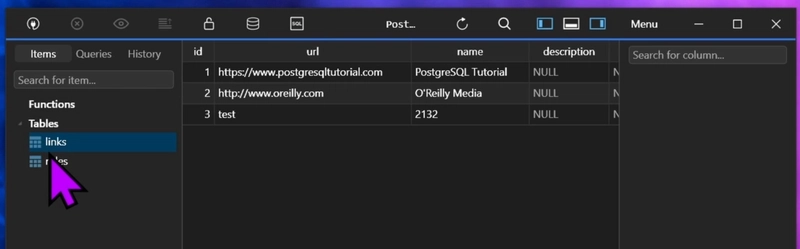
Click Connect and you will see the database with your data. In this case, we have just 2 tables and 3 inserts.

Create RDS Instance
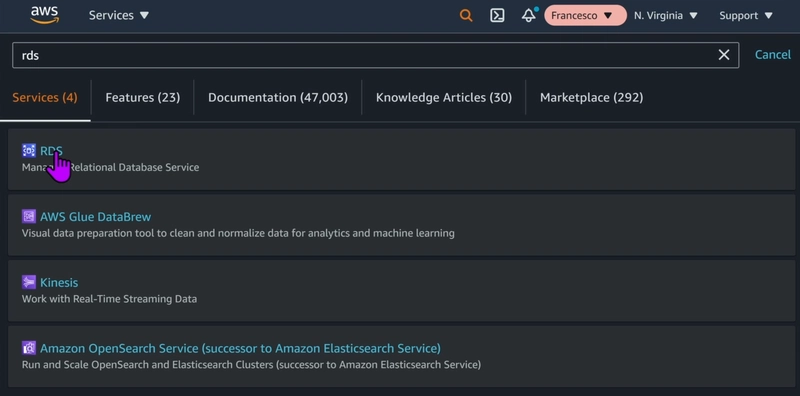
Go on AWS Console and search "RDS"
Click Create Database.

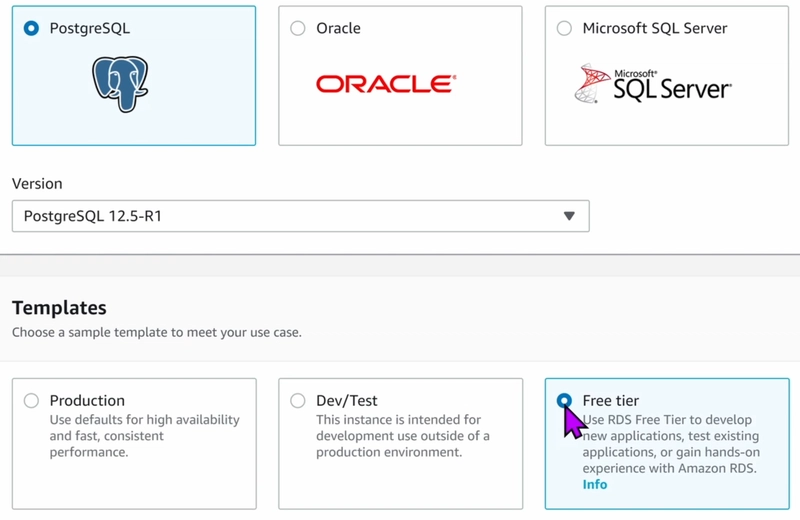
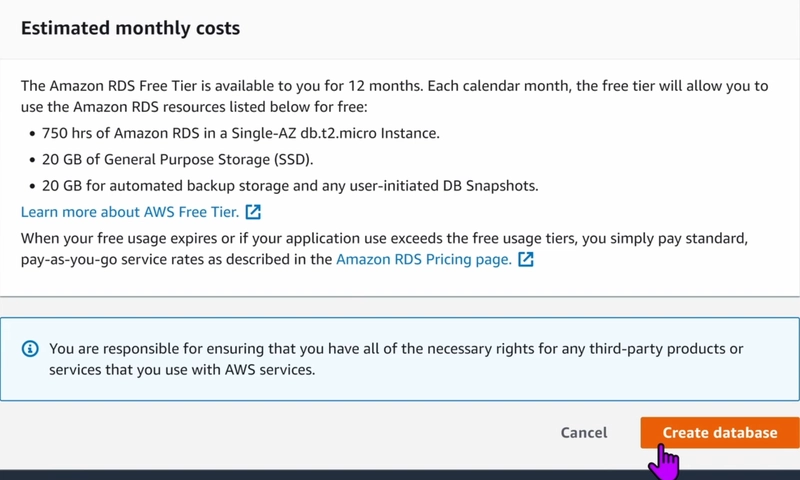
Select Postgres and version 12, so we will have access to a free Tier (read the conditions before accepting).
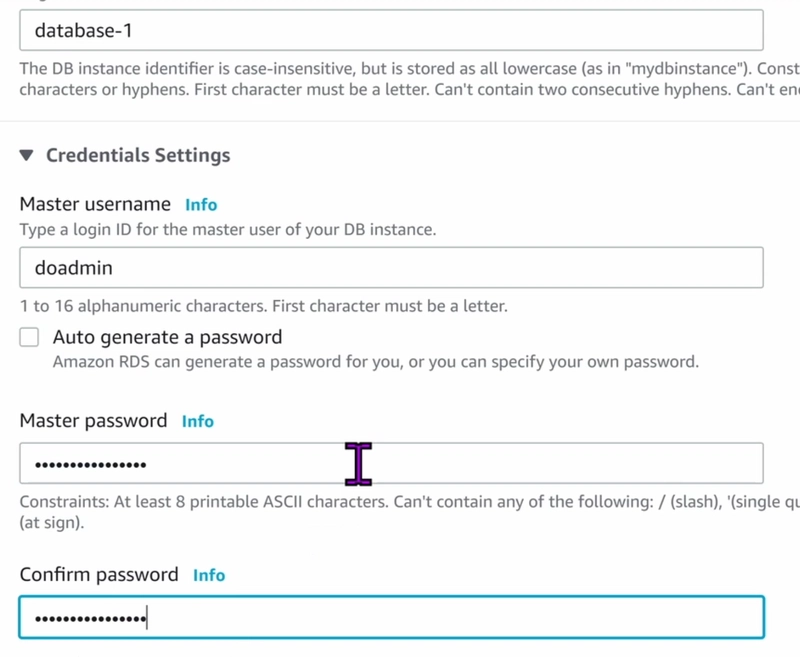
Choose a name for the database, as well as a username and password to access the DB.
Make the instance accessible from the Internet:

Double-check that this is a Free Tier (with limitations- please read them)Then, click Create Database.
This will take a few minutes to complete.
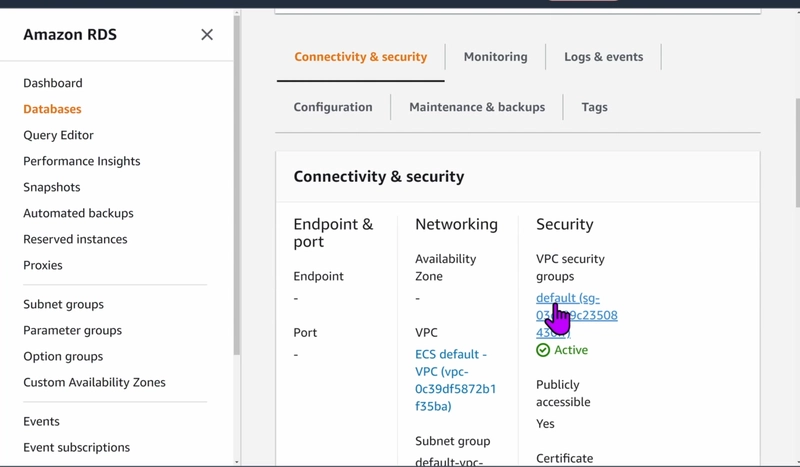
Let's check that our security group is configured correctly. Our machine should have access to the instance:
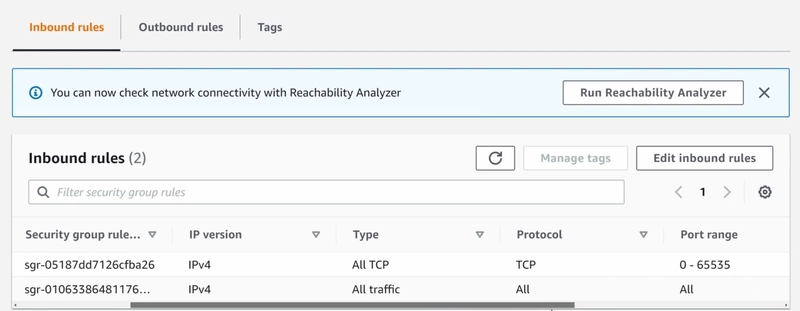
Specifically, check if the inbound rules are set properly. In our case, they’re as follows:
Test Empty RDS Instance
Now let's test connecting to the RDS instance using TablePlus:
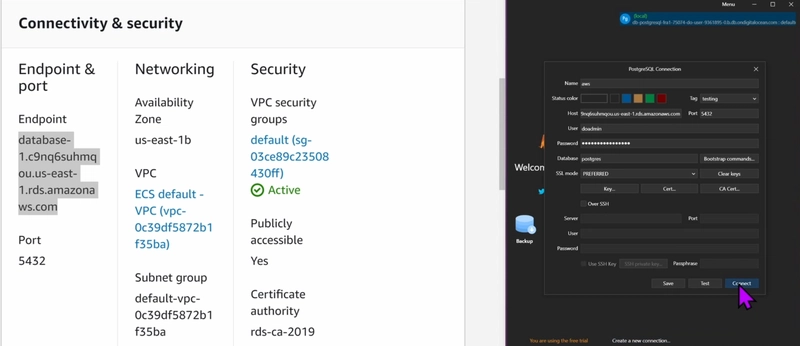
Click Connect. As you can see, the DB is empty for now:

Backup DigitalOcean DB
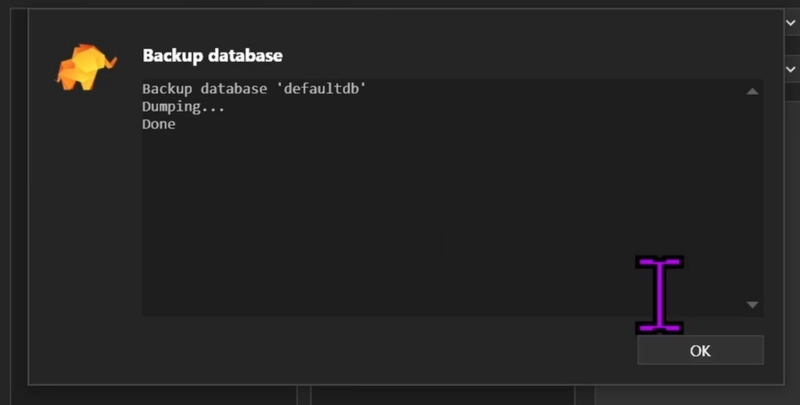
Now let’s use Tableplus to make a backup of the DigitalOcean database:

Choose a folder and save the file called defaultdb.dump (it will have the name of your database):

If you see this, it worked:
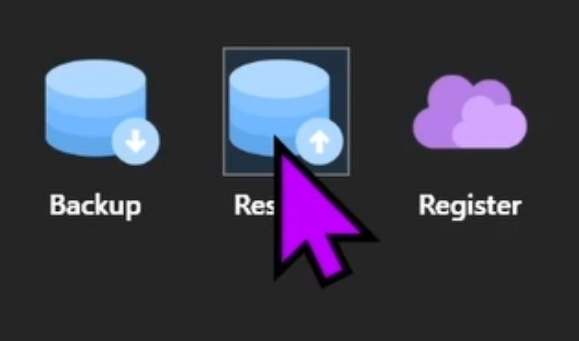
Restore RDS Database
To restore the database, click Restore.
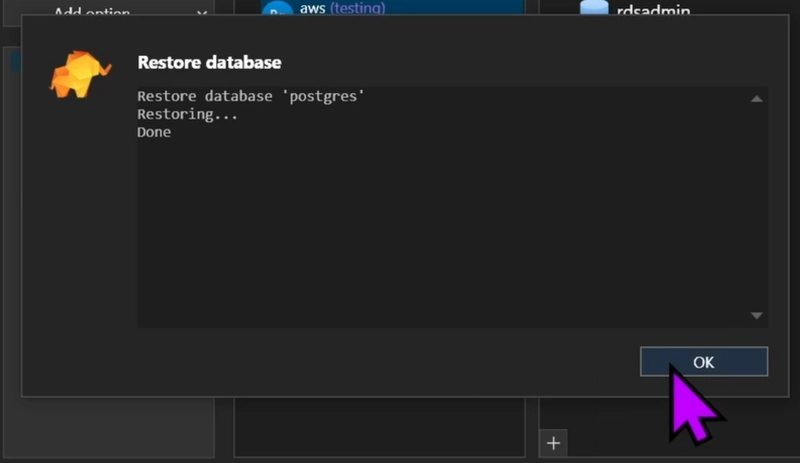
Select the aws database. Then, select the postgres database and click Start restore:

Select the dump file, in our case defaultdb.dump:
Final Test
As a final test, let's access the RDS database again:
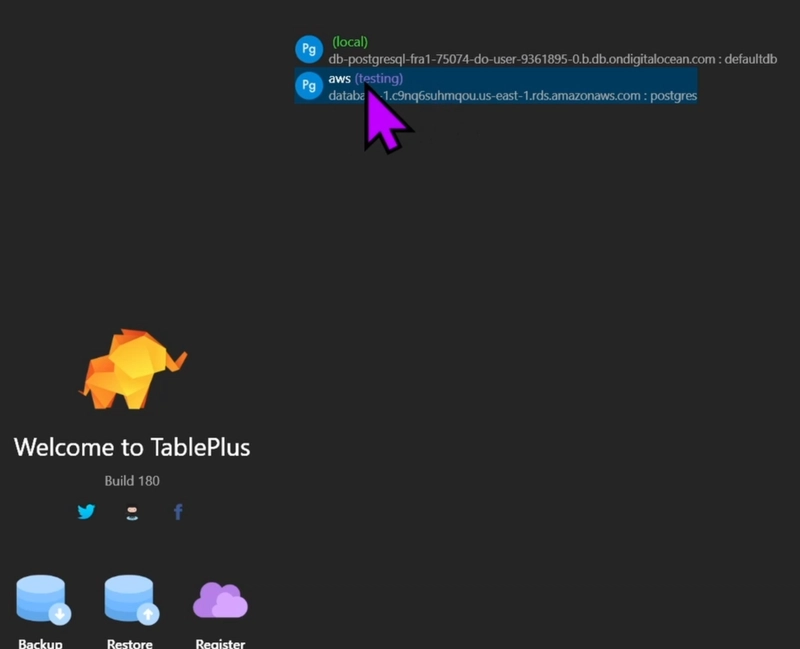
And here we can see our tables and inserts again:
And we’re done!
Video Version: https://youtu.be/3zLWCNn0Vqk

Top comments (1)
Great!