Introduction
PWAs ( Progressive Web Apps ) are the hot new thing. Everyone wants to take the advantages of the features provided by PWAs like :
- Installation on Device ( depending on browser + OS )
- Offline Usage
- Native Features ( Push Notifications, hiding browser UI, custom icons, etc. )
Through this article, I'm going to teach you how to get started with building PWAs on your own by building a very simple PWA ourselves.
Check out the GitHub link on my website and the demo at https://pwa-repo.netlify.com/ .
Pre-requisites :
- Have node installed.
- Make a folder and run
npm init -yinside it to initialize a node project in that folder. - Run Chrome ( for this tutorial ).
1. Getting Started
First things first, create an HTML file to begin with. I'm going to make a simple file called index.html which just has Hello World in it. This is valid HTML as the browser will insert all the missing tags.
Run npx serve to run your html in a server environment. Go to [localhost:5000](http://localhost:5000) in Chrome to see your page.
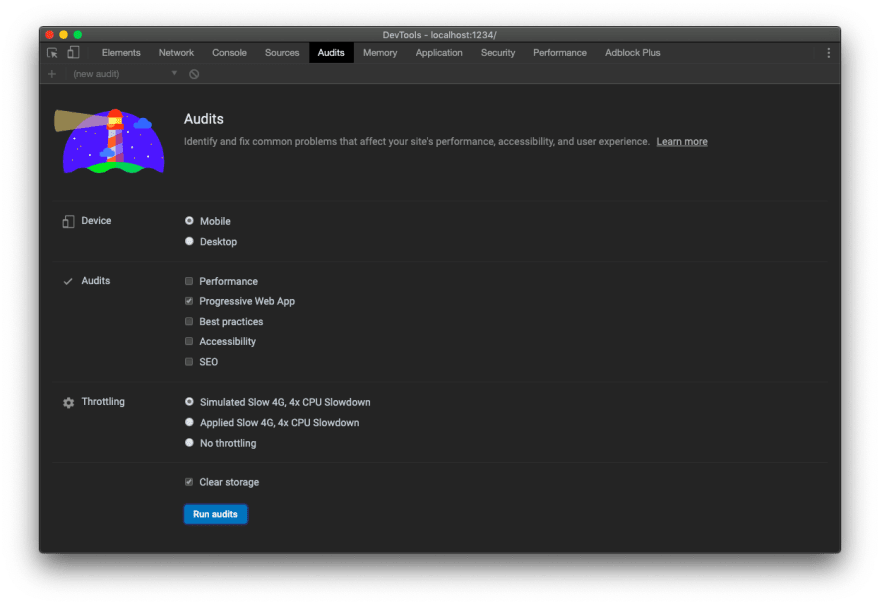
Now hit F12 to open the inspector, click on Audits, then just keep the PWA checkbox checked to run a PWA audit on your page.
We haven't begun adding PWA features yet, so your app will fail most of the audits.
Now let's start fixing the issues so we start building towards a PWA. We see that most failures complain about a manifest file. So let's do that next.
2. Adding a Manifest
A manifest file contains all the app-related configuration files that a browser will need during installation, eg, app name, app images, important links, etc. Go to https://app-manifest.firebaseapp.com/ to generate a web-manifest for your website. Fill in any details for App Name & Short Name. Choose any Display Mode for your app for now except Browser Mode, because it isn't supported anymore. Upload any image for the app icon, eg, the below one.
Example Icon
Click on Generate .ZIP to get a zipped file containing icons and the manifest. Unzip the contents into your code directory. So basically your folder structure should look like :
    |
    |-images
    |-index.html
    |-manifest.json
But wait, we haven't linked the manifest file with our HTML file yet. Add this content on the top of your index.html
    <head>
      <link rel="manifest" href="manifest.json">
    </head>
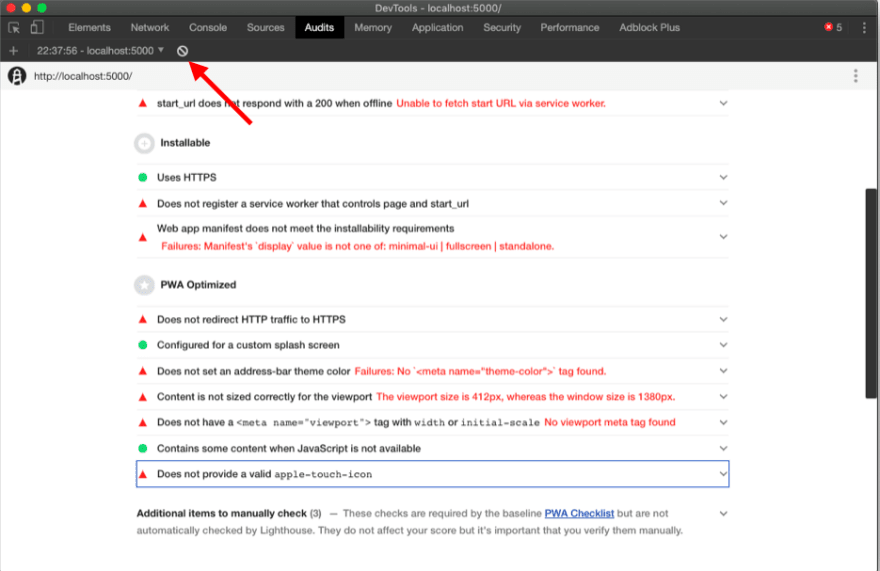
This adds a head element linking to your manifest.json. Run the audit again by clearing the screen and running the audit again.
Click Here to Clear
This time our stats are better, although our app is still not installable due to a missing service worker 🤔. Let's add a service worker next.
3. Adding a Service Worker
A service worker allows our PWA to cache files locally for offline usage. It can also act like a router in the browser ( although that part's not in the scope of this tutorial ).
Create a file sw.js in the same directory with the following content :
    // Caches offline page when service worker is installed.
    self.addEventListener('install', function(event) {
      self.skipWaiting();
      const offlinePage = new Request('/');
      event.waitUntil(
        fetch(offlinePage).then(function(response) {
          return caches.open('app-offline').then(function(cache) {
            return cache.put(offlinePage, response);
          });
      }));
    });

    //If any fetch fails, it will show the offline page.
    self.addEventListener('fetch', function(event) {
        if (event.request.cache === 'only-if-cached' && event.request.mode !== 'same-origin') {
          return;
        }
      event.respondWith(
        fetch(event.request).catch(function(error) {
          return caches.open('app-offline').then(function(cache) {
            return cache.match('/');
          });
        }
      ));
    });
This service worker simply caches the home page when installed, and in case the device goes offline, it returns the home page from the cache.
Now, link this service worker with your HTML file by adding the following code to the bottom of index.html
    <script>
      if ("serviceWorker" in navigator) {
        navigator.serviceWorker
          .register("sw.js", {
            scope: "./"
          })
          .then(function(reg) {
            console.log(
              "Service worker has been registered for scope:" + reg.scope
            );
          });
      }
    </script>
So, your index.html should look like this
    <head>
      <link rel="manifest" href="manifest.json" />
    </head>
    Hello World
    <script>
      if ("serviceWorker" in navigator) {
        navigator.serviceWorker
          .register("sw.js", {
            scope: "./"
          })
          .then(function(reg) {
            console.log(
              "Service worker has been registered for scope:" + reg.scope
            );
          });
      }
    </script>
Running the audits again, you'll see that our app does better this time as compared to the previous runs. The app is installable and also works offline ( try it out with airplane mode ).
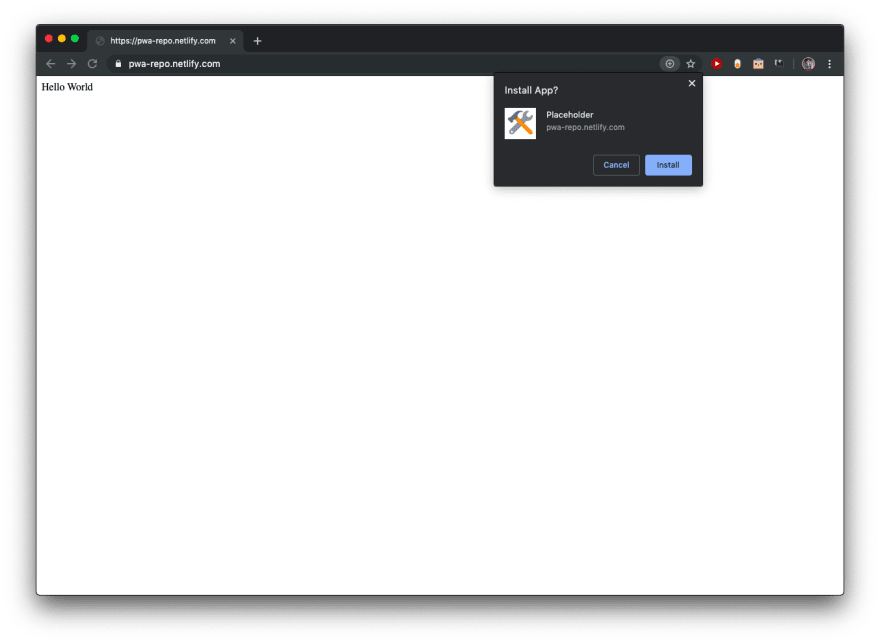
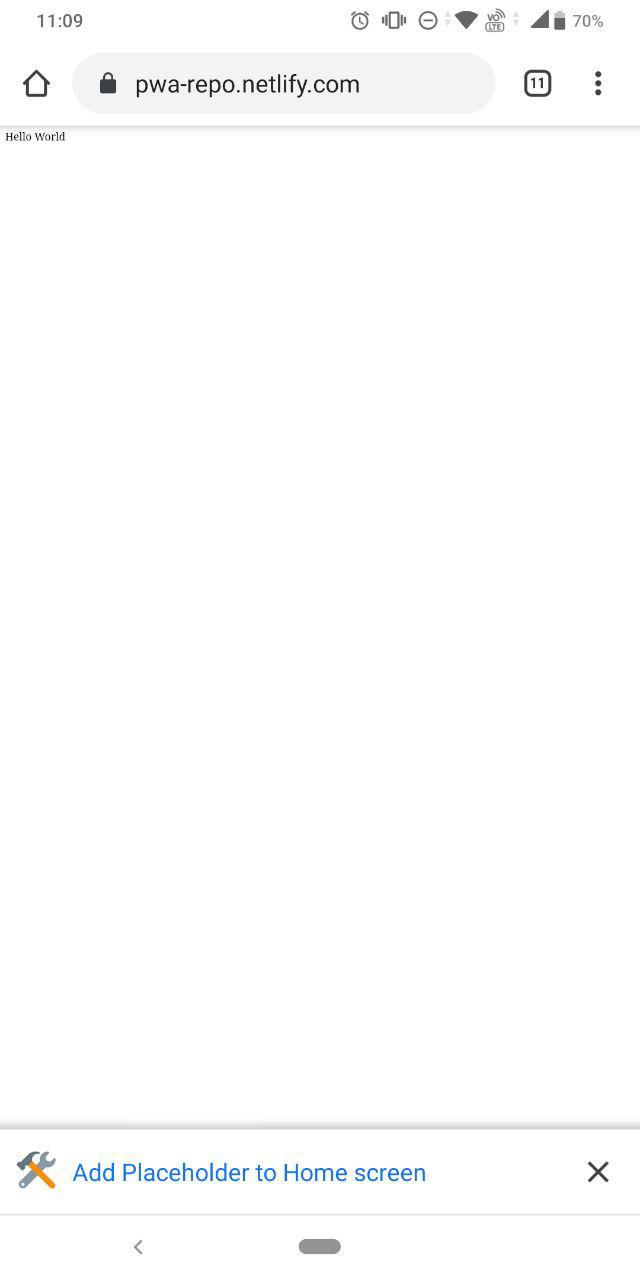
Now we'll be prompted to install the PWA on desktop & mobile.
Prompts
Check out the GitHub link on my website and the demo at https://pwa-repo.netlify.com/ .
However, we're still not done. Solving the rest of the issues in the Audit is an assignment for each one of you. Connect with me and show me your results at @akashtrikon
There are several things which can & should be covered in future posts, like :
- Responsiveness & Mobile Optimizations 📱
- Online Deployment 🚀
- Push Notifications 📥
- More advanced offline strategies ( with Workbox ) 🛠
Be sure to follow me on Twitter and GitHub !
For the GitHub repository and demo links, be sure to check out the blog on my website.


Top comments (2)
Thank you. Good article. Could you please say to me how I can add button on page to install PWA?
Hey that should appear automatically if you pass Chrome's minimum PWA requirements