
A great way to navigate your app is with a lateral menu, you know, the one iOS users hate so much 😂. While it is gradually becoming less common, also thank to gesture navigation that makes it way less comfortable to use, it can still be a great way to divide the features in your app. Without further ado... Let's make this hamburger menu!
The Basics
Adding a simple lateral menu is really easy, all starts from the Scaffold class:
return Scaffold(
      appBar: AppBar(
        backgroundColor: Colors.red,
      ),
      backgroundColor: Colors.white,

      //This is the key
      drawer: Container(
        width: 200,
        color: Colors.white,
        child: ListView.builder(
          itemCount: 4,
          itemBuilder: (context, index) {
              return Text('Item $index');
          },
        ),
      )
    );
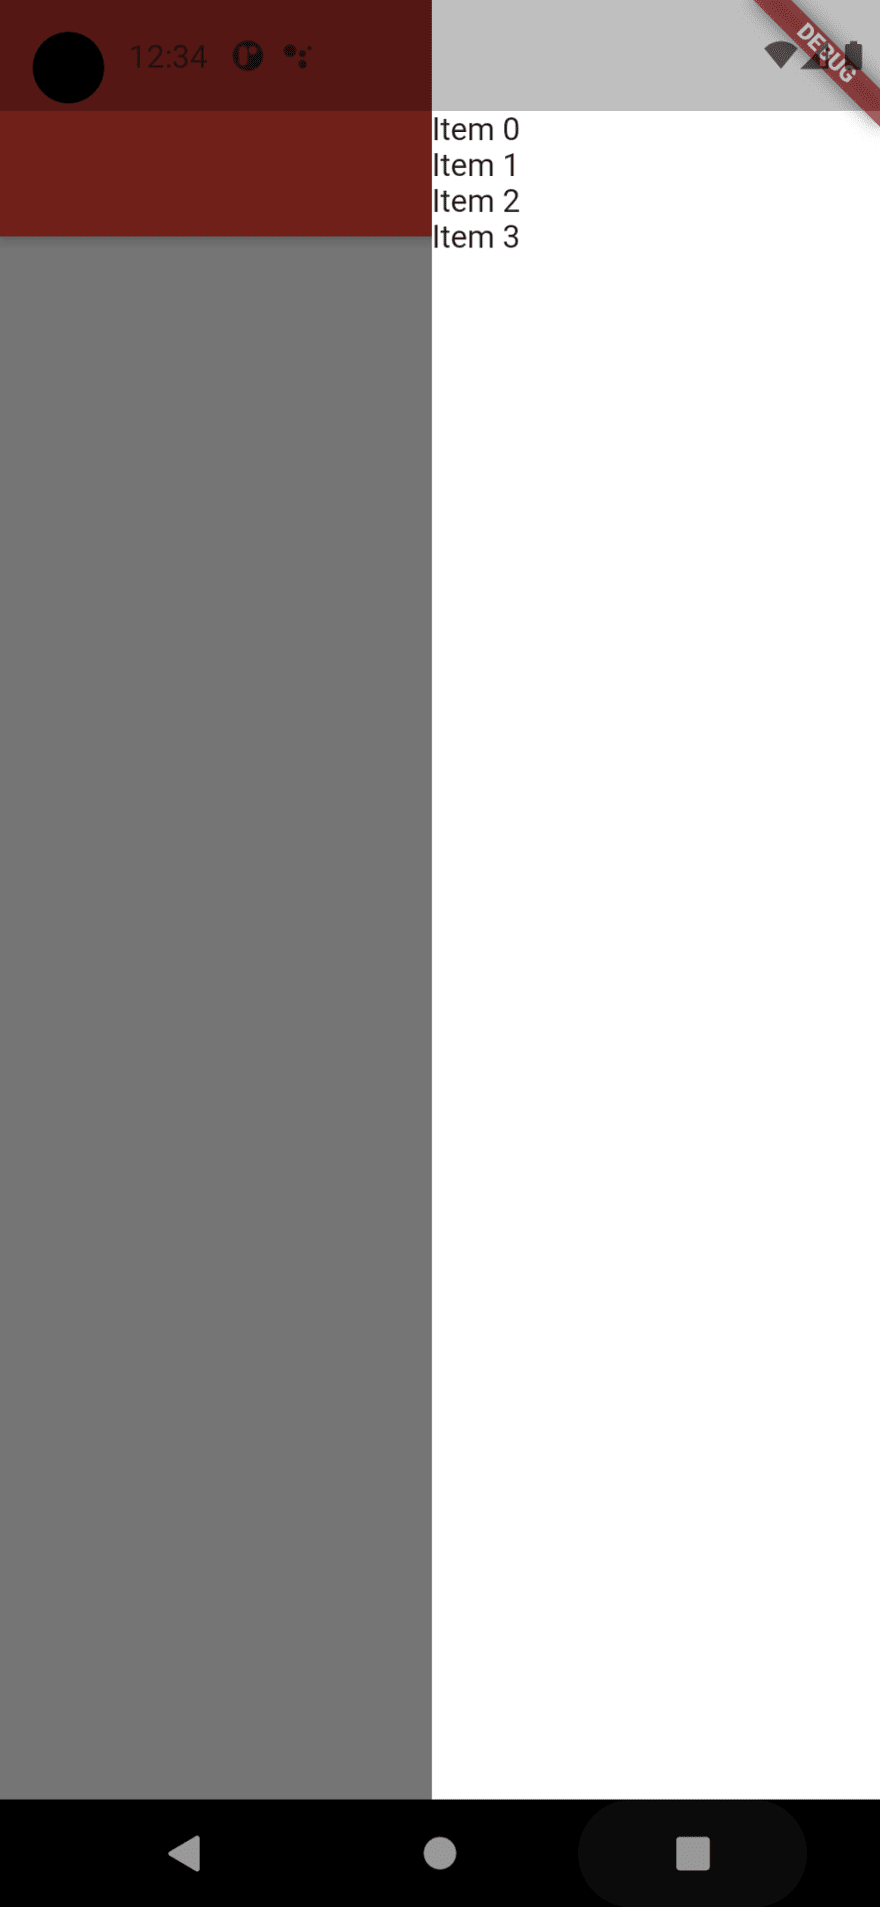
The drawer parameter takes any type of widget and puts it hidden at the left end of the screen. Adding a drawer is enough to enable the "drag" behavior of the lateral menu, but it is always better to add an AppBar in which will appear the "menu" button.
Want to put it on the right edge of the screen? Nothing easier, instead of popuplativng the drawer property, set your menu in the endDrawer property. The result will appear like this:
Adding a better touch
A menu without interaction is pretty useless, isn't it? Well adding touch capabilities to your menu can be done with any touch controller you wish, buttons, gesture detectors... The only issue is... How to close the menu? Let's do it step by step:
First let's make out elements a bit bigger and clickable:
endDrawer: Container(
        width: 200,
        color: Colors.white,
        child: ListView.builder(
          itemCount: 4,
          itemBuilder: (context, index) {
            return Padding(
              padding: const EdgeInsets.all(16.0),
              child: GestureDetector(
                onTap: () {
                  print('$index');
                },
                child: Text('Item $index')
              ),
            );
          },
        ),
      ),
Clicking on the texts will print the index but the drawer will remain open, to close it we need to... pop it!
Navigator.pop(context);
As by opening the menu Flutter adds the drawer to the navigation stack popping it will close it.
Great, now we added touch capabilities, made our menu less ugly, now we should add some meaning to the touch.
Body change
Let's now add a body to our Scaffold that shows a simple integer:
var item = 0;

body: Center(
    child: Text('Hey, it\'s page $item'),
),
Now let's set our item according to the menu click, by using simply a setState:
endDrawer: Container(
        width: 200,
        color: Colors.white,
        child: ListView.builder(
          itemCount: 4,
          itemBuilder: (context, index) {
            return Padding(
              padding: const EdgeInsets.all(16.0),
              child: GestureDetector(
                onTap: () {
                  Navigator.pop(context);
                  setState(() {
                    item = index;
                  });
                },
                child: Text('Item $index')
              ),
            );
          },
        ),
      ),
There you go, now your menu can change the content of your body. Yes, it's a pretty basic implementation but you can add as many widgets as you want, the way you want. That's also the power of Flutter.
What to do now?
If you're ok with your "basic" menu, that's it. You can absolutely add some more spice to your menu by adding a "close" button to the drawer, not using a list directly but a Column or something else. In a later article we'll take our menu to a new level by adding some fancyness!
Article written by me!


Top comments (1)
if you are interested in Flutter, then read this article - dev.to/pablonax/free-flutter-templ...