
What is Netlify CMS?
It's an open-source single page application that's written in React that allows you to edit content and data in your Git repo. It interacts with your static site repo API, in our case, Gatsby so that every time you make a change, it gets committed.
Great! So how do I get started?
First, let's open up a new terminal window and create a new site. I will be using the gatsby-theme-blog but feel free to use your own.
shell:
gatsby new YOUR PROJECT NAME https://github.com/gatsbyjs/gatsby-starter-blog-theme
Now cd into your project's directory and install the Gatsby plugin for Netlify CMS and the netlify-cms-app
shell:
npm install --save netlify-cms-app gatsby-plugin-netlify-cms
Now, let's open this up in your favorite text editor.
If you're using the same starter as I am in this tutorial, then your project should be structured like this:
YOUR PROJECT'S NAME
├── content
│   ├── assets
│   │   └── avatar.png
│   └── posts
│       ├── hello-world.mdx
│       └── my-second-post.mdx
├── src
│   └── gatsby-theme-blog
│       ├── components
│       │   └── bio-content.js
│       └── gatsby-plugin-theme-ui
│           └── colors.js
├── gatsby-config.js
└── package.json
Since we installed a Gatsby plugin, we now need to define it in gatsby-config.js. If that file doesn't exist, then create that file.
gatsby-config.js:
module.exports = {
    plugins: [`gatsby-plugin-netlify-cms`],
}
Now, we're going to want to create a folder called static at the root of our project and then inside of that static folder, create another folder called admin. Finally, create a file called config.yml. Your project should look like this:
YOUR PROJECT'S NAME
├── content
│   ├── assets
│   │   └── avatar.png
│   └── posts
│       ├── hello-world.mdx
│       └── my-second-post.mdx
├── src
│   └── gatsby-theme-blog
│       ├── components
│       │   └── bio-content.js
│       └── gatsby-plugin-theme-ui
│           └── colors.js
├── static <-------------- HERE
│   └──  admin
│       │   └──  config.yml
├── gatsby-config.js
└── package.json
If you haven't done so, put this project on Github and push your latest commits
Okay, now in your static/admin/config.yml file paste in the following:
backend:
  name: github
  repo: your Github username/ your repo name

media_folder: static/assets
public_folder: /assets

collections:
  - name: blog
    label: Blog
    folder: blog
    create: true
    fields:
      - { name: path, label: Path }
      - { name: date, label: Date, widget: datetime }
      - { name: title, label: Title }
      - { name: body, label: Body, widget: markdown }
Prepare your project for production and head on over to Netlify and create a new site from Git.
Once your site finishes building, follow the instructions from this:
https://docs.netlify.com/visitor-access/oauth-provider-tokens/#setup-and-settings
Make sure to get your key and secret from Github
Head back to Netlify
In your site's setting, scroll down until you see access control and then OAuth click on install provider and choose Github. Enter in your KEY and SECRET
Open your site from Netlify
Type in YOUR SITE URL/admin/
Now you should see this screen:
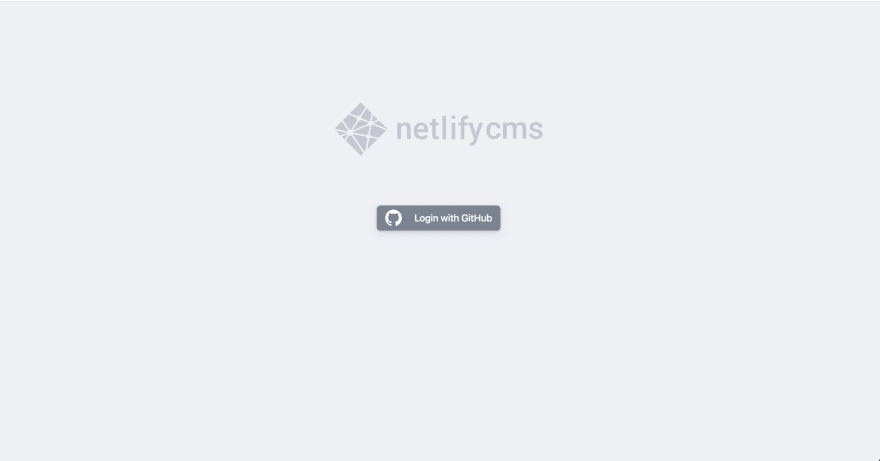
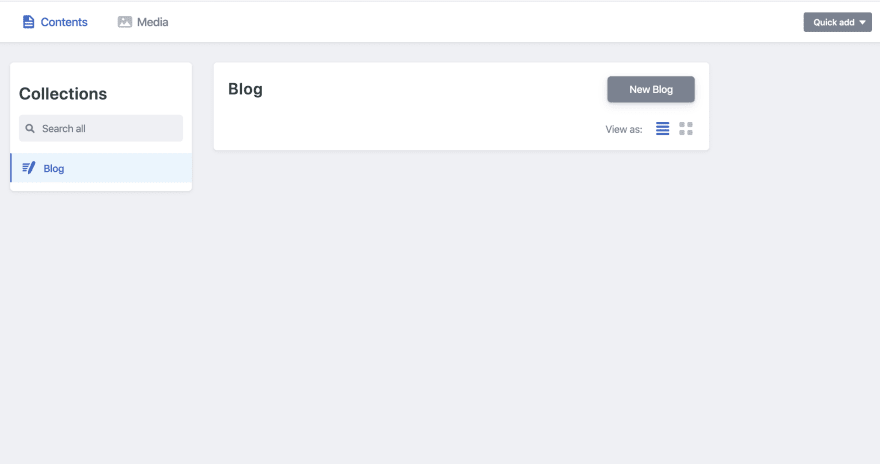
Click on login with Github and you should now see this screen:
But wait! There's more -- Important
In order for Gatsby to recognize your newly created files in the correct folder, you're going to need to download this Gatsby plugin:
npm install --save gatsby-source-filesystem
and add this to your gatsby-config.js file:
plugins: [
  {
    resolve: `gatsby-source-filesystem`,
    options: {
      name: `markdown-pages`,
      path: `${__dirname}/content/posts/blog`, <-- your path
    },
  },
]
Make sure to commit your changes!
Back in the CMS:
Now, create a new blog post and click publish. When doing this, it should automatically make a commit to your repo and create a new blog post! Once your site finishes building in Netlify, you should see your new blog post!

Cover Image:
taken from here
Yay! 🎉


Top comments (6)
Well done! Very useful content. We started our static website with this stack recently and I've found that there is no much docs and tutorials about Gatsby+NetlifyCMS. Especially when it comes to some advanced moments, I had to dig a lot myself to really understand the behavior...
Everything works fine only problem is netlify cms saves my blogs ad .md instead of .mdx. Do you know any fix for this
I figured out the issue. Adding this to my config worked:
extension: mdx
format: frontmatter
identifier_field: name
Where exactly did you add that to?
I added this snippet to my gatsbyconfig.js files:
resolve:
gatsby-plugin-mdx,options: {
extensions: ['.mdx', '.md'],
}
Example here:
github.com/renvrant/gatsby-mdx-net...
Thanks for this! I was able to get my Gatsby blog working thanks to your tutorial! Great job and super straight to the point :) Looking forward to more writings from you!