lets start by installing XAMPP .
Procedures :
Download the correct version of XAMPP
Run the installer with the default options
Launch XAMPP
Start the services.
Go to Apache Friends and download the correct version of XAMPP.
For this tutorial, I'll be using XAMPP 7.2.28 for OSX.
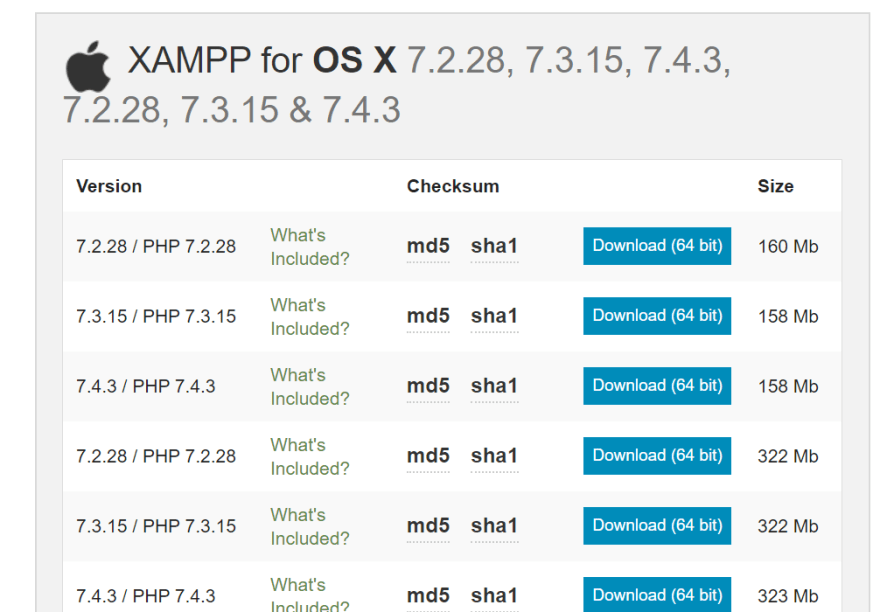
After Downloading
Once you open the .dmg file you'll see a window, as follows.
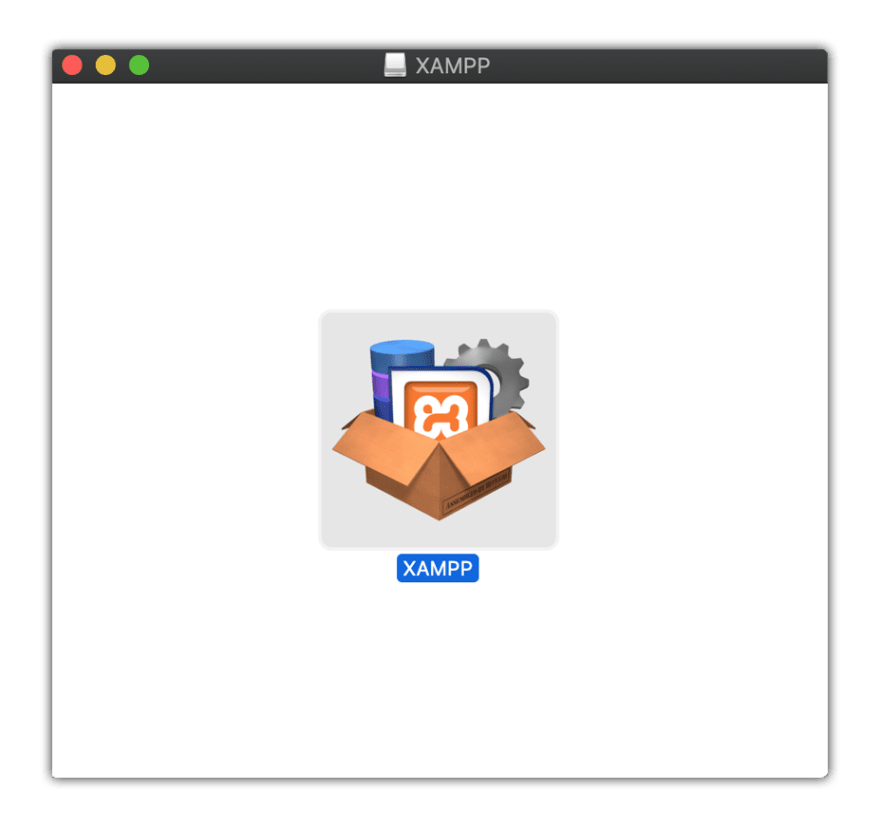
To install the XAMPP on your macOS machine, simply double-click the application inside the installer window and it'll open the main installer window for XAMPP.
Just click Next, Next, and Next until it installs. No need to change any settings in the installer.
-
Run XAMPP
To run XAMPP, go to Applications Folder on macOS, locate XAMPP Folder and inside that folder, locate an app manager-osx and run it.
Now, it's time to use XAMPP but before we can do that, we need to activate and run its services which we need to run the servers.
Once the application is open, go to "Manage Servers" tab and click on "Start All" button.

Wait for it to give all the green lights and then, it a go.
You can access the servers on your browser through localhost
Now its time to install MySQL Workbench.
Lets start by understanding briefly what is MySQL and Xampp.
What is MySQL?
MySQL is powered by the oracle corporation, and it is an open-source relational database management system (RDBMS) that works on many platforms.
It uses a client/server model, which means the database typically runs on a server.
It provides multi-user access to support many storage engines and not only these, but it also offers various other features like it provides good connectivity so you can connect with multiple databases and clients.
MySQL uses Structured Query Language(SQL) to define, update, and query the database.
It provides a low total cost of ownership and It is very flexible and scalable.
It provides various other tools such as MySQL workbench.
It is very robust and secure.What is MySQL Workbench?
MySQL Workbench is nothing but a visual or Graphical
tool/IDE by which you can work with MySQL servers/databases and perform database connectivity.
It is a dashboard that enables you to prepare models, perform server administration, monitor and configure your data and also perform data migration.
It allows you to connect with the MySQL database. It makes working on the databases a lot easier because it has all the tools included to be able to build databases, tables and also administrate the database itself, for example, you can add users manage their rights.
It allows you to do queries and other things.
MySQL Workbench is available for all major operating systems like Windows, Linux, and Mac Os X.But our main focus here is to install it on Mac .
lets start by downloading MySQL Workbench from this link
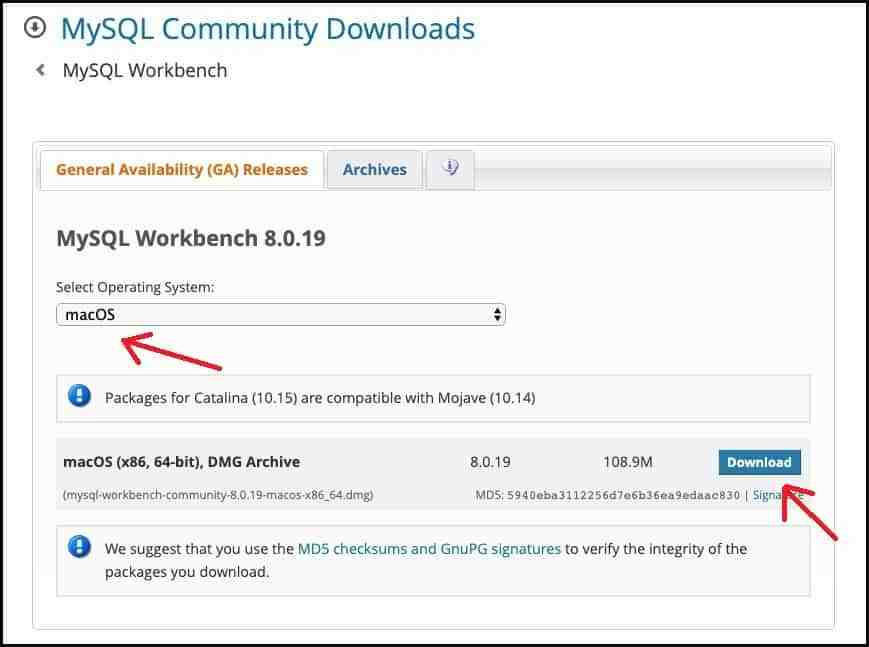
Select the operating system as macOS and then click on the Download link to download the DMG archive file.
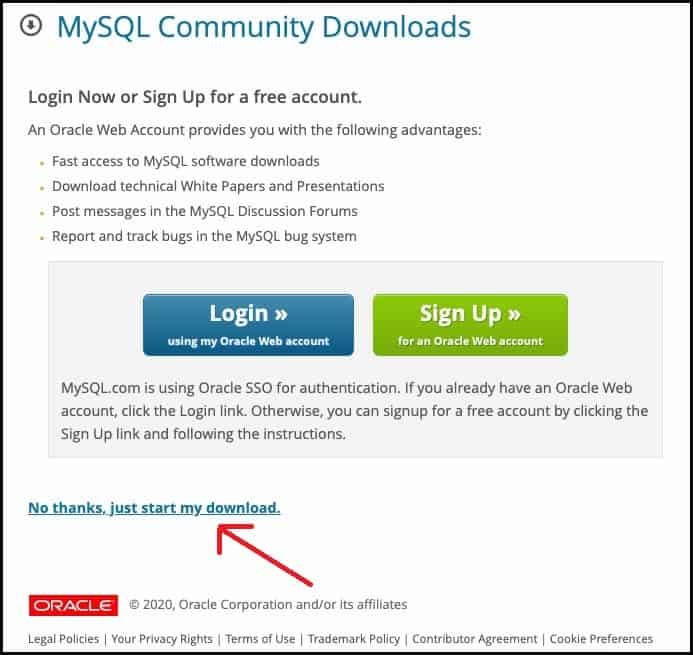
As soon as you click on the download link, you will be redirected to another webpage, and it will ask you to Login or Sign Up to the oracle web account.
But if you are only concerned about downloading the file, then click on the link “No thanks, just start my download” as shown in the below figure.
After you have successfully downloaded the MySQL installer MSI file in your system, Now you need to install it in your system.
Double click on the installer file, and you will see that the setup wizard of MySQL Workbench will open.
Click the Next button to proceed
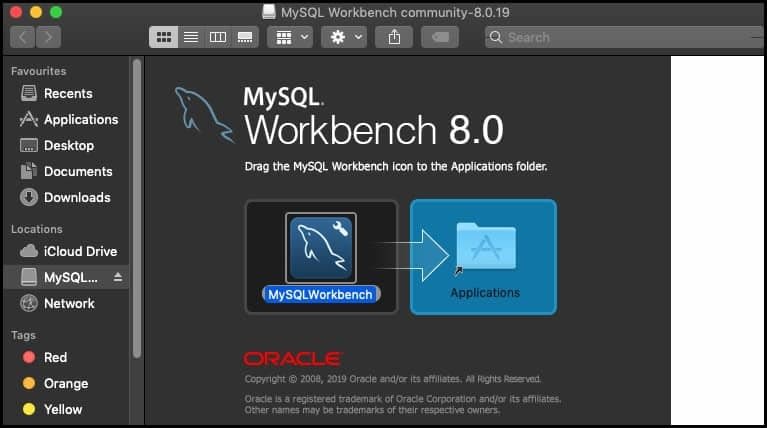
Wait for a while until MySQL Workbench is copied to the Applications, and MySQL Workbench will be successfully installed in your system.
To start MySQL Workbench, go to Finder>>Applications and then double click on the MySQL Workbench icon to open it.
On opening for the first time, you will see something like this user interface, as shown in the figure below
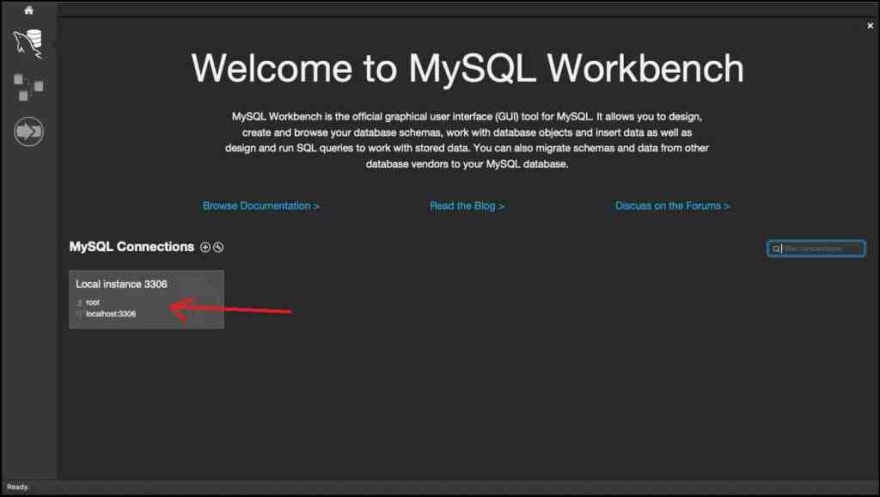
To connect MySQL Workbench with MySQL Server, click on the location highlighted with the red arrow, as shown in the above figure.
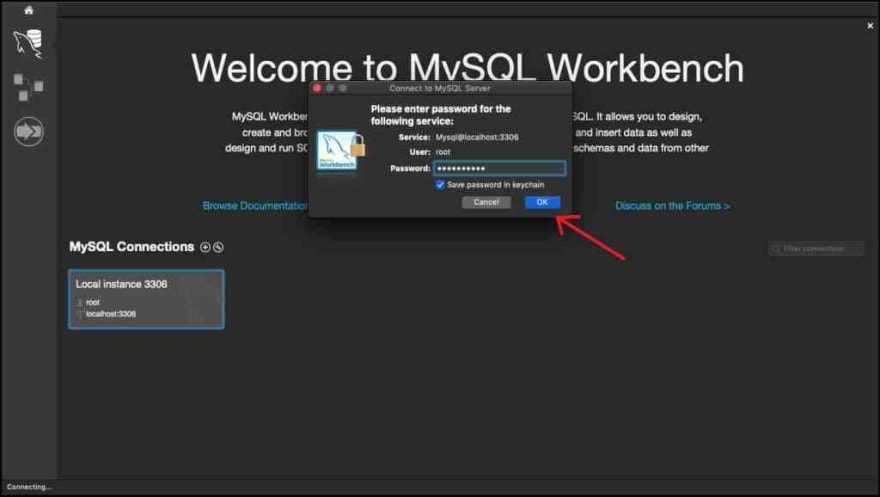
As soon as you click on it, a dialog box will appear, and it will ask you to fill the password.
This is the same password that you have given during the installation process of MySQL Server, so fill in the correct password and click on the OK button.


Top comments (0)