Summary:
This article describes the step-by-step process of creating the Integration Workflow for sending email using the SendGrid Connector in webMethods.io Integration
Pre-requisites:
- The user needs to have a working SendGrid account to access the SendGrid Email API
- Working webMethods.io Integration cloud tenant
Contents:
Section 1: Create API Key in SendGrid settings required for authentication to access the SendGrid Email API
Section 2: Create Dynamic Template in SendGrid which can be used to send emails using the dynamic templates
Section 3: Creating the integration workflow for sending email using the dynamic template in webMethods.io Integration
Steps:
Section 1. Create API Key in SendGrid settings required for authentication to access the SendGrid Email API
- Login to the SendGrid using your SendGrid credentials
- Once you logged in, navigate to Settings > API Keys
- Click Create API Key , enter the API Key Name and select Full Access under API Key Permissions

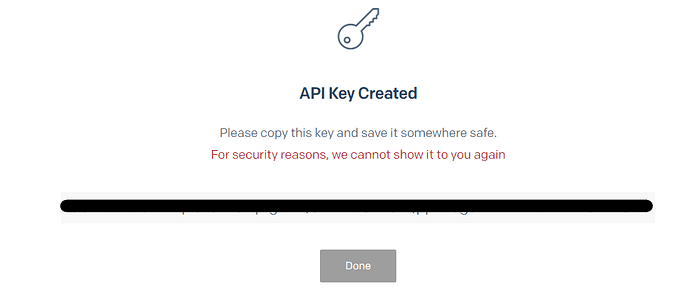
- Click Create & View , copy the API Key value generated and click Done
Section 2. Create Dynamic Template in SendGrid which can be used to send emails using the dynamic templates
- Navigate to Email API > Dynamic templates
- Click Create a Dynamic Template , enter the name and click Create

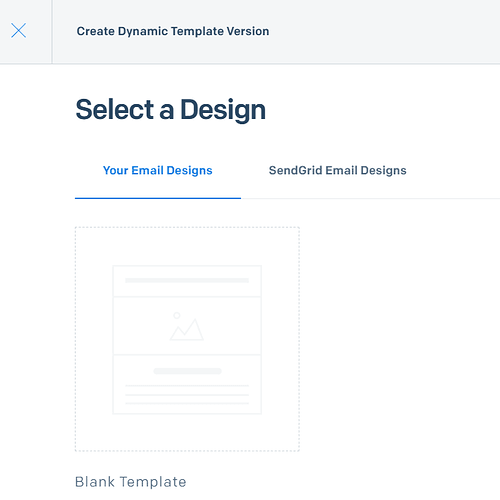
- Click Add Version to select or add email design to the template

- Create Dynamic Template Version by selecting the email design
- Edit to design the email dynamic template and test your email
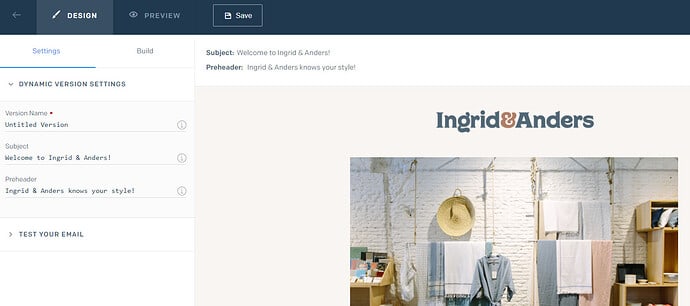
- Save your changes and copy the Template ID to use it later for testing the send email API using the dynamic template

Section 3. Creating the integration workflow for sending email using the dynamic template in webMethods.io Integration
- Create new Workflow, edit Workflow Name, enter the name and click Done
- From the Connectors palette, select the SendGrid connector and drag it onto the panel

- Click Settings to edit, select Action sendMail and click + to add account for SendGrid connection

- Enter API Key and click Add to add the account

- Click Next to configure the Action by entering the required input parameters
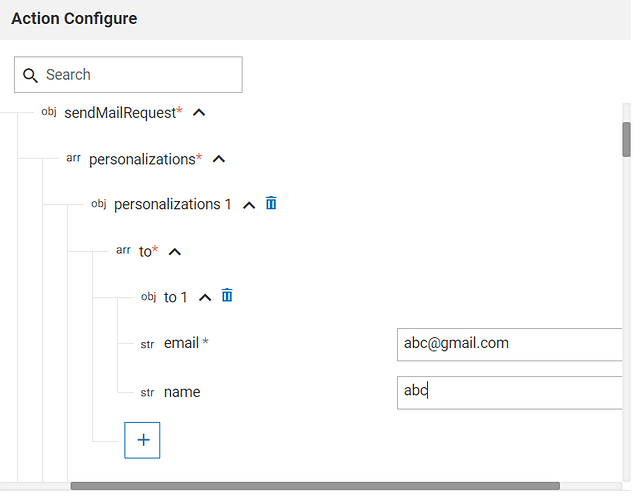
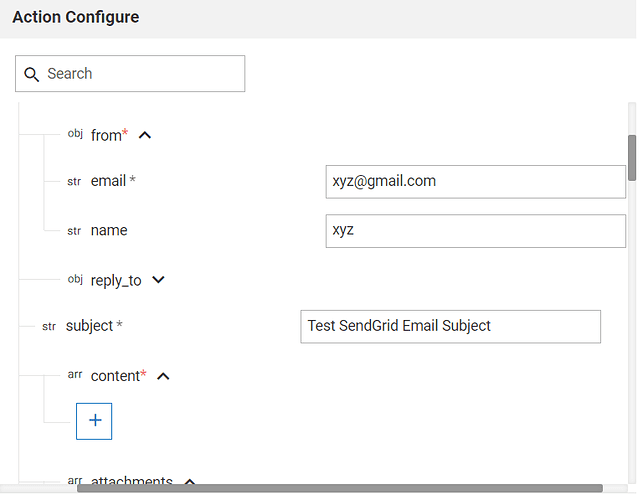
- Enter the values for the required input parameters as shown below,
personalizations > to(list): Enter the list of user email addresses and names to receive the email
from: Enter the from email address and name
subject: Enter the email subject
template_id: Enter the template ID of the dynamic template created

- Click Next and click Test to test the action and verify
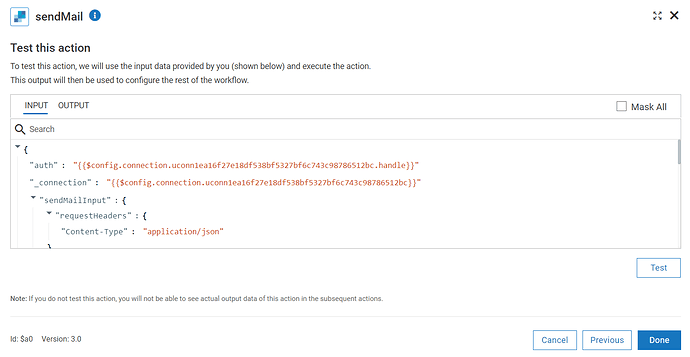
- If Test is successful, click Done and Save the workflow
- Click Run to execute the workflow and verify if the email is sent


Top comments (0)