products: webMethods.io Integration
Introduction
Development teams know that effectively creating and managing integration projects helps them to stay agile and productive by streamlining accessibility and collaboration across their team. In this tutorial, learn the ins and outs of creating and managing webMethods.io projects to work together faster and more efficiently.
This is the fourth part of a series of webMethods.io Integration tutorials exploring the platform’s Super iPaaS Develop anywhere, deploy anywhere capabilities. If you missed the previous part, you can find it here: Register New Edge Runtime with webMethods.io Integration.
Prefer watching a video? See our Developer Evangelist Theo Ezell walk through the steps in this video tutorial:
Find out how webMethods.io helps you create and manage your integration projects
Pre-requisite
A webMethods.io Integration environment.
Note: These capabilities are not available by default. Contact your sales representative for more information.
Let’s get started
Log in to your webMethods.io Integration environment and navigate to the Projects tab. Here are listed all projects on the webMethods.io Integration tenant, sorted by the most recent update.

Although еvery tenant has a Default project 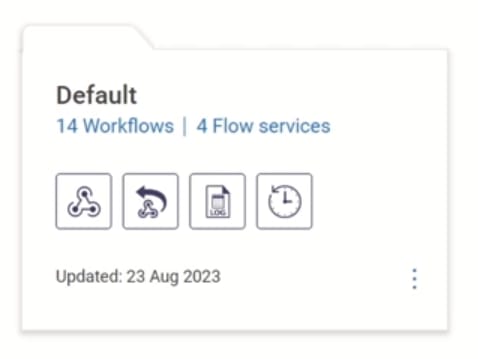 , it’s best to create separate projects, each containing only those assets that should be deployed together.
If you are trying to find a specific project, you can always use the search functionality  to find what you want.
If you look closely, you can notice the Git logo in the upper right corner of some of the projects
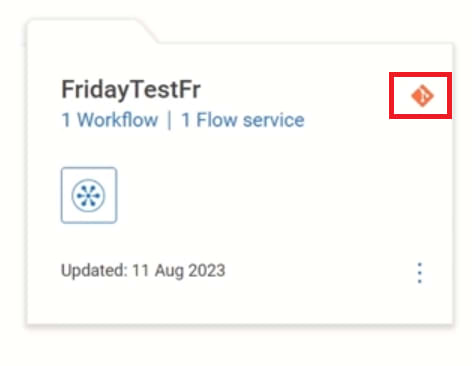 . This icon indicates that the project is stored in an external Git repository rather than in the internal default one. This how-to shows how to manage projects stored in the internal default repository. External repositories will be covered in a separate tutorial.
The three dots on every project allow you to:
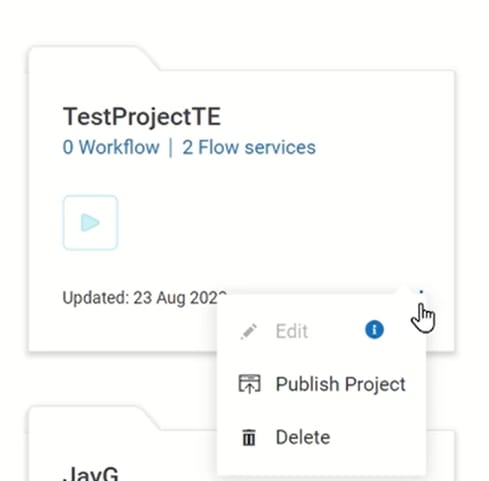
- Edit a project
- Publish a project to a higher environment, for example from Development to Test
- Delete a project – but please note that you cannot delete a project that contains either workflows or flow services.

Let’s now continue with creating a new project – click the plus sign and give the project a name:

For the Source code control repository, we will use the Default Server. In this case, as the note points out we can still export and import the project to either another tenant or even on an on-prem Integration Server but if we want to access the code directly, we need to use our own repository.
Click Create and in a couple of seconds your new project will be created:

At the top, you can see the Integrations, APIs, Connectors, Packages, etc. that make up the project. Opening the Packages tab shows the packages that form this project:

The package name follows the name convention “Edge” plus the project name. Here you can even add an additional package from an external Git repository:

If you click on the package name, it shows some package details as well as all assets contained in it:

In our case, we have a Flow Service, a couple of Adapter Connections and two Adapter Services.
Next steps
After you find out how webMethods.io helps you create and manage your integration projects, check how to develop a simple Flow Service to run on the Cloud Runtime:
Create and develop Flow services to run on the Cloud runtime with webMethods.io Integration
Useful links | Relevant resources
- Find out how webMethods.io helps you create and manage your integration projects
- What is Develop Anywhere, Deploy Anywhere? - Knowledge base / Blog - webMethods - Software AG Tech Community & Forums
- Register New Edge Runtime with webMethods.io Integration
- Monitor your integration runtimes remotely with webMethods.io Integration.
- Edge Runtime Management with webMethods.io Integration

Top comments (0)