Airtable is a great project management tool for companies. You can set it up to track projects, tasks, team members, and deliverables, but Airtable doesn’t have a great way to share these projects with your clients securely.
There are some workarounds for this problem. You can create a shareable link to a view in Airtable, but anyone who gets a hold of that link will have access to your client’s sensitive data. Alternatively, you can give clients direct access to your Airtable base. But because Airtable lacks granular access control, they’d be able to see all your other clients’ projects, too. Finally, you could use a no-code interface builder, but then you’re limited by the features their WYSIWYG editors support.
In this tutorial, you’ll see how to build a scalable, secure, and flexible client portal on Airtable using Sequin, Cotter, and Next.js.
You’ll set up a custom application that allows your clients to log in securely and access only the data you want them to access. Finally, you’ll see how to make this application interactive so that your clients can sign off on projects directly from the portal.
Each step will be outlined in this tutorial, but if you’d like to get a working copy of the final code, you can find it on GitHub.
Setting Up the Airtable Base
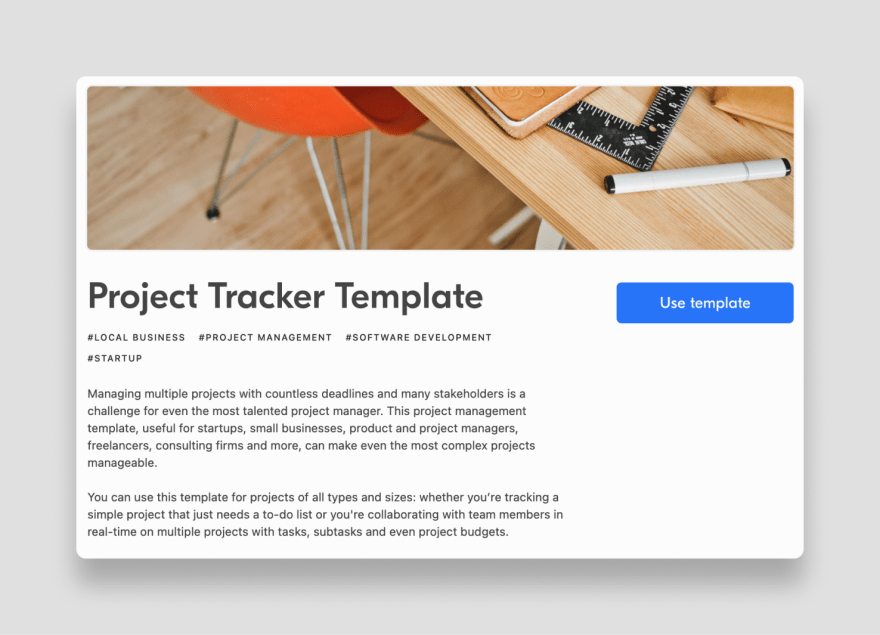
This demo project will start with the Airtable Project Tracker template. Copy this template to your Airtable account and open up the base.
This base includes three tables: Design projects, Tasks, and Clients. Tasks are for internal use only, so in this tutorial, you’ll focus on the projects and clients.
You’ll use Cotter to authenticate users by their email address, but this template doesn’t come with a client email field. So, you need to add a new column to the Clients table called Email.
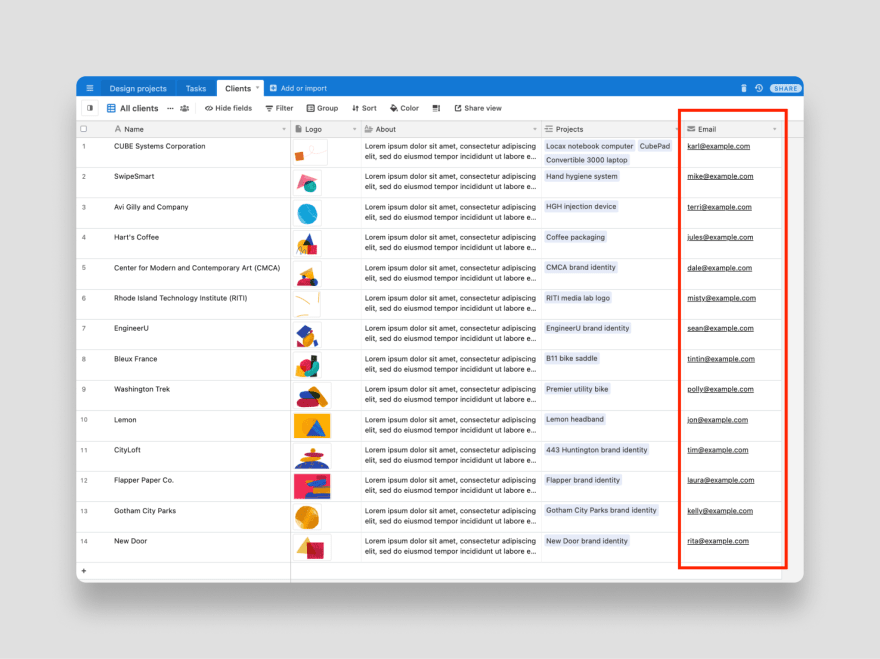
Add some dummy data to each of the fields, but use your own email address for one of them. This will be your test client account so you can verify that the web app works.
Connecting Sequin to Airtable
While you could build a client portal that queries the Airtable API directly, this has some major drawbacks, including the following:
- Airtable’s API limits you to just five requests per second, so it won’t scale well.
- Querying related records using the Airtable API is cumbersome and often involves multiple API calls. This can significantly reduce your app’s performance, especially when coupled with the API limit mentioned above.
- Finding, sorting and filtering via Airtable’s API isn't easy.
If you haven’t already, sign up for a Sequin account.
Once you’re logged in, click the Add Base button in the top right corner. Add your Airtable API key, select the base you want to replicate (it’s called Project tracker by default), select Sync all tables in this base, and make the destination for the replica New Sequin database.

When you’re done, hit Create, and within a few seconds you’ll have a Postgres replica of your Airtable data.
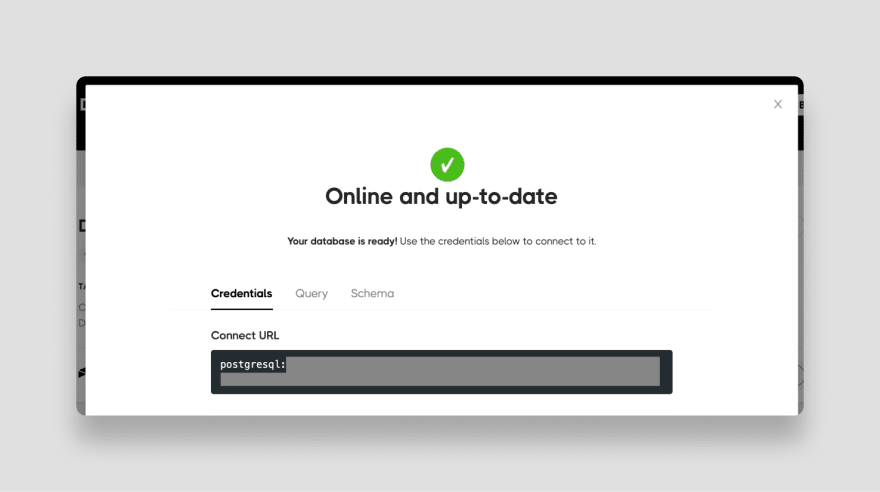
Be sure to save the Postgres connection string shown, as you’ll need it for your web application.
Creating a New Next.js Application
Next.js is a React-based web development framework designed to run seamlessly on Vercel. While you could set up a new React application with a backend, Next.js makes the setup and configuration process much simpler, so it’s a great starting point for building simple frontend applications like this one.
Assuming you’ve got a recent version of Node.js installed (version 10+ is recommended), use npx to create a new application from your terminal:
npx create-next-app
Enter a name when prompted (I used project-tracker), and the required base packages will be installed.

This project includes one API endpoint and one frontend route, which you’ll modify later in this tutorial. For now, navigate into the new project folder:
cd project-tracker
And open the project in your text editor or IDE of choice.
Setting Up Cotter for Authentication
To allow clients secure access to your portal, you need a way to authenticate them via their email address. While you could build this feature yourself, you can also use a third-party authentication provider such as Cotter to set this up with almost no custom code.
Setting up Cotter is pretty straightforward, but there’s a detailed tutorial for setting up Cotter on Next.js on their blog if you get lost.
First, sign up for Cotter and get your API key ID and secret. Next, from your terminal, you need to install Cotter and a few other dependencies required for this demo application.
npm i --save cotter cotter-node cotter-token-js
Next, create a .env.local file in the root directory of your project. This will allow you to securely store your environment variables without checking them into version control.
# .env.local file
NEXT_PUBLIC_COTTER_API_KEY_ID="..."
COTTER_API_KEY_SECRET="..."
PG_CONNECTION_STRING="..."
AIRTABLE_API_KEY="..."
AIRTABLE_BASE="..."
Replace each ... with the corresponding environment variable from each of the services used in this tutorial.
Note that the Cotter API key ID must be prefixed with NEXT_PUBLIC_. This signals to Next.js that the variable should be made available in the browser, while the other environment variables will be kept securely on the server only.
Finally, update the pages/index.js file to use Cotter and display a login form.
import Head from 'next/head'
import styles from '../styles/Home.module.css'
import Cotter from "cotter";
import { useEffect, useState } from "react";
const cotterApiKeyId = process.env.NEXT_PUBLIC_COTTER_API_KEY_ID;
export default function Home() {
const [isLoggedIn, setIsLoggedIn] = useState(false);
// Shows the Cotter Login form and sets Access Token when authenticated
useEffect(() => {
const cotter = new Cotter(cotterApiKeyId);
cotter
.signInWithOTP()
.showEmailForm()
.then(payload => {
localStorage.setItem("ACCESS_TOKEN", payload.oauth_token.access_token);
setIsLoggedIn(true);
})
.catch(err => console.log(err));
}, []);
// Sets local isLoggedIn variable
useEffect(() => {
if (localStorage.getItem("ACCESS_TOKEN") != null) {
setIsLoggedIn(true);
}
}, []);
// Deletes Access Token and logs user out
const logOut = () => {
localStorage.removeItem("ACCESS_TOKEN");
setIsLoggedIn(false);
};
// Display the client portal page
return (
<div className={styles.container}>
<Head>
<title>Client Portal</title>
<link rel="icon" href="/favicon.ico"/>
</Head>
<main className={styles.main}>
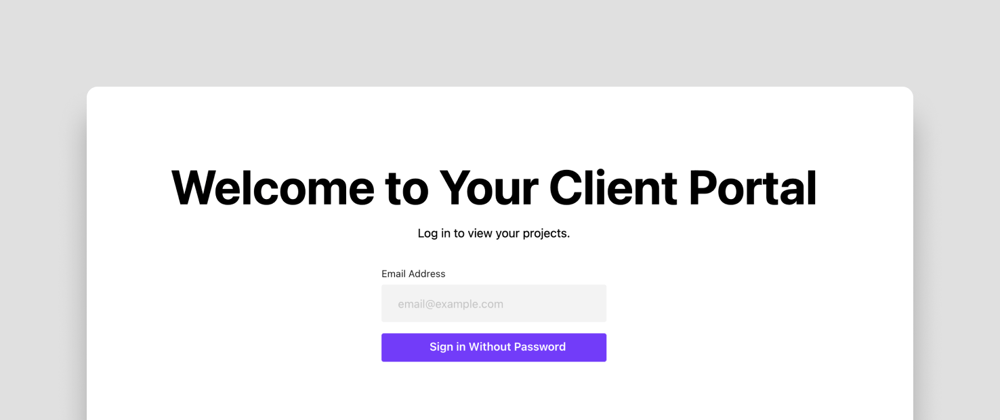
<h1 className={styles.title}>Welcome to Your Client Portal</h1>
{isLoggedIn ? (
<div>
<p style={{textAlign: "center", cursor: "pointer"}} onClick={logOut}>Log Out</p>
</div>
): (<p>Log in to view your projects.</p>)}
<div id="cotter-form-container" style={{ width: 300, height: 200 }} />
</main>
</div>
)
}
One note on the above code: I’ve opted to use localStorage instead of cookies for simplicity, but there’s a good case for using cookies in a production environment. Cookies have some security benefits, especially in JavaScript-heavy applications like this.
If you’d like to test the login functionality at this point, you can run your Next.js application from your terminal.
npm run dev
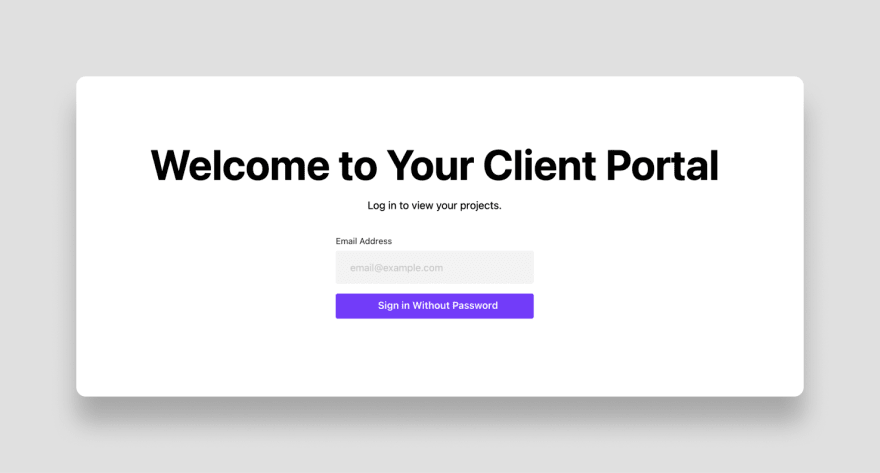
Go to localhost:3000, where you should see a login form like this:
After logging in, you’ll see the Cotter success message.
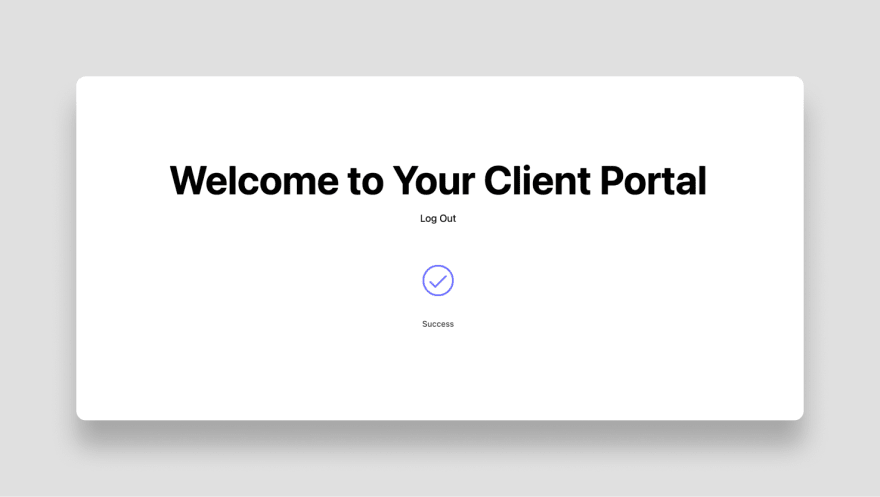
You’re now ready to integrate the frontend with Sequin to retrieve data for each client.
Querying Data Stored by Sequin
Now that your clients can be authenticated with Cotter, you can use the email address of each authenticated user to make a PostgreSQL query that retrieves only the projects belonging to that client. In order to accomplish this, you’ll need to create an API endpoint in your Next.js application that calls your Sequin database.
First, install the node-postgres package using NPM.
npm i --save pg
Since you don’t want to expose your Postgres connection string in the browser, you need to connect to Postgres from a server-side application. NextJS API routes allow you to add backend code in the same repository as your frontend application by adding serverless functions to your ./pages/api folder. Create a new file at pages/api/projects/index.js and connect to your Postgres database there:
import {CotterAccessToken} from "cotter-token-js";
const {Pool} = require('pg');
const connectionString = process.env.PG_CONNECTION_STRING;
const pool = new Pool({
    connectionString,
});
Next, you need to export a function that NextJS will call when the /api/projects route is called.
...
export default async (req, res) => {
    // Authorization and database connection code will go here
}
To get the current user’s authorization token, you can use the Cotter Token JS library (imported above). Add the following to your exported function:
...
    // Check that the authorization header exists
    if (!("authorization" in req.headers)) {
        res.statusCode = 401;
        res.end("Authorization header missing");
    }

    // Extract the token string
    const auth = await req.headers.authorization;
    const bearer = auth.split(" ");
    const token = bearer[1];
Decode this JWT, to get the user’s email. If the user doesn’t have an email or the token is invalid, this code will throw an error, so wrap it in a try/catch block.
...
    try {
        // Decode the Cotter JWT. Note that "decoded.payload.identifier" is the user's email
        const decoded = new CotterAccessToken(token);

        // Get design_projects by clients.email here

    } catch (e) {
        // Handle any errors
        console.log(e);
        res.statusCode = 500;
        res.end("Server error. Something went wrong.");
    }
Finally, you can use the following code to get all this client’s projects. Because Airtable (and therefore, Sequin) stores the relationship between clients and projects as an array of IDs, you can use Postgres’ ANY clause to join clients and projects.
        // Get design_projects by clients.email
        const query = `select design_projects.*
                       from design_projects
                                join clients on clients.id = ANY (design_projects.client)
                       where clients.email like $1;`;
        const {rows} = await pool.query(query, [decoded.payload.identifier]);

        // Respond with results
        res.statusCode = 200;
        res.json(rows);
This endpoint is now able to query directly from Sequin, so you can avoid Airtable’s rate limits. Having your data in Postgres also allows you to create more dynamic and efficient queries to get your data from Airtable.
Calling the Project’s Endpoint
Now that you’ve got an endpoint set up, you need to call it from your frontend, but only after a user logs in. At the top of the Home class you created in pages/index.js, add the following:
…
export default function Home() {
    const [clientProjects, setClientProjects] = useState(null);

    // Gets this client's projects when they're logged in
    const getClientProjects = async () => {
        const token = localStorage.getItem("ACCESS_TOKEN");
        const resp = await fetch("/api/projects", {
            headers: { Authorization: `Bearer ${token}` },
        });
        setClientProjects(await resp.json());
    };
…
Now, in the same file, update the Cotter login form effect to call the getClientProjects method after the user is authenticated.
…
        cotter
            .signInWithOTP()
            .showEmailForm()
            .then(payload => {
                localStorage.setItem("ACCESS_TOKEN", payload.oauth_token.access_token);
                setIsLoggedIn(true);
                // Add this line:
                getClientProjects();
            })
            .catch(err => console.log(err));
…
If you restart your Next.js application and log in again with your browser’s inspector open, you can see that a call is being made to /api/projects.

In the next step, you’ll use the results from that API call to populate your client portal.
Displaying Projects in the Portal
Now that you’re able to authenticate a user and retrieve their projects from Sequin’s Postgres replica, you’re ready to display the results in the UI. Next.js already includes some basic styling, but don’t feel limited by it. One of the big advantages of building a custom portal like this is that you have complete control over the user interface and experience.
Open your pages/index.js file again and add the following within the code that checks whether a user is logged in:
…
                {isLoggedIn ? (
                    <div>
                        {clientProjects ? (
                            <div className={styles.grid}>
                                {clientProjects.map(project =>
                                    <div className={styles.card} key={project.id}>
                                        <h3>{project.name}</h3>
                                        <img src={project.project_images[0]} style={{maxWidth: "100%"}} />
                                        <p>Led by {project.project_lead.name}</p>
                                        <p>Due on {project.due_date.split('T')[0]}</p>
                                    </div>
                                )}
                            </div>
                        ) : (<p>You currently have no projects attached to this account.</p>)}
                        <p style={{textAlign: "center", cursor: "pointer"}} onClick={logOut}>Log Out</p>
                    </div>
                ): (<p>Log in to view your projects.</p>)}
…
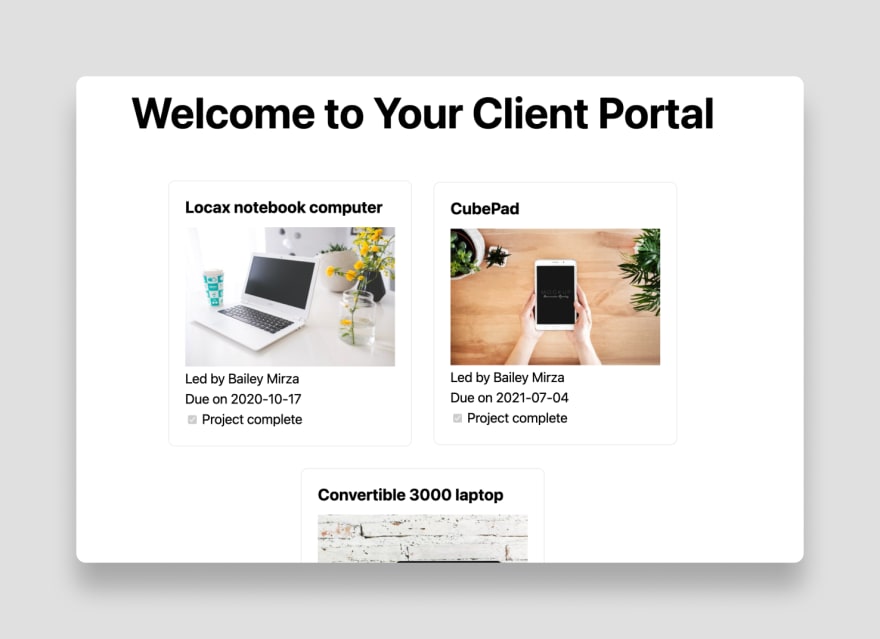
Start the app again and log in, making sure to use your email address that you attached to one of the client accounts in Airtable. You should see a list of all this client’s projects like this:

You now have a working client portal that will allow your clients to securely access limited data about their projects only. But what if you want to allow clients to interact with the projects in the portal? In the last section of this tutorial, you’ll see how to allow clients to save data to Airtable using Sequin’s write proxy.
Writing Data with Sequin
Your clients will probably need to sign off on each project as it’s completed. To let them do this in your new portal, you can add a checkbox on each project that lets clients mark projects as complete.

Sequin gives you a read-only Postgres replica of your Airtable base. This ensures that you have a single source of truth for your data, but it means that you can’t use typical Postgres UPDATE queries to make changes in Airtable.
Fortunately, Sequin has a solution to this limitation. By using their proxy server instead of the standard Airtable API server, your updates will be instantly saved to both Airtable and your Postgres database.
To use the Sequin proxy in JavaScript, install the Airtable NPM package:
npm i --save airtable
Next, create a new endpoint in your Next.js application that will handle update requests. Make a new file at pages/api/projects/[projectId].js and add the following:
import {CotterValidateJWT} from "cotter-node";
import Airtable from "airtable";

// Instantiate the Airtable client using the Sequin proxy
const base = new Airtable({
    apiKey: process.env.AIRTABLE_API_KEY,
    endpointUrl: "https://proxy.sequin.io/api.airtable.com",
}).base(process.env.AIRTABLE_BASE);

export default async (req, res) => {
    // Get the project ID from the URL
    const { projectId } = req.query;

    // Check that the authorization header exists
    if (!("authorization" in req.headers)) {
        res.statusCode = 401;
        res.end("Authorization header missing");
    }

    // Extract the token string
    const auth = await req.headers.authorization;
    const bearer = auth.split(" ");
    const token = bearer[1];

    try {
        // Check that the JWT is valid
        const valid = await CotterValidateJWT(token);
        if (!valid) {
            res.statusCode(403);
            res.end("Authentication token invalid");
        }

        // Update project complete status
        await base('Design projects')
            .update([{"id": projectId, "fields": {"Complete": true}}]);

        // Respond with a 204
        res.statusCode = 204;
        res.end();
    } catch (e) {
        // Handle any errors
        console.log(e);
        res.statusCode = 500;
        res.end("Server error. Something went wrong.");
    }
}
This endpoint validates the user’s authentication JWT from Cotter to ensure that unauthenticated users cannot access this endpoint, and then uses the Airtable API library to update the Complete field to true. Also notice that at the top, we specified the Sequin proxy URL as the API’s endpointUrl. This routes requests through Sequin to keep your Postgres database up-to-date at the same time as the Airtable base.
Next, you need a checkbox in your template and a method to call the new endpoint from the frontend. Add this method to your Home component before the return statement:
…
    // Allow clients to mark a project as complete
    const markProjectComplete = async (e) => {
        const completeProjectId = e.target.value;
        setClientProjects(clientProjects.map(project => {
            if (project.id === completeProjectId) {
                project.complete = true;
            }
            return project
        }));

        const token = localStorage.getItem("ACCESS_TOKEN");
        await fetch("/api/projects/" + completeProjectId, {
            headers: { Authorization: `Bearer ${token}` },
            method: "PUT",
        });
    };
…
Finally, add this paragraph just below your due date inside the loop that displays all your clients’ projects in the same file:
…
<p><input type="checkbox"
    name="complete"
    value={project.id}
    onChange={markProjectComplete}
    disabled={project.complete}
    defaultChecked={!!project.complete} /> Project complete</p>
…
Start your Next.js application again and log in at localhost:3000. This time you’ll see a checkbox next to each project. Check one of the records, and you’ll see that the checkbox will be disabled. This prevents clients from approving the same project multiple times, but of course, you can modify this behavior to fit your use case.

To make sure the synchronization works, go to your Airtable base to see if the record has been synced yet. If you’re fast, you can see Airtable marking the project complete in the base.

Next Steps
In this tutorial, you’ve seen how to build a flexible, scalable client portal on top of Airtable. You used Sequin to replicate your data to Postgres, Cotter to authenticate users via email, and Next.js to build a frontend with two serverless endpoints.
As you adapt this demo to your use case, you might consider adding pages for each project so that clients can see more details about each of them. Or you might connect multiple emails to each client to allow different stakeholders to get access to their portal. You could even integrate Stripe to allow clients to make payments directly in your custom portal.
Many thanks to Karl Hughes for contributing this tutorial for Sequin. Karl is a former startup CTO and the founder of Draft.dev


Top comments (3)
Hey @thisisgoldman , great tutorial! However, I'm having a bit of a problem with the react project. After signing in with my email, I'm presented with this error:
1 of 1 unhandled error
Unhandled Runtime Error
SyntaxError: The string did not match the expected pattern.
Call Stack
json
[native code]
promiseReactionJob
[native code]
On the command line end, it sends:
I am sure that my
.env.localfiles are correct.-L
Hey @gizmotronn -- that looks like a Postgres error, trying to connect to a local database as opposed to a Sync Inc-hosted one. Did you point
PG_CONNECTION_STRINGto a Sync Inc database?Always been curious of Airtable, tho never tried it for anything 😄
Same would go for Rust 😄😄