
In any complex web application, it is necessary to have some sort of authentication to restrict certain users from accessing specific, unauthorized pages. For example, in an online shopping platform, a customer should not be able to access an administrator’s page.
We need to implement such authentication for the routes in our apps. This article will go through route protection in Angular and a step-by-step guide on implementing it using the CanActivate interface.
Route protection in Angular
Route protection helps us in front-end frameworks to authorize a route before it’s activated. Angular supports route protection via route guards.
A route guard validates a route and activates it only if authorized. Angular allows you to authorize parent routes and child routes individually.
CanActivate
Out of the box, Angular supports the CanActivate interface to authorize parent routes. This interface is implemented by a class that determines whether the router can activate the route or not.
The following snippet shows the CanActivate interface.
interface CanActivate {
  canActivate(
      route: ActivatedRouteSnapshot,
      state: RouterStateSnapshot
  ): Observable<boolean | UrlTree> | Promise<boolean | UrlTree> | boolean | UrlTree
}
A class that implements the interface must provide the implementation for the method canActivate(). It provides access to two parameters:
- route: It contains the information about the route associated with the component loaded in the router outlet.
- state: It includes information on a tree of activated route snapshots.
You can use these parameters to authorize routes across your application. Therefore, when building applications that require route protection, you have to implement the CanActivate interface.
Implementing route protection in Angular
Previously, we looked at how the CanActivate interface works, so let us now implement route protection in Angular and put the CanActivate interface into action.
Step 1: Creating an Angular project.
Let’s create a new Angular project. To do so, make sure you have installed the Angular CLI by executing one of the following commands.
#For Windows users
npm install -g @angular/cli
#For MacOS/Linux users who have to give root privileges
sudo npm install -g @angular/cli
Afterward, create a new project by running the following command.
ng new AngularRouteProtection
After creating the project, navigate to the project directory and run the next command to launch the development server and launch the app.
ng serve --open
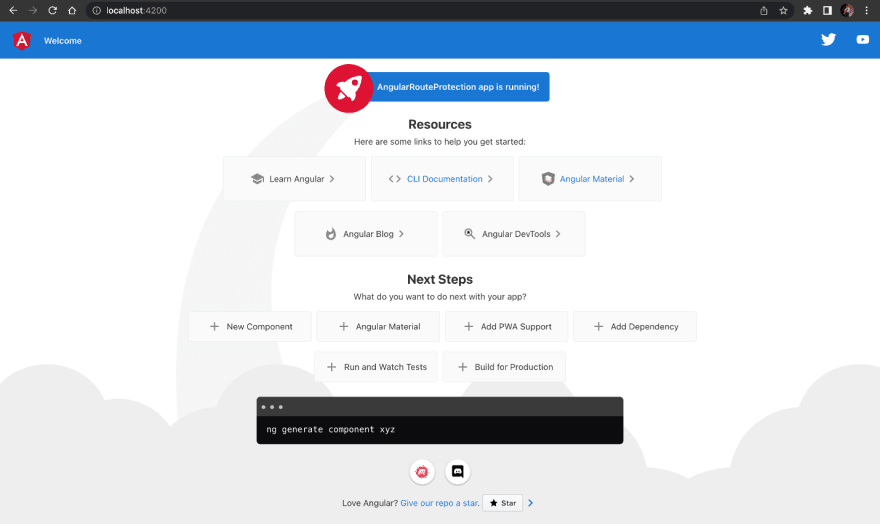
You should see the output in the following image if you completed these steps successfully.
Step 2: Creating page-level components and defining routes.
Creating the components
First, create a directory inside the app directory and name it components. It should look as follows.
src
|-app
| -components
Next, declare three page-level components that can be accessed using the router.
To do so, use this command.
ng g c <<COMPONENT-NAME>>
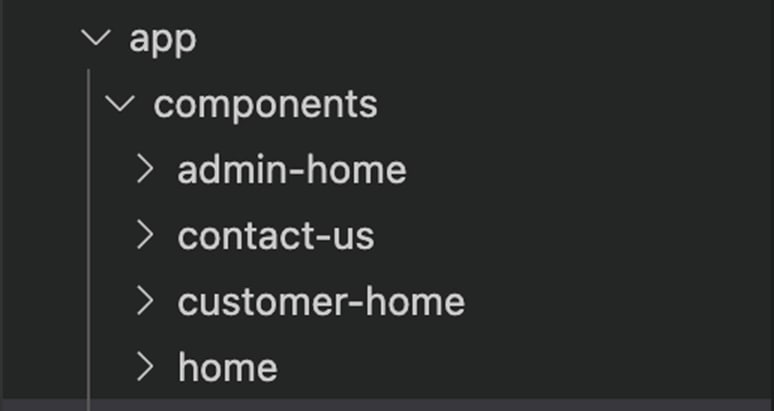
I will create four components: AdminHome, CustomerHome, ContactUs, and Home using the previous command.
Defining the routes
Next, set up the router module to use the router outlet to access routes.
Navigate to the directory – src/app and create a file called app-routing.module.ts.
To define application routes, we must configure the AppRoutingModule. Add the following code to the new file.
import { NgModule } from "@angular/core";
import { RouterModule, Routes } from "@angular/router";
import { AdminHomeComponent } from "./components/admin-home/admin-home.component";
import { ContactUsComponent } from "./components/contact-us/contact-us.component";
import { CustomerHomeComponent } from "./components/customer-home/customer-home.component";
import { HomeComponent } from "./components/home/home.component";

const routes: Routes = [
 {
   path: 'admin',
   component: AdminHomeComponent
 },

 {
   path: 'customer',
   component: CustomerHomeComponent
 },

 {
   path: 'guest',
   component: ContactUsComponent
 },

 {
   path: 'home',
   component: HomeComponent
 },

 {
   path: '',
   redirectTo: '/home',
   pathMatch: 'full'
 }

];

@NgModule({
 imports: [
   RouterModule.forRoot(routes)
 ],

 exports: [RouterModule]

})

export class AppRoutingModule { }
After configuring the router module, we should import it into the AppModule so that the Angular app is aware of the routes. We can achieve this by importing the AppRoutingModule to the AppModule.
import { NgModule } from '@angular/core';
import { BrowserModule } from '@angular/platform-browser';

import { AppComponent } from './app.component';
import { AdminHomeComponent } from './components/admin-home/admin-home.component';
import { CustomerHomeComponent } from './components/customer-home/customer-home.component';
import { ContactUsComponent } from './components/contact-us/contact-us.component';
import { AppRoutingModule } from './app-routing.module';
import { HomeComponent } from './components/home/home.component';

@NgModule({
 declarations: [
  AppComponent,
  AdminHomeComponent,
  CustomerHomeComponent,
  ContactUsComponent,
  HomeComponent
 ],

 imports: [
  BrowserModule,
  AppRoutingModule // import the configured Router to the AppModule
 ],

 providers: [],
 bootstrap: [AppComponent]
})

export class AppModule { }
Finally, to access the routes, provide an outlet. Navigate to the app.component.html , clear the generated content, and add the following code to your file.
<router-outlet></router-outlet>
Afterward, reload your application and navigate to localhost:4200. It will redirect you to localhost:4200/home and show the screen like in the following screenshot.
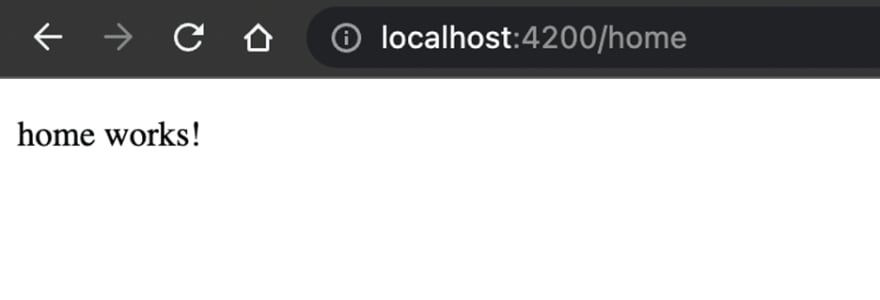
Likewise, you can navigate to Contact Us, Admin Home, and Customer Home.
As you can see, we can access all of these routes without requiring any authorization. Let’s look at how we can provide authorized access to these routes.
Step 3: Defining the implementation of the CanActivate interface.
Create a new directory called guards in the app directory, as shown.
src
 |-app
  |-guards
Next, create a guard using the command.
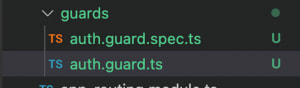
ng g guard Auth
It will prompt you to pick the guard required, so make sure to select CanActivate.

It will create the guard, as shown in the following image.
To implement route protection on parent routes, open the auth.guard.ts.
Initially, you will see this code.
import { Injectable } from '@angular/core';
import { ActivatedRouteSnapshot, CanActivate, RouterStateSnapshot, UrlTree } from '@angular/router';
import { Observable } from 'rxjs';

@Injectable({
 providedIn: 'root'
})
export class AuthGuard implements CanActivate {
 canActivate(
 route: ActivatedRouteSnapshot,
 state: RouterStateSnapshot): Observable<boolean | UrlTree> | Promise<boolean | UrlTree> | boolean | UrlTree {
   return true;
 }

}
This snippet shows the class implementing the CanActivate interface. We can see that the canActivate method initially discussed in this article is implemented by the class.
The method body initially returns true, indicating that all guard routes have access. To block a route from being accessed, the guard must resolve to false.
There are two ways to authorize routes in the guard:
- Access the user information in the local storage.
- Perform an asynchronous HTTP request to validate user information.
This is why canActivate allows developers to return an Observable or a Promise of type Boolean.
I will resolve a Boolean for demonstration purposes to authorize the route.
Adding authorization logic to the guard
First, we need a way to simulate a logged-in user. I will hardcode a user object in the AuthGuard, but you can inject your user service into the AuthGuard (after all, it is a class) and fetch the information for the logged-in user.
// hardcoded user data.
const loggedInUser = {
 id: '1zx-casd123-asdzxc132',
 name: 'Lakindu Hewawasam',
 role: 'customer'
}
Afterward, we can add the logic for canActivate. The updated guard is shown.
import { Injectable } from '@angular/core';
import { ActivatedRouteSnapshot, CanActivate, Route, Router, RouterStateSnapshot, UrlSegment, UrlTree } from '@angular/router';
import { Observable } from 'rxjs';

// hardcoded user data.
const loggedInUser = {
 id: '1zx-casd123-asdzxc132',
 name: 'Lakindu Hewawasam',
 role: 'customer'
}

@Injectable({
 providedIn: 'root'
})
export class AuthGuard implements CanActivate {

 // inject the router service to allow navigation.
 constructor(private router: Router) { }

 canActivate(
 route: ActivatedRouteSnapshot,
 state: RouterStateSnapshot): Observable<boolean | UrlTree> | Promise<boolean | UrlTree> | boolean | UrlTree {

   const { role } = loggedInUser;

   // provides the route configuration options.
   const { routeConfig } = route;

   // provides the path of the route.
   const { path } = routeConfig as Route;

   if (path?.includes('admin') && role === 'admin') {
   // if user is administrator and is trying to access admin routes, allow access.

     return true;
   }

   if (path?.includes('customer') && role === 'customer') {
   // if user is customer and is accessing customer route, allow access.

     return true;
   }

   if ((path?.includes('guest') || path?.includes('home')) && (role === 'customer' || role === 'administrator')) {
   // if a logged in user goes to Guest or Home, navigate to their respective dashboard.

       this.router.navigateByUrl(role === 'customer' ? '/customer' : '/admin');
       return false;
   }

   // for any other condition, navigate to the forbidden route.

   this.router.navigateByUrl('/forbidden');
   return false;
 }
}
The previous snippet implements a simple authorization flow where administrators can access only admin routes. Customers can access only customer routes. If a logged-in user tries to access an unauthorized route, they will be redirected to their home page.
The return true in the previous snippet indicates that the route can be activated, while false means that the route will not be activated.
You can come up with your route activation logic for your application.
Step 4: Declaring the forbidden route.
If you look closely at the canActivate snippet, you can see we redirect a user to “/forbidden” when all conditions fail. We should declare this route along with a component.
I will generate a new component in the components directory by executing the next command.
ng g c Forbidden` |
The route is added to the app-routing.module.ts as shown.
// route object to add to the app-routing.module.ts
{
   path: 'forbidden',
   component: ForbiddenComponent,
},
Step 5: Binding the CanActivate guard to the route.
The last thing left is to bind the CanActivate guard to the routes.
To do so, open the app-routing.module.ts. Each parent route accepts a key named canActivate. This key accepts an array of CanActivate guards. This means that you can apply multiple guards. (Note that the guards are executed in the order that you add them in the array.)
The following snippet shows the AuthGuard added to the components.
const routes: Routes = [{
      path: 'admin',component: AdminHomeComponent,canActivate: [AuthGuard]},
  {
      path: 'customer',component: CustomerHomeComponent,canActivate: [AuthGuard]},
   {
       path: 'guest',component: ContactUsComponent,canActivate: [AuthGuard]},
   {
       path: 'home',component: HomeComponent,canActivate: [AuthGuard]},
   {
       path: 'forbidden',component: ForbiddenComponent,},
   {
       path: '',redirectTo: '/home',pathMatch: 'full'
   }
];
Afterward, save all your changes and recompile the application.
You will be redirected to the customer’s home page when you launch the app as you are already logged in (with the hardcoded user). If you try to access the administrator home page, you will see the “forbidden” message, indicating that the guard is up and running and protecting our routes.
Resource
For more information, refer to the code example in the Route Protection in Angular Using CanActivate GitHub demo GitHub repository.
Conclusion
This article looked at why you need route protection in web apps, along with an in-depth walkthrough on implementing route protection using the Angular CanActivate guard.
I hope that you found this article helpful. Thank you for reading.
Syncfusion’s Angular UI component library is the only suite you will ever need to build an app. It contains over 65 high-performance, lightweight, modular, and responsive UI components in a single package.
For existing customers, the newest Essential Studio version is available for download from the License and Downloads page. If you are not yet a Syncfusion customer, you can try our 30-day free trial to check out the available features. Also, check out our demos on GitHub.
For questions. you can contact us through our support forums, support portal, or feedback portal. We are always happy to assist you!

Top comments (0)