
This blog explains adding a Blazor WebAssembly project to an existing ASP.NET Core application. For this demo, we’ll use the Syncfusion Blazor Query Builder component.
What is Blazor?
Blazor is a single-page app framework for building websites with HTML, CSS, and C# code. It is used to create rich, interactive UIs using C# instead of JavaScript and can execute Razor views on the server and client to present HTML content in the browser.
What is WebAssembly and how does it work?
Blazor WebAssembly (WASM) is a single-page app framework for building interactive client-side web apps with .NET, and it works in all web browsers. .NET WebAssembly-related code and its dependencies, such as C# and Razor files, are compiled into .NET assemblies that can be downloaded and executed directly on the browser. It is maintained in a bytecode format for fast download and maximum execution speed, and it can access the features of the browser via JavaScript, which is called JavaScript interoperability. For more details, refer to this Microsoft documentation.
How to create a Blazor WebAssembly project
A Blazor WebAssembly project can be created by following these steps.
Note: For more details, refer to the Tooling for ASP.NET Core Blazor article.
Step #1: First, download and install the latest version of Visual Studio 2022 with the ASP.NET and web development workload.
Step #2: Then, open Visual Studio 2022 and select Create a new project. 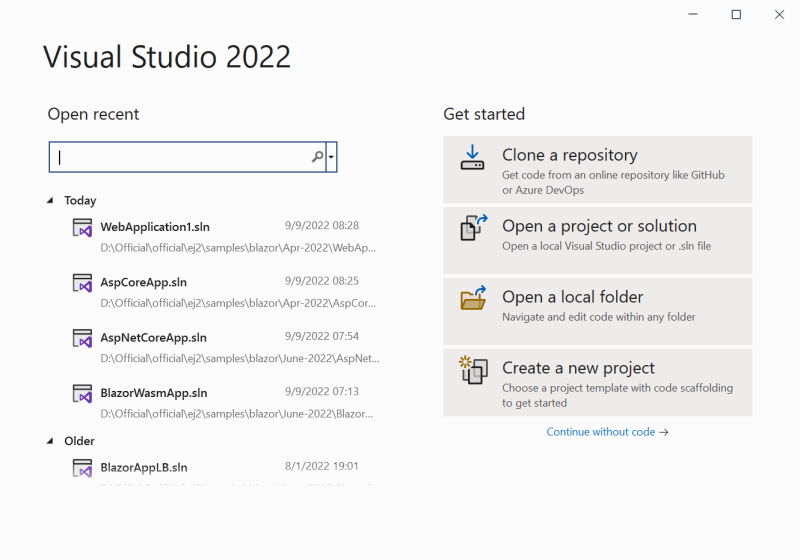
Step #3: Select Blazor WebAssembly App from the template list and click Next to configure the project. 
Step #4: The project configuration window will pop up now. Provide the requested details and click Next. 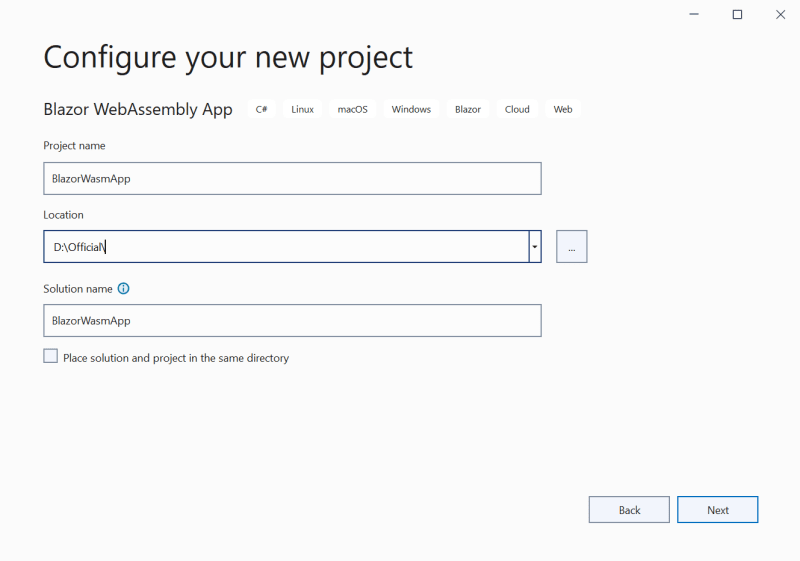
Step #5: Select a target framework and click Create to create a WebAssembly app. 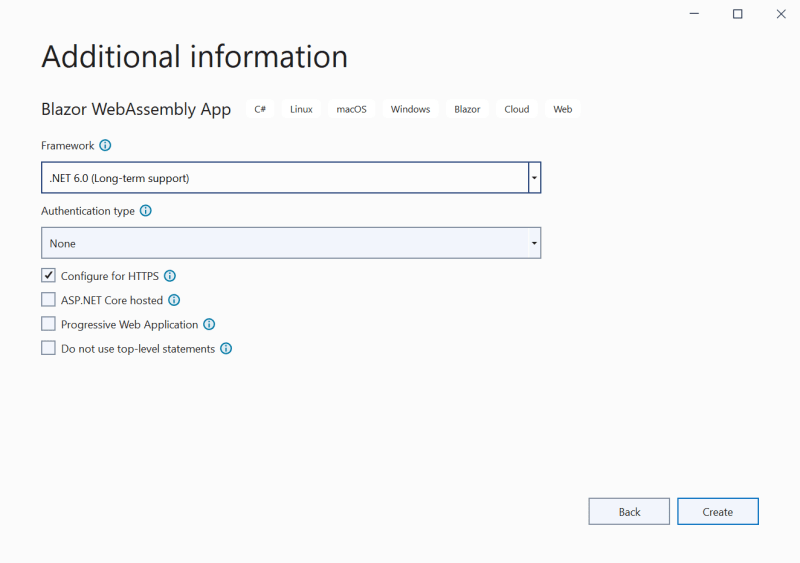
Now, the Blazor WASM application will be created, and the application structure will look like the following image. 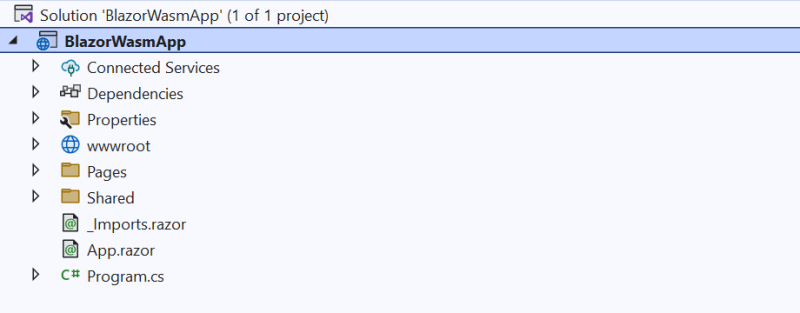
Adding the Syncfusion Query Builder to the WebAssembly project
To add the Syncfusion Blazor Query Builder to the app, we must first configure the Syncfusion NuGet package. If you are new to this, we advise that you go through our get started document.
Add the Blazor WebAssembly project to an ASP.NET Core application
Integrate the Blazor WebAssembly project into an ASP.NET Core application with the following steps.
Step #1: Open an existing ASP.NET Core application. 
Step #2: Open the .csproj file of the ASP.NET Core application. Then, add the following configurations in the .csproj file.
<Project Sdk="Microsoft.NET.Sdk.Web">
 <ItemGroup>
  <PackageReference Include="Microsoft.AspNetCore.Components.WebAssembly.Server" Version="3.2.1" />
 </ItemGroup>
 <ItemGroup>
  <ProjectReference Include="..\..\BlazorWasmApp\BlazorWasmApp\BlazorWasmApp.csproj" />
 </ItemGroup>
</Project>
Step #3 : Add the Blazor WebAssembly project to the ASP.NET Core solution by right-clicking the app’s solution, then Add-> Existing Project. 
Step #4: Next , open the Program.cs file and add the following code to it.
var builder = WebApplication.CreateBuilder(args);

// Add services to the container.
if (app.Environment.IsDevelopment())
{
    app.UseWebAssemblyDebugging();
}
app.UseBlazorFrameworkFiles();
app.MapFallbackToFile("index.html");
//app.MapRazorPages(); // Remove this line.
app.Run();
Step # 5: By default, the favicon.ico file is created in the WebAssembly project and the ASP.NET Core application. This causes a conflict when publishing. To fix this, delete one of the files.
Refer to the following image. 
Step #6: Finally, run the sample. We’ll get output like in the following image.

GitHub reference
To see the example for this integration, go to this GitHub page.
Conclusion
Thanks for reading! This blog post explored the step-by-step process of integrating a Blazor WebAssembly project into an existing ASP.NET Core application. We hope that the information provided here has met your expectations. We encourage you to leave your valuable feedback in the comments section below!
If you are an existing customer of Essential Studio, you can access the latest version on the License and Downloads page. For those new to Syncfusion, we invite you to try our 30-day free trial and explore the wide range of features we offer.
If you have any questions, please do not hesitate to contact us through our support forums, support portal, or feedback portal. We are always here to help you!


Top comments (0)