This is one of the methods to create a Maven project. But in this rather than creating a project outside Eclipse and then importing it to Eclipse, we will directly create a maven project into Eclipse.
Step 1: Open your Eclipse and Go to File > New > Others.

Step 2: Select Maven Project and click on Next.

Step 3: Un-check the 'Use default Workspace location' and with the help of the Browse button choose your workspace where you would like to set up your Maven project.

Step 4: Select the archetype, for now just select the 'maven-aechetype-quickstart' and click on Next.

Step 5: Enter the Group Id & Artifact Id and click on Finish button.

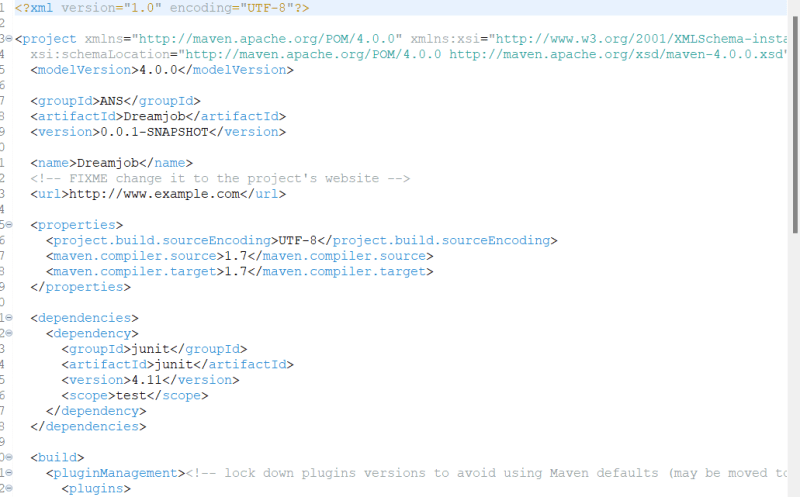
Step 6: Go to the project location to see the newly created maven project. Now open the pom.xml file, which resides in the project folder. By default the POM is generated as below screenshot:
Step 7: Look at the default folder structure of the Maven project.

Step 8: Modify POM.xml with the latest Junit and other required dependencies and save the POM.xml

Top comments (0)