Images are currently not hosted on Blogody, which means they need to be stored on external cloud providers. This is exactly what many users are used to as they already store their images in the cloud and are not interested in moving them somewhere else.
You simply add a public link of your image and it gets embedded in your article. However, if you want to add an image that’s only locally available on your computer, you can’t just upload it to Blogody. You must upload it to your cloud storage first.
I am currently working on a new feature that will allow uploading images directly to Blogody. This will open exciting new possibilities for image transformations, optimizations and SEO.
This article focuses on how to best work with images in Blogody today and I’d like to start with the easiest way to add images by using the integrated Unsplash image library.
Add free Unsplash images
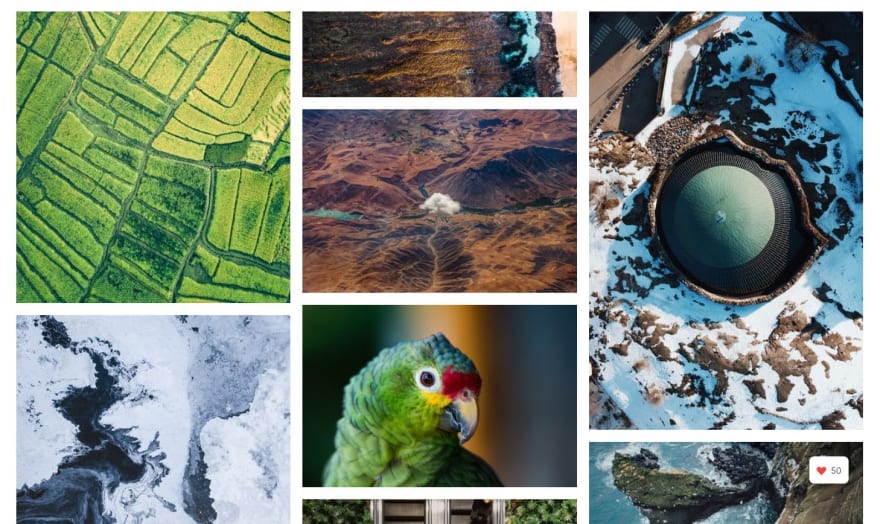
An Unsplash widget has been integrated into the Blogody editor that you can reach over the side-menu. Unsplash provides a stunning library of free images that are hosted on their own CDN for fast image loading speeds. See how easily you can embed new images:
The keyword search makes it easy to find images for almost any topic that you can think of. It’s really a professional tool - and once you watch out for the image attribution line at even the most reputable newspapers worldwide, you’ll see that many of them use exactly the same image library for their top news stories. You are definitely in good company!
Adding images with public URLs
While Unsplash gives you access to a wide variety of images, you may also want to to add images of your own. A screenshot you made, an image from your camera or one that you purchased from another image library such as istockphoto.
If these images are already accessible over a public URL (e.g. https://.../image.png), you can embed those right here in Blogody. There are a couple of different ways to do it — choose the method that feels most suitable for you.
Copy & Paste Image Link
If you have an public image link copied to your clipboard, you can add it over the side-menu by clicking the image icon, pasting the link and pressing enter. Here is an example with the following link: https://picsum.photos/seed/picsum/750/500 from another interesting image service that you can use to test it.
Drag & Drop images
Let’s say you have a website where your public image is already published and you want to embed an image from that site into a new article that you author in Blogody. In this case, I like to open another browser window and simply drag and drop the image to Blogody. See how it works in the following screencast.
Notice the different cursors? You can only drop the image when you see a cursor popping up when you hover your dragged image.
A really cool feature that you’ll love once you know how to use it is the so called gap cursor.
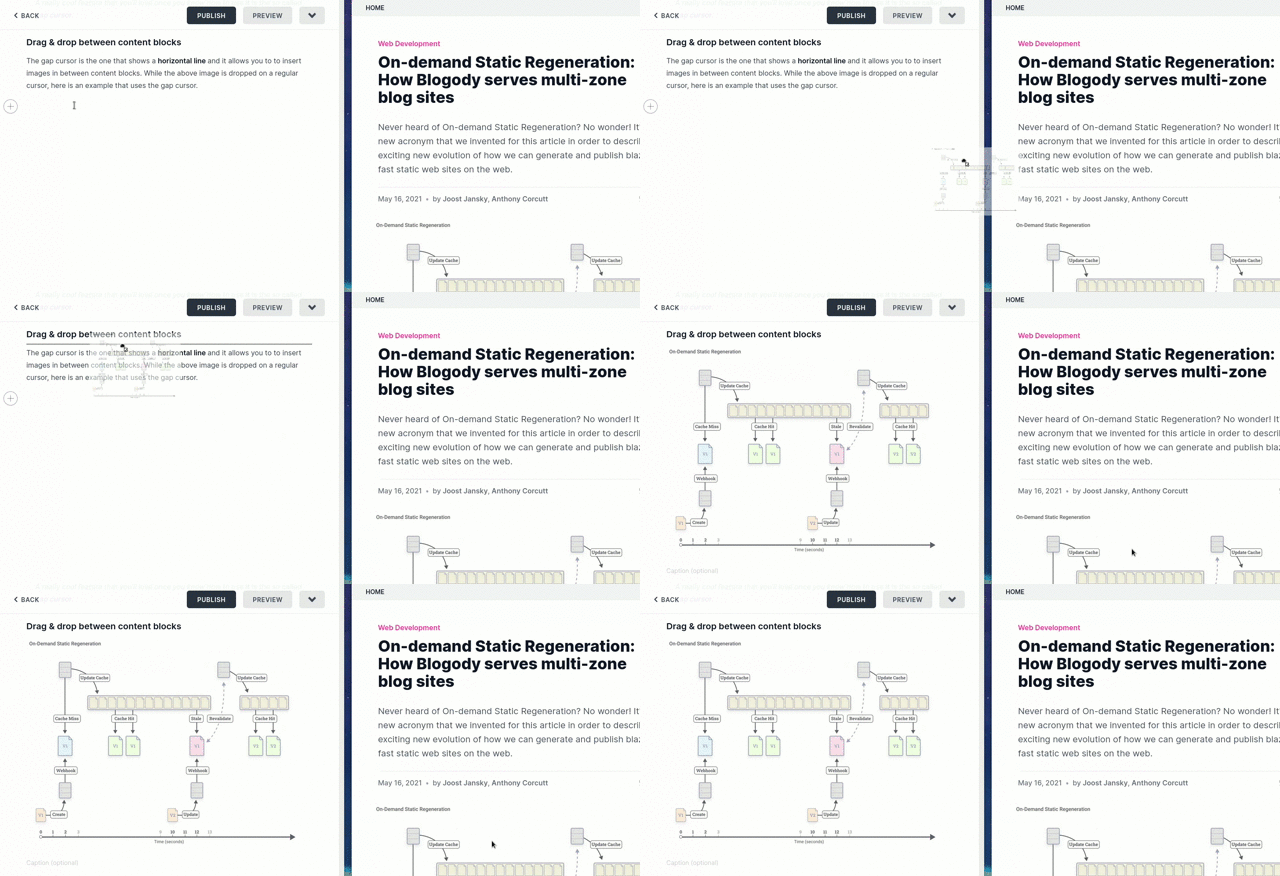
Drag & drop between content blocks
The gap cursor is the one that shows a horizontal line and it allows you to to insert images in between content blocks. While the above image is dropped on a regular cursor, here is an example that uses the gap cursor. Watch how to insert the image between the title and the paragraph although there is no empty line in between.
Copy & Paste images directly
If a website lets you select an image, you can usually copy the image directly (without copying the image link). All methods presented here also work within the Blogody editor. So I can showcase it directly here.

Pro Tip: Use
Ctrl + candCtrl + vto copy/paste for a faster alternative to using the above shown right-click context menus.
The direct copy/paste feature is not exclusive to images. You can actually copy/paste entire articles — including images — from other content editors or websites directly into Blogody.
Image Cloud Providers
All methods shown above have one thing in common: your image is already publicly available. A screenshot that you make on your computer or mobile, unless automatically synced with your cloud store, is usually not publicly accessible. Even if your images are already stored in the cloud, access restrictions are usually in place, so that it cannot be accessed publicly. Most providers allow you to generate public image URLs or create a public image folder.
Just in case you do not yet have your images in the cloud or have trouble making them publicly accessible, I am going to show the general workflow with one image provider that I use. There are many other options available, so please take some time before deciding which one you want to settle with. Here are some high level criteria you may want to consider:
- reliability and reputation of the provider
- speed and distribution of CDN (make sure images reside on a CDN)
- costs (may not be easy to calculate)
Let’s start by making a screenshot, save it to the local disk and upload it to Cloudinary, the image provider that I chose for this demo.
Cloudinary image service
I am going to make a screenshot of my GitHub contribution graph, not very exciting but enough to demonstrate uploading images to Cloudinary. So the steps are as follows:
- make a screenshot and save it to local disk (not shown)
- upload the image to Cloudinary
- copy public image link into Blogody
Thus, there is an extra step compared to the previous methods: uploading the image to the cloud provider. In addition to the public URL, Cloudinary gives you a fast CDN and a rich set of transformation tools. That in itself might be worth checking out.
Final notes
Congrats for following through this guide about working with images in Blogody 🎉. The most important take-away is that your images must be publicly available before you can add them to your posts or pages in Blogody.
As mentioned above, a new image upload feature is in the pipeline and it will make adding local images much easier. Nonetheless, hosting images with an image cloud provider may still be of interest to you as it can be a great way to store, organize and enhance your images.
Anything you want to share with me about your experience when it comes to working with images? Just use the Feedback button in Blogody and shoot me a message.
This post was originally published at Blogody News on September 17, 2021.


Top comments (0)