Proudly introducing Jamify: A modern tool-set for publishing flaring fast blogs with Gatsby and Ghost. Start here to learn how Jamify enables you to deliver content at stellar speeds and why it makes your site more secure. Surely, you'll love its amazing flexibility. Join the Jamstack hype here!

As much as Jamstack is a movement with a collection of best practices and workflows that result in high-speed websites, Jamify is an active member and promoter of this movement. More specifically, Jamify is tailored towards bringing all the Jamstack benefits to your blog publications when sourced from a headless Ghost CMS:
- Achieve the fastest site speeds from anywhere around the globe
- Obtain sites that are resilient to heavy traffic and more secure
- Be amazed by the flexibility it brings to your development teams
- Simplify content delivery with git centred workflows that rock
Although Jamify constitutes software, it is much more a tool-set embracing workflows and best practices. It is a new way to assemble, build and optimize your site so it can be pushed to the edges of the global internet network – ready to be instantly served to your audience.
Start your first JAM session
The best way to learn Jamify is to dive right in. You'll apply the skills you already have, but use them in different ways as before. For this first session all you need is a terminal, a web browser and an internet connection.
The instructions in this guide have been tested on Linux. If you are using Windows it is recommended to install the Windows Subsystem for Linux (WSL) and use Ubuntu 20.04 LTS.
Prerequisites
Let's get started quickly and install some needed software packages. Most likely you have them already running on your system, but it doesn't hurt to check if they are up-to-date. Please install or update Node.js so that you have a version at least greater than 10. For this demo I use version 12:
$ node -v
v12.16.2
Node comes bundled with the package manager npm. Make use of it right away and install two node packages that we will use extensively from here on:
$ sudo npm -g install yarn gatsby-cli
As mentioned earlier we use the git version control system here. You can use the package manager of your distro to install git or follow the instructions given on the Git website. Here is the version I'm currently using:
$ git --version
git version 2.21.1
Let's start jamming!
Use git to download the Jamify starter and place all files into an automatically created folder named jamify-starter:
$ git clone https://github.com/styxlab/gatsby-starter-try-ghost.git jamify-starter
Change into this work directory, which is the base directory for all demos in this guide.
$ cd jamify-starter
Let's pause here – to introduce you adequately to the software you've just downloaded. The Jamify starter is a static site builder based on Gatsby which is an amazing tool-set for building blazing fast sites with React.
Thus, the Jamify starter is a Gatsby starter that focuses primarily on one specific use case:
Publishing flaring fast blogs from a headless Ghost CMS.
Now it's time to see that in action. First, we need to load all dependencies into the jamify-starter:
[jamify-starter]$ yarn
It may take a couple of seconds to fetch all packages, but this only needs to be done once.
Build preview
Watch out as you are going to build your first static site with Jamify:
[jamify-starter]$ yarn develop
This command initiates the development build process and produces an unoptimized preview that you can view in your browser.
Go to http://localhost:8000 to see a fully working preview!


Without any additional configuration, the Jamify starter sources in a Ghost Demo page with the standard Capser 3 look and feel.
Noticed the dark mode button at the top right corner? This feature has been added by a plugin that enhances the theme!
Deploy the Jamify starter
During development you'll spent most time in this unoptimized mode, where changes are typically quickly made available through hot-reloading. But ultimately, you want to deploy your site to a publicly available Content Delivery Network (CDN).
It's really important that you go with a provider that has an excellent reputation in doing the CDN part right, because that's what your static site is optimized for. Some of the well-known options are Cloudflare, Firebase and Netlify. In another tutorial, we will explore the overwhelming choice of hosting providers, here I prefer to keep it simple.
Deploy to Netlify
For this demo, I'm going to pick Netlify because they are strong on the Jamstack. In fact, they coined the term and are on the forefront of this movement. Make sure to have their cli-tool installed:
$ sudo npm -g install netlify-cli
and do the login from the command line:
[jamify-starter]$ netlify login
This command opens a browser window and takes you to their login page. Login success is also reported on the command line.
You used yarn develop before which is intended for development but not for production. This time, issue the the build command:
[jamify-starter]$ yarn build
to generate optimized static files. You'll find them in the public/ directory. The final command does the actual deploy:
[jamify-starter]$ netlify deploy --prod
As this is a new project, you'll need to answer a couple of questions:

A successful build will show a thumbnail preview of your start page.

You can now reach your site on the shown publicly available internet address, for this demo:
Cool! Believe it or not, your site is now running on a flaring fast CDN. Plus, your site is even SSL secured. Check out Netlify's documentation on custom domains which explains how you can connect from other domain names to this new address.
Let's keep this site open for the next part until we finally tear everything down again.
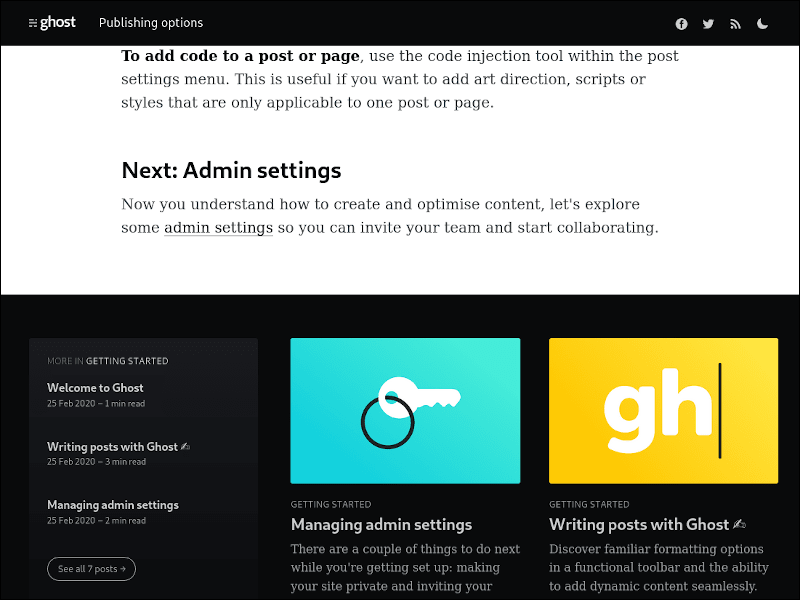
Source your own content
I'm sure you came here to publish your own content. Let's do that! You need to access Ghost headless CMS through the Content API. The API authenticates requests with a token key that you first need to generate.
If you are not running your own headless Ghost CMS yet, you can find all needed instructions in the Ghost CMS on Hetzner Cloud tutorial.
Content API Key
Obtained a key by creating a new Custom Integration under the Integrations screen in the Ghost Admin panel:

Only the API URL and the Content API Key are relevant for us here. The admin key is reserved for changing posts and other administrative tasks. As you can see from the above picture, I set up an example blog under https://cms-jamify.gotsby.org.
Providing Keys to Jamify
Once you give your Jamify site your API keys, it will be happy to unlock your content to prep it for rocket speeds. You can provide the keys with two different methods. Either you populate environment variables or you put the keys in a special file called .ghost.json (2 dots!).
For this demo, I am going to pick the file approach and generate a new empty file in the work directory with the following command:
[jamify-starter]$ touch .ghost.json
This file is initially not present in the jamify-starter, and an absent .ghost.json leads to sourcing in the demo site.
A principle that Jamify always tries to adhere to: Do not require configuration to get started and only asks for new configuration, if something new can be achieved with it.
Open .ghost.json with your favourite editor and provide the content API keys in the following JSON format:
{
  "development": {
    "apiUrl": "https://cms-jamify.gotsby.org",
    "contentApiKey": "e5e630bdbbf0a09dd0f7980c84"
  },
  "production": {
    "apiUrl": "https://cms-jamify.gotsby.org",
    "contentApiKey": "e5e630bdbbf0a09dd0f7980c84"
  }
}
This is your turn: Substitute the apiURL and contentApiKey values with your own content API key values.
Although
.ghost.jsonkeys are not considered super secret – everyone can access your content once published – it is good practice not to upload these keys to a public repository!
Build & Deploy
Everything is familiar to you now – rebuild and publish as we have done before:
[jamify-starter]$ yarn build
[jamify-starter]$ netlify deploy --prod
With different content, pay attention to the build messages that flicker down your screen. You can see which assets are sourced in and which stage of the build process has been completed.
After the Netlify deploy, you can access your newly built site! This demo was once shortly available under https://jamify-demo.netlify.app:

If you followed the guide as instructed, you should see your own content here instead.
Tear down
As this is just a demo and I do not want to consume resources that I don't need, I am going to remove the site from Netlify. First I need to get an identifier:
[jamify-starter]$ netlify sites:list

jamify-starter - 56c54523-c248-4666-9f26-92c139aa2838
  url: https://jamify-starter.netlify.app
  account: styxlab's team
which is needed for the delete command:
[jamify-starter]$ netlify sites:delete 56c54523-c248-4666-9f26-92c139aa2838
You can also do that from the Netlify admin panel, if you prefer that over the command line.
Summary
Congrats for completing this guide! 🥂 I hope you had fun moving through this first JAM session! From preparing a minimal development environment to publishing your own content on a global content delivery network, you've come a long with very little effort.
There is so much more you can do with Jamify! Head over to one of the other tutorials to learn more about it. See you jammin' soon!
This post was originally published at jamify.org on May 19, 2020.

Top comments (0)