
In most application scenarios, a frontend application produces logs that need to be collected and managed centrally. This is very helpful for being notified when an error occurs or for troubleshooting bugs.
The market offers many tools that centrally collect logs and let you manage them in a suitable container to support this process. Unfortunately, most of these services require paid subscriptions.
Moreover, for a small project, adding a layer like this can be overkill. But what about using Strapi as a backend for logging management? This way, you will have your log integrated into your Strapi backend without any additional cost.
This article explains how to configure Strapi to act as a backend for collecting logging and showing them to the developers. The result of this step-to-step guide is a replicable solution for ingesting logs from any frontend application and the javascript code for connecting.
So, let’s jump into the article.
Outline
- Introduction
- Install Strapi
- Configure the Strapi backend
- The javascript library
- Test it on a javascript application
- Conclusion
Prerequisites
Before you can jump into this content, you need to have a basic understanding of the following.
- Basic knowledge of JavaScript
- Docker installed
- Basic understanding of Strapi - get started here.
- Download and install Node.js # Install Strapi
The first step before starting on the core of the tutorial is to install Strapi. You can create an online account or install it locally.
For this tutorial, it's equivalent. We will embrace the local installation option for giving you a single repo with source code that can be activated and tested locally with ease (link to the source code at the bottom of this article).
The first step is to create a file called *docker-compose.yml* and put this content inside:
    version: '3'
    services:
      strapi:
        image: strapi/strapi
        environment:
          DATABASE_CLIENT: postgres
          DATABASE_NAME: strapi
          DATABASE_HOST: postgres
          DATABASE_PORT: 5432
          DATABASE_USERNAME: strapi
          DATABASE_PASSWORD: strapi
        volumes:
          - ./app:/srv/app
        ports:
          - '1337:1337'
          - '8080:8080'
        depends_on:
          - postgres
      postgres:
        image: postgres
        environment:
          POSTGRES_DB: strapi
          POSTGRES_USER: strapi
          POSTGRES_PASSWORD: strapi
        volumes:
          - ./data:/var/lib/postgresql/data
Then you can type the following command, and the environment will start:
docker-compose up
You will get a confirmation that the application is running in the console:
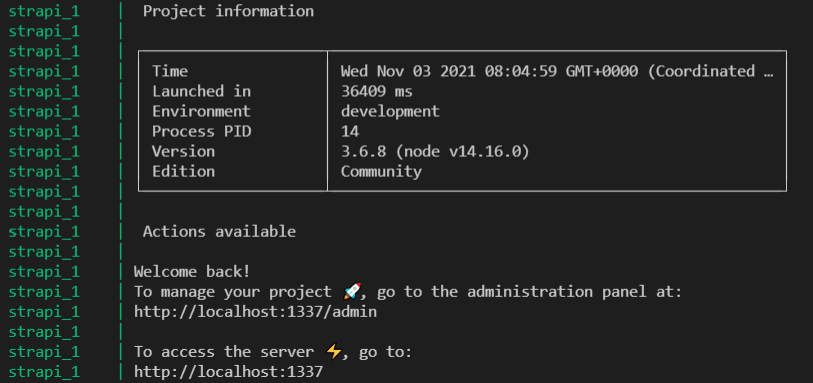
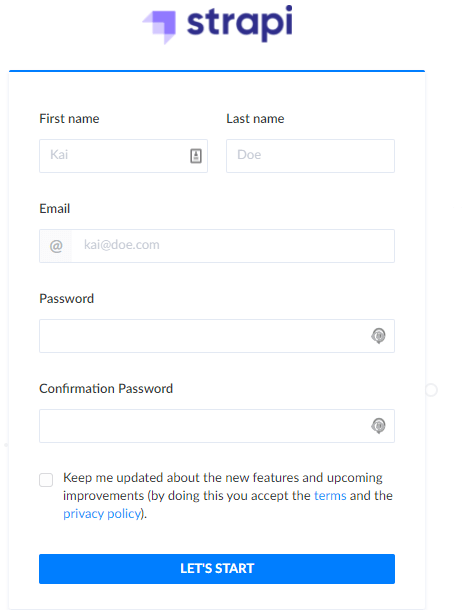
Then you can navigate to http://localhost:1337/admin. Just fill the form with your data and click "Let's start".
Inside the configuration panel, we have to activate some plugins. Just click on the Marketplace icon on the left menu.

Then you can activate the documentation plugin to test the APIs that we will create by clicking the Install button (once you have done this, the button text will change to "Already installed").

Now Strapi is ready to be configured! Let's continue to the next section!
Configure the Strapi backend
In this section, we will see how to configure the Strapi backend for ingesting and storing logs. Of course, like a headless CMS, Strapi can manage every kind of data:
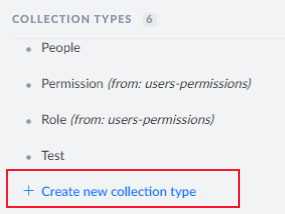
We have to explain how they are made. To do this, we will create a new Content-Type, by clicking the left icon menu "Content-Types Builder".

Then we can create a new content type by clicking "Create new collection type":
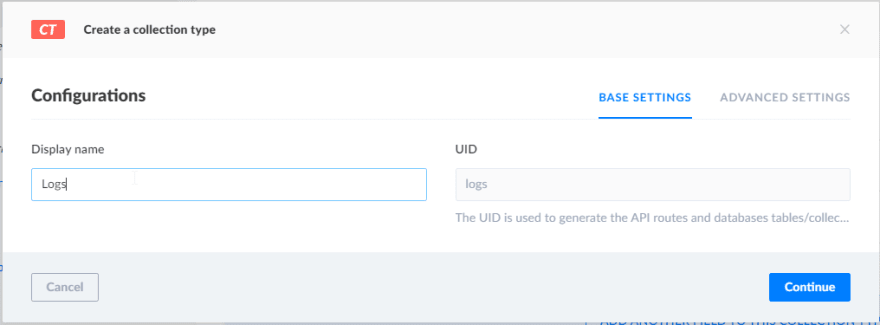
That we will call "Logs", like in the next image.
As you click "Continue," you will be allowed to add new fields to the content type. The first field to add is the "Message" one, which will store the log message. We will store it in a Long text format because we may have huge messages.
The first step is to choose the right type of field, like in the next image.
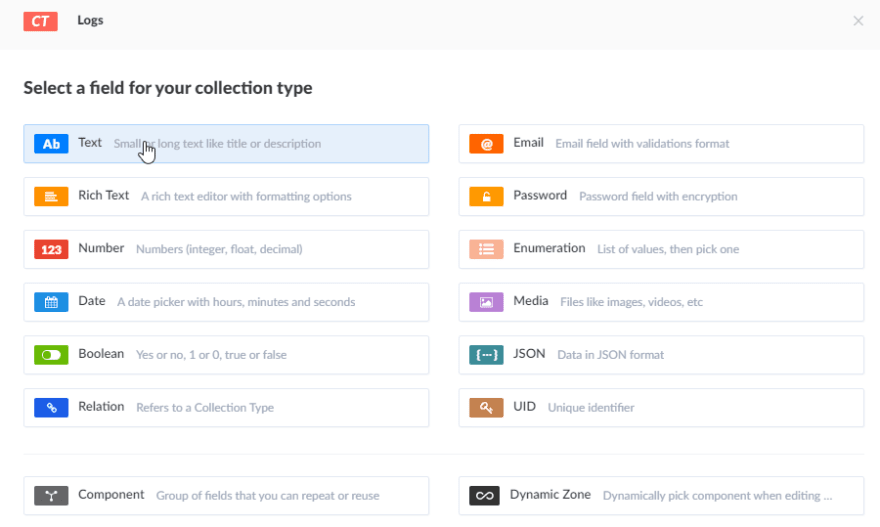
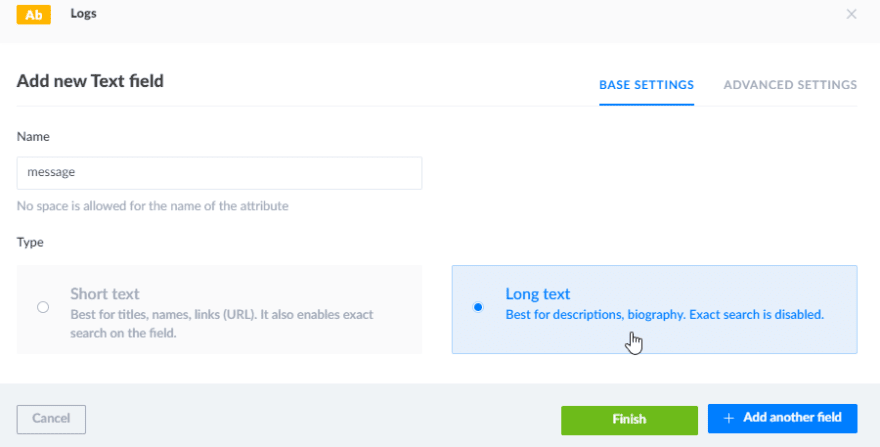
The next step is to set the field data by typing the name and the base settings, like in the next image.
This is just one of the fields we need. For this basic setup, the list of fields are:
- A
message, of type text (the one already added in the previous step) - The
eventDatethat will contain the date of the log - The
eventLevelthat can be INFO, DEBUG, or ERROR - A JSON field called data that will store some additional information
After adding all these fields, the final result should be something like what you see in the next picture.

Another important step is configuring the view to show the most recent logs on top of the list. This can be done easily by editing the view settings like in the next picture. As you can see, we can sort items by date or id descending.

Now we can add logs from the interface manually, but this is not our applicative behavior. We need an external system (our frontend application) to send logs by using APIs. Because we have installed the Documentation plugin, we can click on the "Documentation" item on the left menù and land on the documentation page.
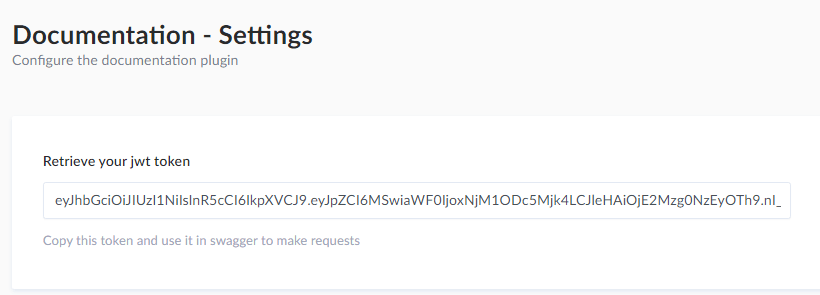
Here we can find a JWT token that we can copy and use later on our app to authenticate web requests.
You can see it in the next picture.
Then, by clicking on "Open the documentation," we will land to the Swagger UI. We can find the "Logs" entity on the list and expand the section, unveiling the Log's APIs like shown in the next picture.

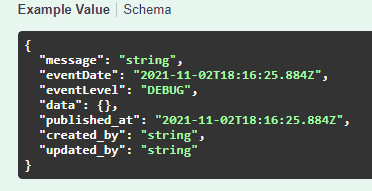
Expanding the POST method, we will see a payload prototype to send to the server to create a new log entry. This payload is shown in the next image.
After this step, the backend configuration is finished. In this section, we have seen how to configure the server-side part of this tutorial, and now it's time to move on to the client-side and configure a sample application for sending logs.
The javascript library
Since we have the backend service set up, we can start focusing on the client part. Well, this will be very easy and will take a few minutes. All the logic can be implemented by overriding the standard console definition.
In the next snippet of code, we can see the full implementation of the class:
    var console=(function(oldCons){
              return {
                  apiToken: "",
                  url: "",
                  httpPost(log){
                    var xmlhttp = new XMLHttpRequest();
                    xmlhttp.open("POST", this.url);
                    xmlhttp.setRequestHeader("Content-Type", "application/json");
                    xmlhttp.setRequestHeader("Authorization", "Bearer "+this.apiToken);
                    xmlhttp.send(JSON.stringify(log));
                  },
                  sendLog(level,input) {
                    var data={}
                    var message="";
                    message=input[0];
                    if(input.length>1){
                      input.splice(0,1);
                      data=input;
                    }
                    var log= {
                          "message": message,
                          "eventDate": new Date(),
                          "eventLevel": level,
                          "data":data
                        };
                      this.httpPost(log);
                      return log;
                  },
                  log: function(...text){
                     var log=this.sendLog("DEBUG",text);
                      oldCons.info(log);
                  },
                  info: function (...text) {
                    var log=this.sendLog("INFO",text);
                    oldCons.info(log);
                  },
                  warn: function (...text) {
                    var log=this.sendLog("WARNING",text);
                    oldCons.warn(log);
                  },
                  error: function (...text) {
                    var log=this.sendLog("ERROR",text);
                    oldCons.error(log);
                  }
              };
          }(window.console));
The library can be easily integrated into every javascript application because it is a simple code snippet with no dependencies. Overriding the console is very smart because every application or framework you have used before is used for logging purposes.
So, just by injecting this class in the frontend application, your backend will start receiving logs. Note that all the methods support multiple input parameters, so you can call logs by sending a message correlated with log data. Some sample usage of the library are listed in the next snippet:
     console.log(msg,{
            "mydata1":"myvalue1",
            "mydata2":"myvalue2"
          });
    //or
    console.error(msg);
Now that the javascript library is ready, we can start integrating it on a real-world application!
Test it on a javascript application
The first step is to create a new application. As the library written in the previous section is plain javascript, we could use any framework. In this example, we used Vue.js. For creating a new application, just run the following commands:
    npm install vue
    vue create hello-world
The command will create an empty application with a single component called "hello world". The next step is to run the application by typing:
npm run serve
The application will be available at the URL http://localhost:8081. Now that the application is up, we have to integrate the library inside the application. We can do that by simply linking the js into the index.html file or copying the code in a script tag of the same file. Then we have to configure the client like in the next piece of code.
    <!DOCTYPE html>
    <html lang="">
      <head>
        ... code omitted for brevity
        <!-- <script src="<%= BASE_URL %>log.js"/>  -->
        <script>
          console.url="http://localhost:1337/logs"
          console.apiToken="my apy token";
          window.console = console;
        </script>
      </head>
      <body>
        .. code omitted for brevity
      </body>
    </html>
Since now, our application will use the console library instead of the standard definition. The final step is to write a component that proves the connection with the backend. We can add to the components/HelloWorld.vue the following template:
    <template>
      <div class="hello">
        <h1>{{ msg }}</h1><br>
          <input type="text" v-model="msg" /> <br><br>
         <button v-on:click="log()">LOG</button> <br><br>
         <button v-on:click="info()">INFO</button> <br><br>
         <button v-on:click="error()">ERROR</button> <br><br>
         <button v-on:click="warning()">WARNING</button> <br><br>
         <button v-on:click="messageWithData()">DATA</button> <br><br>
      </div>
    </template>
Then we can add to the component the following method for cathing the button click events:
    methods: {
        log: function () {
          console.log(this.msg);
        },
        info: function () {
          console.info(this.msg);
        },
        error: function () {
          console.error(this.msg);
        },
        warning: function () {
          console.warn(this.msg);
        },
        messageWithData: function () {
          console.log(this.msg,{
            "mydata1":"myvalue1",
            "mydata2":"myvalue2"
          });
        }
      }
After the code is changed, the application will be automatically reloaded, and you will see the new application running like in the following image:
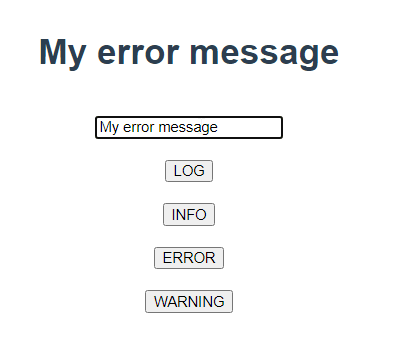
Then, we can play with buttons sending different messages to the server. You can finally go to the Strapi backend and open the logs section. You will see a list of logs, like in the following image.

Then you can enter one of the logs received for reading all the details. You will find something similar to what it's shown in the next image.

As you can see in the previous image, the data sent from the client is stored in Strapi, and you can send messages accompanied by data. That's a great solution for troubleshoot bugs.
Now that our tutorial is ended is time to think about what we have done and take conclusions!
Conclusion
The great benefit you have with Strapi compared to other headless solutions is that you can customize everything and work on-prem or in the cloud with real control of your application. The example we have seen in this tutorial is easy, but you can imagine evolving to match the real-world need.
You can set up a solution in minutes and, like in this example, add non-trivial features to your application in minutes. You can add more fields. You can accumulate logs before sending and implement a backend controller that processes multiple logs in a single go.
This is a starting point for implementing complex solutions. Because Strapi will support for sure any further need, the only limitation it's your fantasy.
You can download the source code from this code repository, both the Vue.js Frontend and Strapi Backend.

Top comments (0)