
Introduction
This article will walk you through the process of creating a Trello clone using react and Strapi. We'll go over how to create a new Strapi project, how to construct Strapi collections, and how to expose and connect your Strapi API to the front-end.
Prerequisite
- Basic understanding of Javascript
- Basic understanding of React Js
NB: Strapi recommends 14.x version node js
What we’ll be building
We'll be creating a Trello clone, which is a project management tool that organizes your work into boards. Trello shows what is being worked on, who is working on it, and where the task is in the process all at the same time.
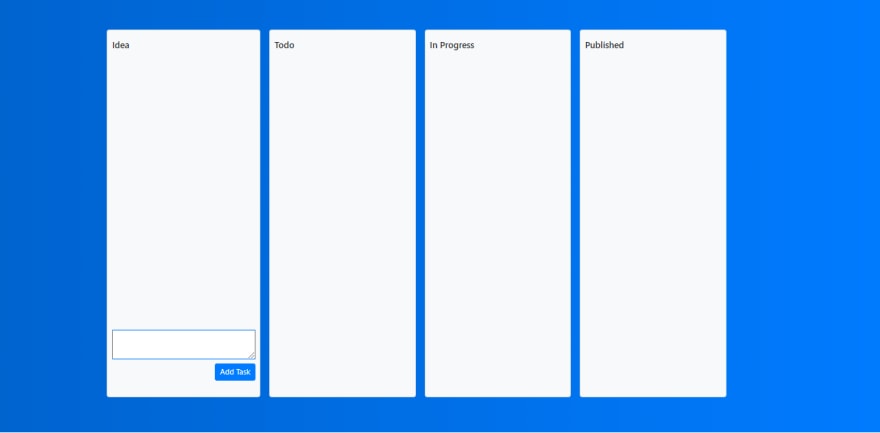
Below is a screenshot of what our final project will look like:

Overview
- Introduction
- Prerequisite
- Creating a new react app
- What is Strapi
- Scaffolding a new Strapi project
- Building tasks collection on Strapi
- Building the front-end
- Connecting front-end to Strapi
- Testing app
- Conclusion
Requirements
These are the software you need to have installed.
- Node.js V14
- NPM or Yarn
- Internet connection.
Creating a new react app
Before starting with creating our application front-end with React.js, let's get a basic understanding of what react is:
What is React.js:
React is a JavaScript library designed for creating quick and interactive user interfaces for web and mobile apps. It is an open-source, component-based front-end library that is exclusively responsible for the application's view layer. The view layer here refers to how the program looks and feels in Model View Controller (MVC) architecture. You can visit https://reactjs.org/ for more information.
Now that we understand what React is, and how it works, follow the instructions below to set up the React front-end for our application:
First, create a new directory for our project, we’ll name this directory trello-clone:
mkdir trello-clone && cd trello-clone
Next, run the command below to create the react app:
npx create-react-app front-end
Running this command will initially ask for permission to install create-react-app and its associated packages on a temporary basis. Once finished, you can start the app by running:
    cd front-end
    npm start
This should open up a URL (http://localhost:3000), with the following output:
Next, for the drag and drop feature, we will be using a react package - react-sortable.js, which was created specifically for this purpose.
What is React sortable js?
react-sortable is a react binding for Sortable, Sortable is a JavaScript library for creating reorderable drag-and-drop lists. It has all of the standard sortings, delaying, swapping, inverting, and other features. All touch current browsers and touch devices are supported.
Installation
To install react-sortable, run the command:
npm install --save react-sortablejs sortablejs
If you follow this process react-sortable should install just fine. And finally, for sending requests to our Strapi API, axios should work just fine for that.
Axios
Let's get a quick overview of what Axios is and what it does before installation. Axios is a promise-based HTTP client for the browser and Node.js. Axios makes it simple to send asynchronous HTTP requests to REST endpoints and perform CRUD operations. It can be used in plain JavaScript or with a library such as Vue or React.
Installation
To install Axios, run the command below:
npm install axios
What is Strapi
Strapi is an open-source content management system (CMS) that allows you to create customizable APIs for any front-end application. Strapi is really simple to use since it allows you to create versatile APIs with unique features that you'll enjoy. To keep things structured, you can build custom content kinds and relationships between the content types. It also features a media library where you can save your image and music files.
Strapi provides a great deal of flexibility. Whether you want to see the finished outcome quickly or learn more about the product.
Scaffolding a new Strapi project
To setup Strapi for our project, first, change your directory from front-end to the root directory (/trello-clone), and run the command below to create a new Strapi project:
npx create-strapi-app back-end
Running the command above will prompt you for your preferred installation method; select Quick Start to proceed. You will also be asked if you want to use a template, as seen in the screenshot; in this case, reply with no, and Strapi will complete the installation in no time.
After the whole installation process, the Strapi app should automatically launch in your browser displaying the following page.
OR
Copy http://localhost:1337 link from your command prompt cmd and paste it into your browser.
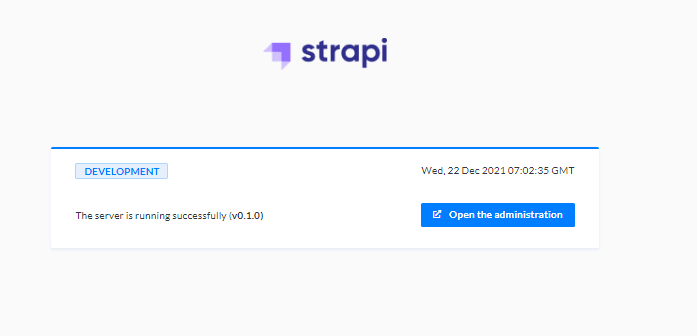
click on open the administration
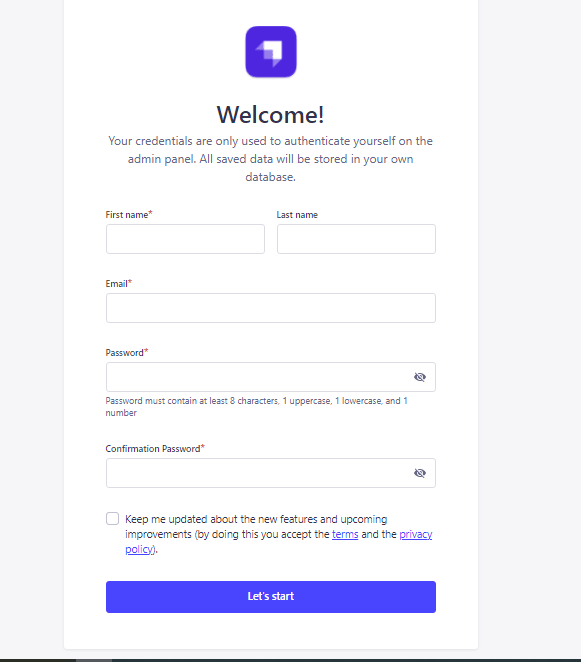
Fill in your preferred details on this page and click the ready to start button to proceed.
We are now ready to begin.
Building Tasks Collection on Strapi
In this phase, we will learn how to create a collection-type and its content, and as seen in the screenshot attached at the beginning of the article, our Trello clone will have the following rows:
- Idea
- Todo
- In progress
- Published
To do this, click on Content-Type Builder (can be found on the dashboard sidebar), afterward click the Create new collection type link, as seen in the screenshot below:

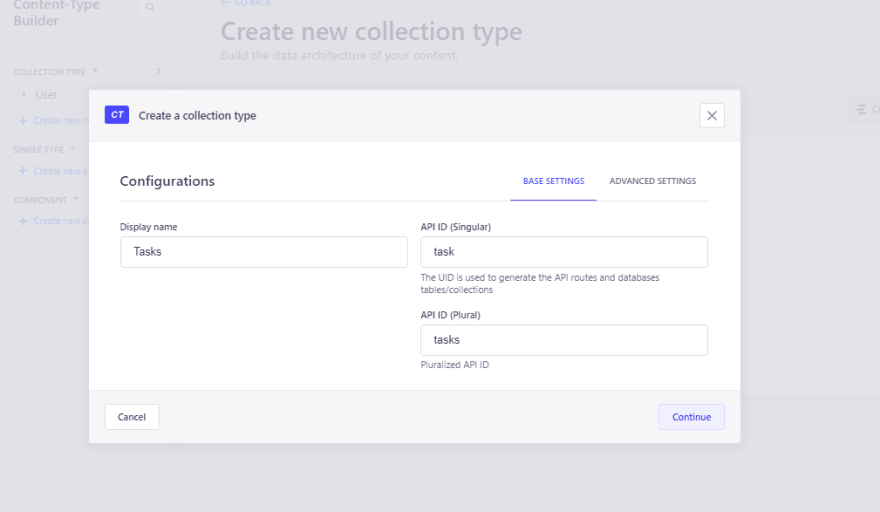
You should see a modal box like the one below; fill in the display name as Tasks and then click the Continue button to complete the creation of our collection:
When you click the Continue button, you will be prompted to add a new field to the newly created collection; here, pick the field type as Idea, choose long text and click add another field. You will do the same for Todo, Progress, and Published. Then click finish.
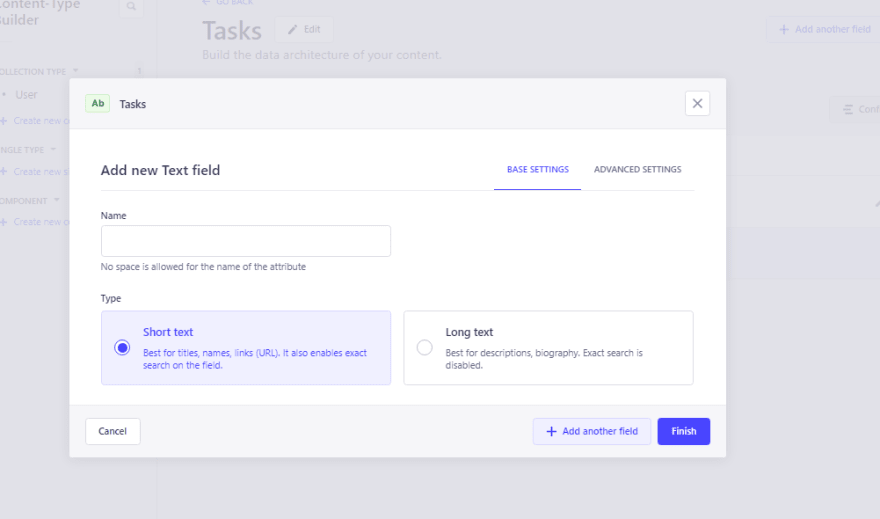
The Tasks collection type should look like the image below.

Next, we head over to Settings, navigate to Roles and click on the Public. We then scroll down to Permissions, click on Task, and click on select all to allow all activities for the application.

Click on Save.
Building the front-end
We've installed all of the packages required for our application's front-end, and all that remains is to begin adding functionality at this point. To restart the application, open the front-end folder in your favorite text editor and enter the following command on your command prompt cmd:
npm start
Now, open up src/index.html, and add a link to bootstrap cdn in the head section like below:
    import './App.css';
    import Board from "./components/Board";
    function App() {
        return (
            <div className="App p-3"     >
                <link rel="stylesheet" href="https://maxcdn.bootstrapcdn.com/bootstrap/4.0.0/css/bootstrap.min.css" />
                <Board />
            </div>
        );
    }
    export default App;
Next, in our front-end src directory, create a new folder called components. Inside this folder, create a new file called Board.js and paste the following code into it:
    import { ReactSortable } from "react-sortablejs";
    import { useState, useEffect } from "react";
    import axios from "axios";

    const Board = () => {
      const [tasks, settasks] = useState([]);

      const [ideas, setideas] = useState([]);
      const [todo, settodo] = useState([]);
      const [inprogress, setinprogress] = useState([]);
      const [published, setpublished] = useState([]);

      const [newTask, setnewTask] = useState("");

      const addTask = async () => {

      };

      const getTasks = async () => {

      };

      useEffect(() => {
        getTasks();
      }, []);

      return (
        <>
          <div className="container mt-5 mb-5">
            <div
              className="row"
              style={{
                height: "80vh",
              }}
            >
              <div className="col mx-2 px-2 py-3 bg-light border rounded">
                <h6>Idea</h6>
                <div
                  style={{
                    minHeight: "500px",
                  }}
                >

                </div>
                <div>
                  <textarea
                    rows={"1"}
                    cols={30}
                    style={{ float: "left", borderBlockColor: "#007bff" }}
                    value={newTask}
                  ></textarea>
                  <button
                    type="button"
                    style={{ float: "right", marginTop: "2px" }}
                    class="btn btn-primary btn-sm"
                    onClick={addTask}
                  >
                    Add Task
                  </button>
                </div>
              </div>
              <div className="col mx-2 px-2 py-3 bg-light border rounded">
                <h6>Todo</h6>

              </div>
              <div className="col mx-2 px-2 py-3 bg-light border rounded">
                <h6>In Progress</h6>
              </div>
              <div className="col mx-2 px-2 py-3 bg-light border rounded">
                <h6>Published</h6>
              </div>
            </div>
          </div>
        </>
      );
    };

    export default Board;
In the above code, we created a simple 4 column grid system with bootstrap, and with the react useState() hook, we created all of the data we will need in our application, and we also defined two methods addTask and getTasks, which do nothing for now; in the following section, we will add the necessary functionalities to make these functions work as expected.
Now, open up src/App.js and import the just created board component so that the full code will look like below:
    import Board from "./components/Board";

    function App() {
      return (
        <div
          className="App p-3"
          style={{
            background: "linear-gradient(to right, #0062cc, #007bff)",
          }}
        >
            <link rel="stylesheet" href="https://maxcdn.bootstrapcdn.com/bootstrap/4.0.0/c      ss/bootstrap.min.css" />
          <Board />
        </div>
      );
    }

    export default App;
At this stage, you should see the following output displayed in your browser:
Connecting front-end to Strapi
To enable the drag and drop functionality, and fetch all of our tasks from strapi API, first import the following components in our components/Board.js file:
    import { ReactSortable } from "react-sortablejs";
    import { useState, useEffect } from "react";
    import axios from "axios";
In this same file, update the getTasks function so that the full code is the same as the one below:
No let create a function that will fetch out the list of item in each category that we have in our database, to do this is pretty simple by using the following code:
      const getTasks = async () => {
        let Tasks = await axios.get("http://localhost:1337/api/tasks");
        console.log(Tasks.data.data);
        // return;
        settasks(Tasks.data.data);
        // For todos
        let Todos = tasks.filter((res) => {
          return res.category === "todo";
        });
        settodo(Todos);
        // For ideas
        let Ideas = tasks.filter((res) => {
          return res.category === "idea";
        });
        setideas(Ideas);
        //For in progress
        let inprogress = tasks.filter((res) => {
          return res.category === "In Progress";
        });
        setinprogress(inprogress);
        //published
        let published = tasks.filter((res) => {
          return res.category === "published";
        });
        setpublished(published);
      };
From the above code, we use the axios.get function ***to fetch tasks from the strapi database by passing in the API url to the strapi endpoint. we then use settasks(Tasks.data.data) to hold the list of all the tasks ( all categories) that were fetched from strapi.
We then used `*tasks.filter((res)`) **to return the list of tasks in each category.
Adding new tasks to Strapi
Now let's add a new task to the database, each new that we add will be on the idea category until it's dragged to the next category. The following code will add a new task to the database.
const addTask = async () => {
    let res = await axios
      .post("http://localhost:1337/api/tasks", {
        Category: "idea",
        task: newTask,
      })
      .catch((err) => alert("Error occured"));
    getTasks();
  };
From the code above, axios.post() is used to add tasks to the database,by passing in the strapi endpoint url along with the database fields value to be added. getTasks() is then used to reload the list of tasks from the database which contained the new added tasks.
Finally, update the component markup section with the code below:
    <div className="container mt-5 mb-5">
            <div
              className="row"
              style={{
                height: "80vh",
              }}
            >
              <div className="col mx-2 px-2 py-3 bg-light border rounded">
                <h6>Idea</h6>
                <div
                  style={{
                    minHeight: "500px",
                  }}
                >
                  <ReactSortable
                    list={tasks}
                    setList={setideas}
                    groupp={"group-1"}
                    group={{ name: "group-1", put: true }}
                  >
                    {tasks
                      .filter((task) => task.category == "idea")
                      .map((filteredTask) => (
                        <div
                          className="card p-3 border rounded mt-2"
                          key={filteredTask.id}
                        >
                          {filteredTask.task}
                        </div>
                      ))}
                  </ReactSortable>
                </div>
                <div>
                  <textarea
                    rows={"1"}
                    cols={30}
                    style={{ float: "left", borderBlockColor: "#007bff" }}
                    value={newTask}
                    onChange={(event) => setnewTask(event.target.value)}
                  ></textarea>
                  <button
                    type="button"
                    style={{ float: "right", marginTop: "2px" }}
                    class="btn btn-primary btn-sm"
                    onClick={addTask}
                  >
                    Add Task
                  </button>
                </div>
              </div>
              <div className="col mx-2 px-2 py-3 bg-light border rounded">
                <h6>Todo</h6>

                <ReactSortable list={tasks} setList={settodo} groupp={"group-1"}>
                  {tasks
                    .filter((task) => task.category == "todo")
                    .map((filteredTask) => (
                      <div
                        className="card p-3 border rounded mt-2"
                        key={filteredTask.id}
                      >
                        {filteredTask.task}
                      </div>
                    ))}
                </ReactSortable>
              </div>
              <div className="col mx-2 px-2 py-3 bg-light border rounded">
                <h6>In Progress</h6>
                <ReactSortable
                  list={tasks}
                  setList={setinprogress}
                  grouppp={"group-1"}
                >
                  {tasks
                    .filter((task) => task.category == "In Progress")
                    .map((filteredTask) => (
                      <div
                        className="card p-3 border rounded mt-2"
                        key={filteredTask.id}
                      >
                        {filteredTask.task}
                      </div>
                    ))}
                </ReactSortable>
              </div>
              <div className="col mx-2 px-2 py-3 bg-light border rounded">
                <h6>Published</h6>
                <ReactSortable
                  list={tasks}
                  setList={setpublished}
                  groupppp={"group-1"}
                >
                  {tasks
                    .filter((task) => task.category == "Published")
                    .map((filteredTask) => (
                      <div
                        className="card p-3 border rounded mt-2"
                        key={filteredTask.id}
                      >
                        {filteredTask.task}
                      </div>
                    ))}
                </ReactSortable>
              </div>
            </div>
          </div>
From the above codes we use ReactSortable to drag a task from one category to other and it has three attributes:
list={tasks}: contain the list of all the tasks that we fetch earlier from the database.
setList={setpublished}: it contains the list of tasks for a specified category from the database.
groupp={"group-1"} :All tasks are assigned to the same group..
Then to list each task from each category we use tasks.filter((task) to do that.
And at this point, we are done with creating our Trello app ….
Testing the app
Since our application data relies on Strapi, we’ll need to start our Strapi server as our application won’t start without it, open a new terminal window and change the directory to where our Strapi app is created, and start the app by running:
npm run develop

This is what you will get if you drag and drop an item from one category to another.

If you follow the process of this tutorial, your Trello clone app should be working just fine.
Conclusion
Wow, congratulations. We've completed this tutorial and have successfully created a Trello clone application using React.js and Strapi as our backend. We were able to retrieve and create tasks, as well as enable drag and drop functionality, by utilizing the sortable.
After finishing this tutorial, you should be able to create a Trello app and even add more features.

Top comments (0)