
In this article, we are going to discuss the topic of mega menus, and how to add a mega menu to a WordPress site. We will explore what a mega menu is, why is it beneficial, and what is the best WordPress plugin for adding a mega menu to your blog.
Website navigation or a menu for short is one of the quintessential design elements.
It is impossible to have a good page layout without navigation. And in the case of mega menus, it is a flexible solution to display a contextual hierarchy of your site's content.
For starters, a mega menu can help display the larger context of what your website is about.
But, also:
- Show your most popular content categories.
- Display trending articles or blog posts.
- Include information about your brand, such as social links, etc.
Here is an example taken from the IEEE Spectrum magazine:
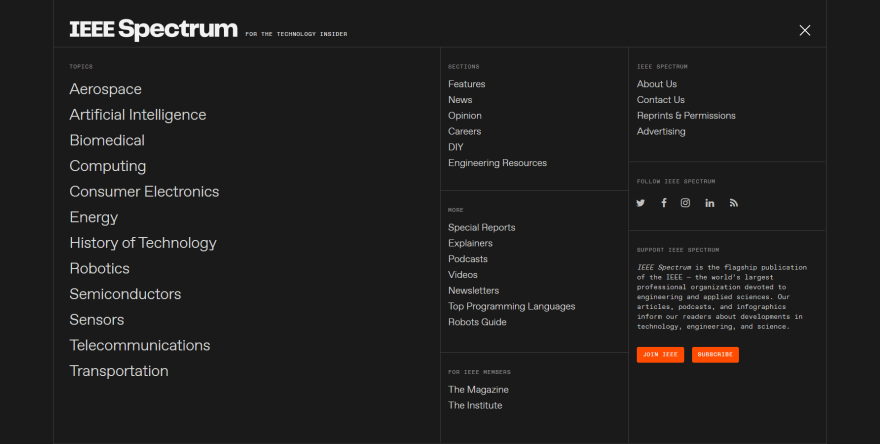
This one big navigation menu is able to convey practically everything about the sites' structure. And, one could say that it is also pleasing to the eye. Browsing large contextual navigation through a drop-down menu is quite impractical. Whereas a mega menu efficiently gives the reader quick access to your most important content.
Other notable brands who use mega menus include:
- Amazon, the largest eCommerce platform in the world.
- Asana, one of the leading project management tools.
- Adobe, the leading software company specializing in design.
And many, many more!
Is a mega menu SEO friendly?
One of the first questions people ask about mega menus is whether they are search engine friendly. And the answer is yes. Internal links are extremely important for SEO, and using a large menu you can add dozens of links to your pages without hindering the user experience.
It's also well-known that Google Crawler can interpret JavaScript, which makes it a non-issue for indexing-related concerns.
If you look at more popular platforms like Shopify, WooCommerce, and others. All of them implement some kind of a mega menu structure for displaying product information.
Can you add a mega menu without a plugin?
It is possible, yes. But, in a lot of ways - impractical. There are plenty of open-source libraries on GitHub that showcase mega-menu functionality with JavaScript.
But, in terms of adding this to WordPress - it's way too much work. Needless to say, you might have to add items individually. It is much easier to do this through a plugin.
And this is also going to be the next topic of discussion.
What is the best plugin for adding a mega menu?
On the WordPress plugin repository, there are hundreds of plugins that provide this functionality. However, calling something the best is often a matter of subjective opinion.
In some cases, plugins are locked behind page builders like Elementor and Visual Composer. And, other times - the plugin provides very minimal functionality without pro features.
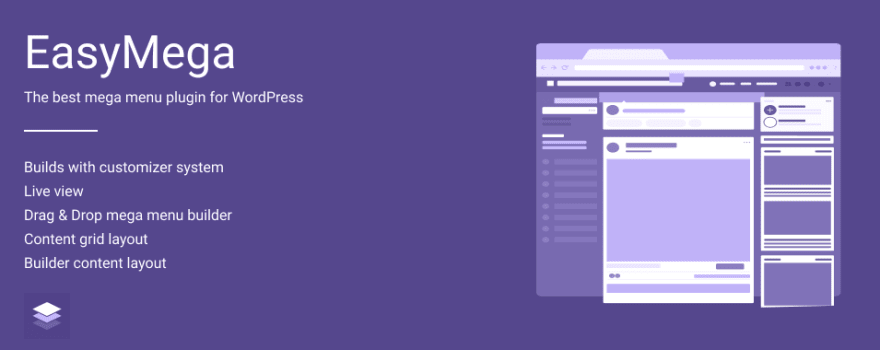
So, for this guide - we are going to be focusing on the EasyMega plugin.
_It is completely free to download and use.
Let's take a look at the core features for EasyMega:
- Native integration with the Customizer design system for WordPress.
- Preview changes in real-time.
- Use Drag & Drop to create the perfect mega menu layout.
- Choose between Full-Width or Boxed.
- Change the alignment of how menu items appear to the reader.
- ...and a lot more!
And it's extremely simple to use. Don't believe me? Let's see how easy it is to add a mega menu to your site with a simple tutorial.
How to add a mega menu using the EasyMega plugin
First and foremost, you want to grab the plugin by going to Plugins -> Add New from your WordPress dashboard. On this page, simply search for EasyMega and Install the plugin.
Once you are done you will be taken to the plugin introduction page. You can skip this entirely and go to your homepage to open Customizer.
From Customizer, you want to navigate to Menus and select your Primary Navigation.
Like this:
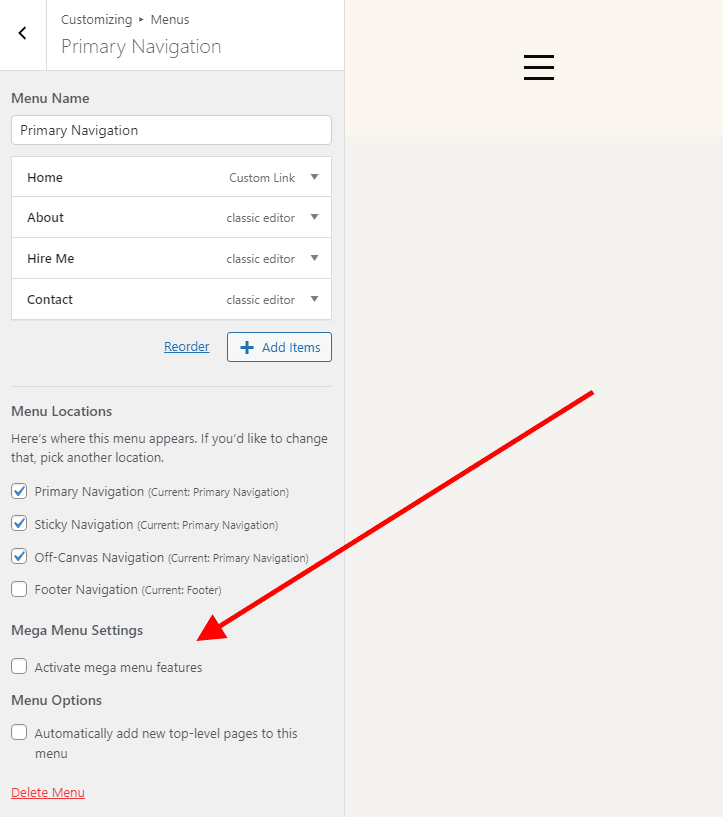
Under the Mega Menu Settings, simply click "Activate mega menu features" and save your changes. At this stage, you can click on any of your existing Menu items and select the Mega Menu features.
Like so:
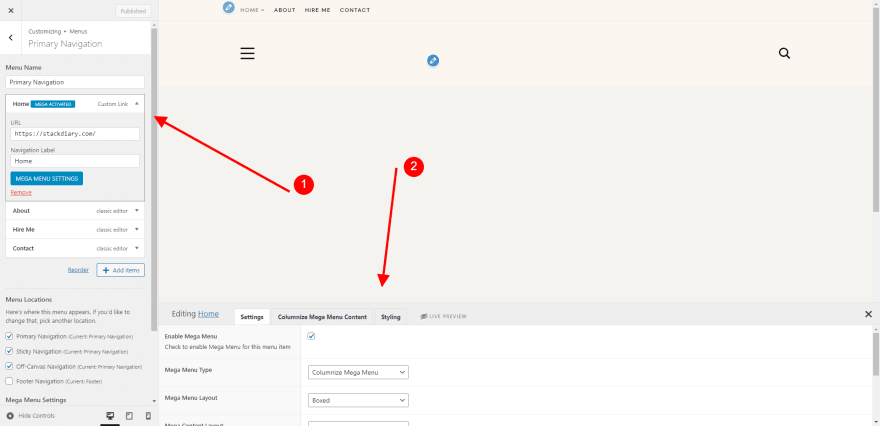
By doing this, a new panel will appear at the bottom of the page where you can start doing customizations.
You can also click on the Live Preview button to see changes in real-time. This will help you avoid having to go back and forth between changes.
The next step is to start adding items to your menu. For this tutorial, we are using the Columnize menu type.
This lets us create multiple columns, which we can individually populate with the content we wish to store inside a menu.
You can directly navigate to the "Columnize Mega Menu Content" section to begin work.
Like this:
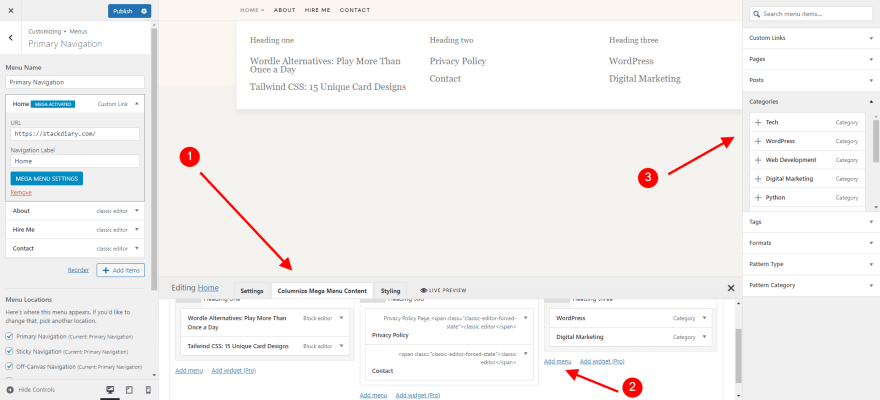
Let's take a look at what is happening here.
- In the Columnize tab, you can choose from any number of columns to show inside the mega menu. I have selected 3.
- The next step is to click the Add menu button on any given column.
- Once you do that, you will be able to choose from any of your site content to add to that specific menu column.
The content can be anything. Blog posts, custom pages, categories, or any custom fields that you have on your WordPress site.
Alternatively, if you wish to display content with images, you can do so by going back to Settings and changing the Type to Content Grid.
How you wish to present your sites' navigation is entirely up to you.
Closing statement
This also concludes our tutorial.
As you can see, by using a plugin - adding a mega menu to a WordPress site is extremely easy. How you style it and how you wish to present it to your readers is entirely up to you.

Top comments (0)