Get the data for our machine learning model
So in order for us to create a machine learning model first we need some data, the data that we need to have is data that has an output out of it for example :
| age | blood sugar level | class |
|---|---|---|
| 10 | 10 mg | yes |
| 27 | 12 mg | no |
| 50 | 9 mg | yes |
As you can see above is some example data that we want, it has the data to determine whether or not this people has diabetes or no, as you can see there is age data, blood sugar level data, and class data from the example above, we can see that class data is used for determining whether or not this people has some diabetes or no and the other data is for the input data, so the data that we need is a data that have input and output like that, for the example above, age and blood sugar is the input, and class is the output to determine whether or no we had some early stage diabetes.
So to get this data we can go to some website like https://www.kaggle.com/ here you can see so many free data that you can use, we will use this data by ishandutta that collect the data from some patients in bangladesh[1], this is exactly the data that we need, because it has some input data and also the output data
Import the data to IBM Auto AI
So in order for us to get some prediction to our data we need some tools to make it easy for us to do that, luckily IBM create some tools called IBM Auto AI, using this you can create machine learning easily and you can get the data as a web service as well so easily, now go to this link and login with your IBM ID and password, after you login click on view all project like below :
Click on new project and click on create an empty project :

Fill in the project name and if you want you can fill in the project description, it's optional, you can leave it blank, after that click create :

Select the Settings tab.

Scroll down to the Associated services section. If there is no machine learning service, click Add services, select Watson
Then select Machine learning and click add.

Scroll down and select the lite plan then click Create.
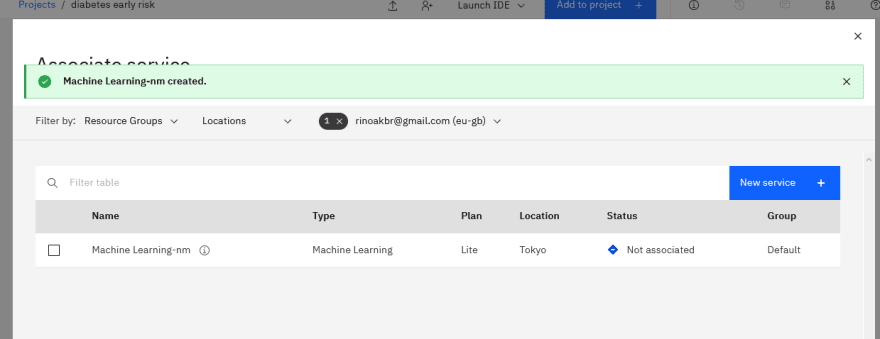
You're successfully create a watson machine learning service, if there is a success message like this :
After we add watson machine learning service now we need to add the data that we want to predict, download the data from here, then after downloading, you will get archive.zip which inside of it you will get diabetes_data_upload.csv, Now let's go back to IBM watson studio and click on assets, and upload the data
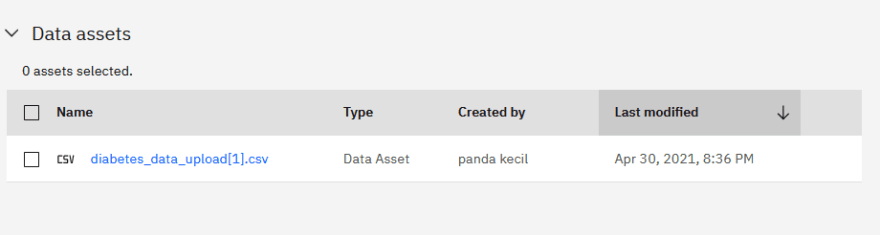
You will then get the data uploaded like this :
After that check the data that you uploaded before, then click add to project then also click AutoAI Experiment

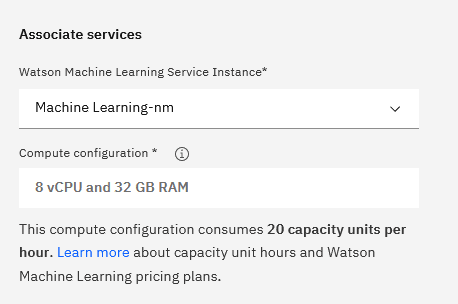
If you haven't associate your project with the watson machine learning service click Associate a Machine Learning service instance and click reload after you associate it
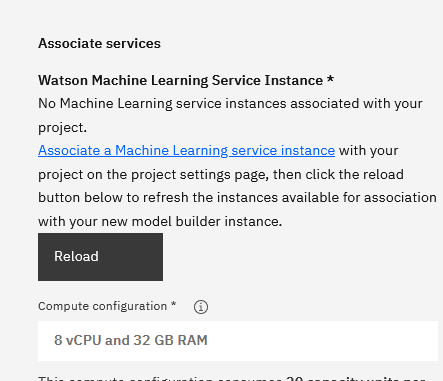
After you associate it, it will look like this :
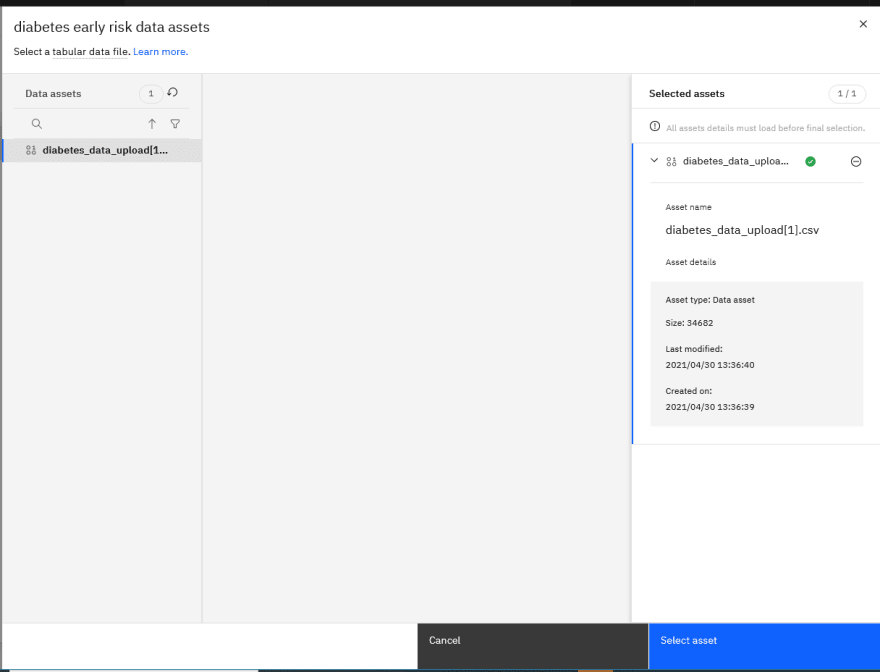
And after that, click create, then you need to add data source, click Select from project and click our dataset that we create earlier then click select asset
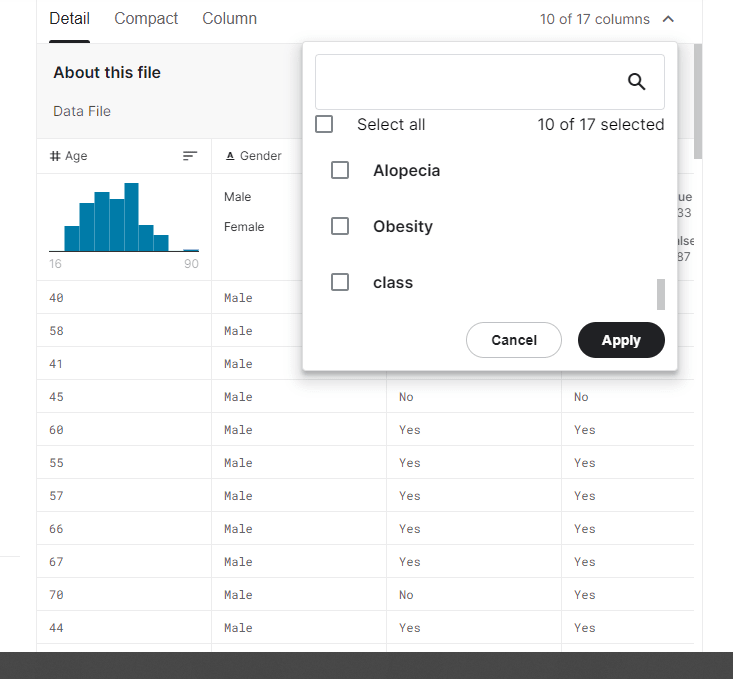
After that we need to add prediction column, we gonna click column named class because this column determine whether or not our patient get diabetes based on some data on the left column
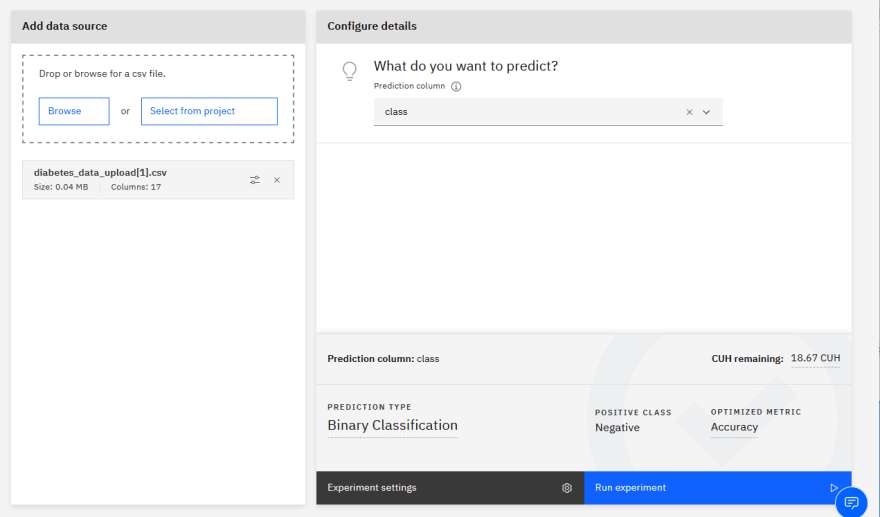
If you click on experiment settings
You can also remove some feature that you think you don't need but for now let's use any of the column
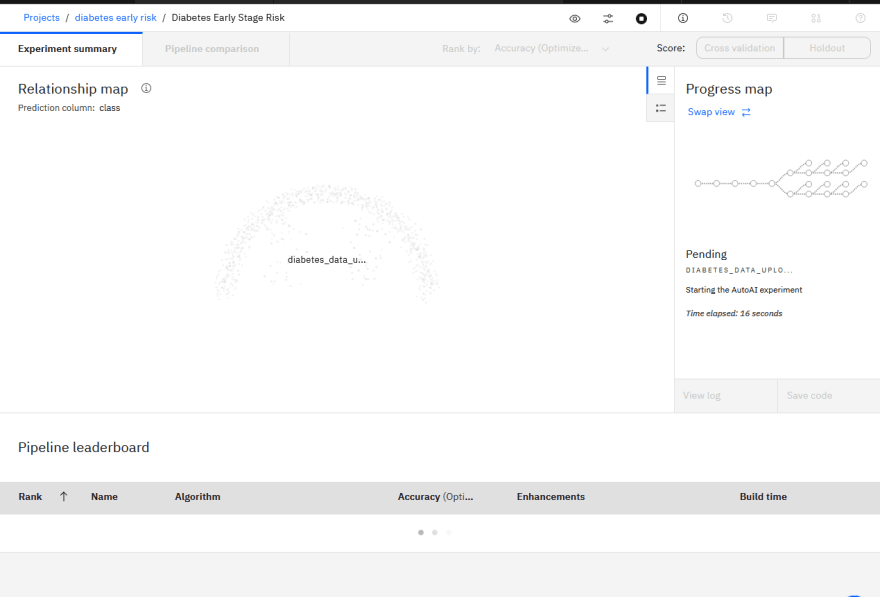
After that click run experiment, and wait for it to be done
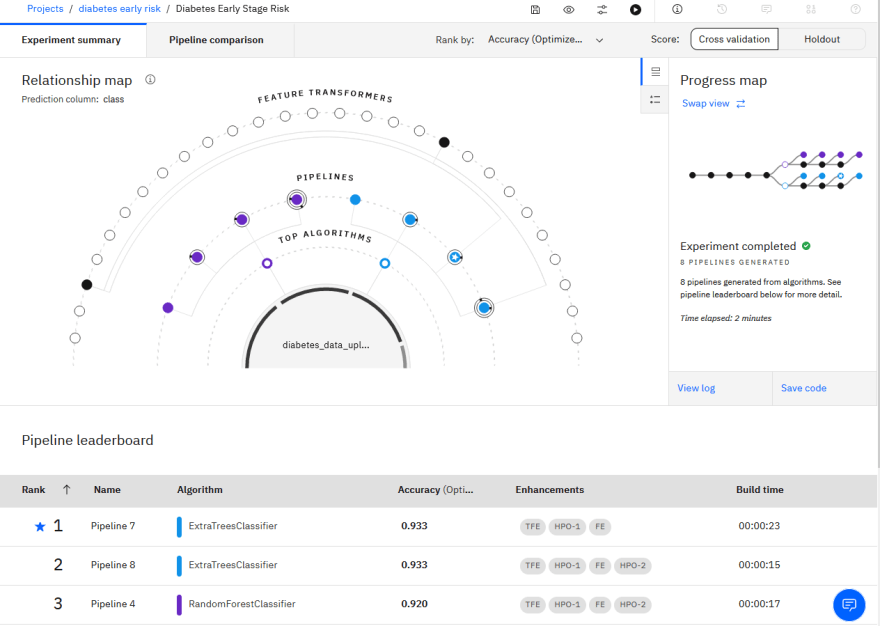
After it's done you can see that ExtraTreesClassifier is picked, with accuracy of 0.933 the best out of other pipeline with some enhancements
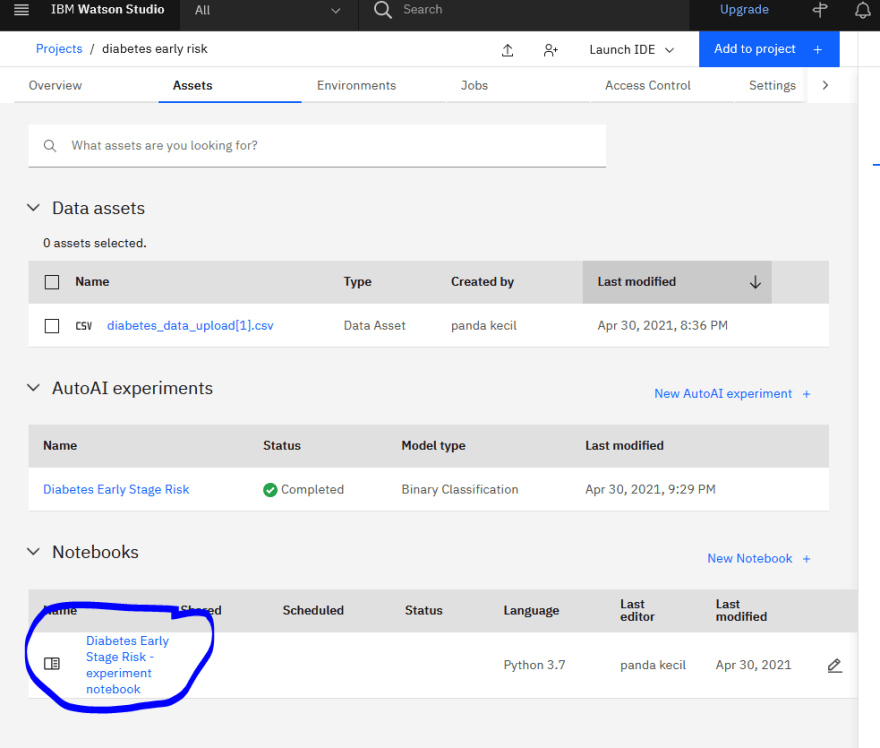
After that you can also save the code to jupyter notebook by clicking Save code
And if you want to see your jupyter notebook, go to assets and click the file in the notebook section
Then after that we need to create model, in order to do that we need to click Save as click Model then click Create, this model will be used to predict if we got early risk diabetes or no
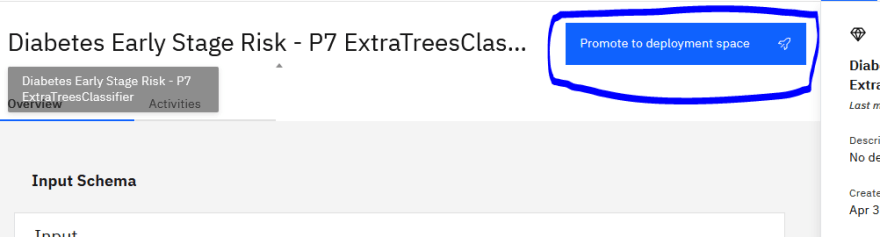
Then after we create our model we need to deploy it as a web service so any platform can call it from the web. Now go to your newly created model and click on Promote to Deployment space
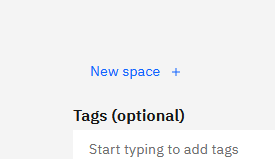
After that click on new space because we don't have any space yet
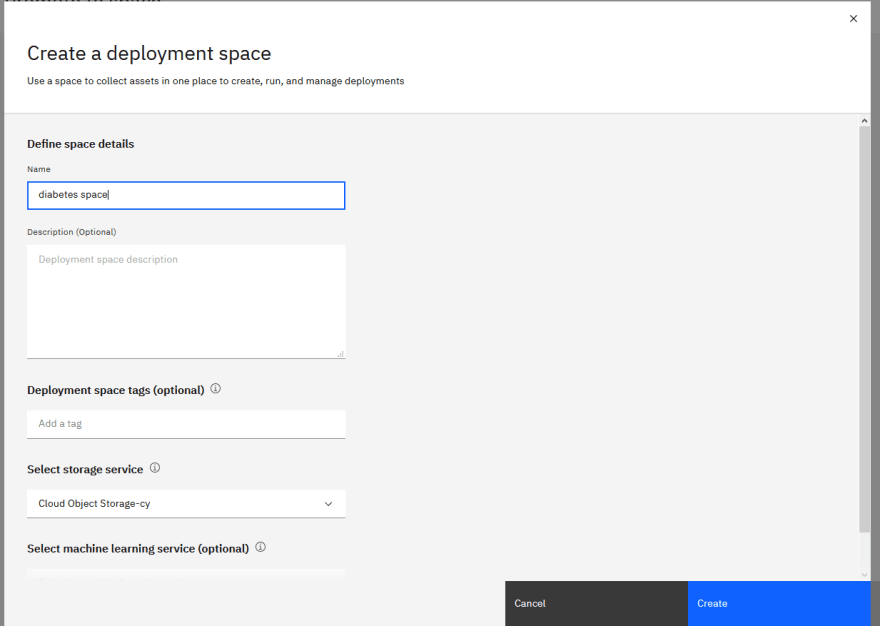
Fill in the name and click create
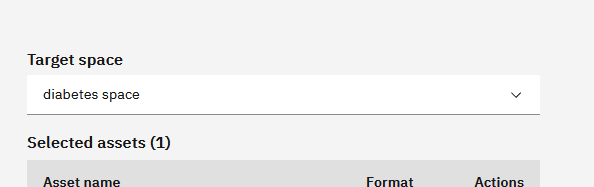
Our newly target space will be automatically selected, then after that click Promote
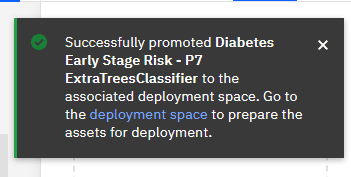
You will get redirected to your project homepage click on the deployment space hyperlink
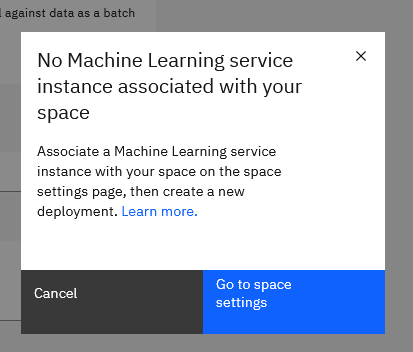
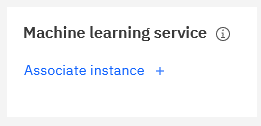
When you click on deploy it will say there is no machine learning service associated with this space
Click on Go to space settings
Click on associate instance
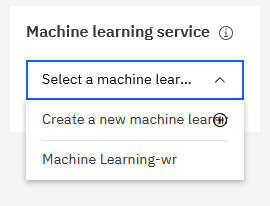
Then select your machine learning instance, in this case my machine learning instance name is Machine Learning-wr
After that click on assets again, then click deploy again
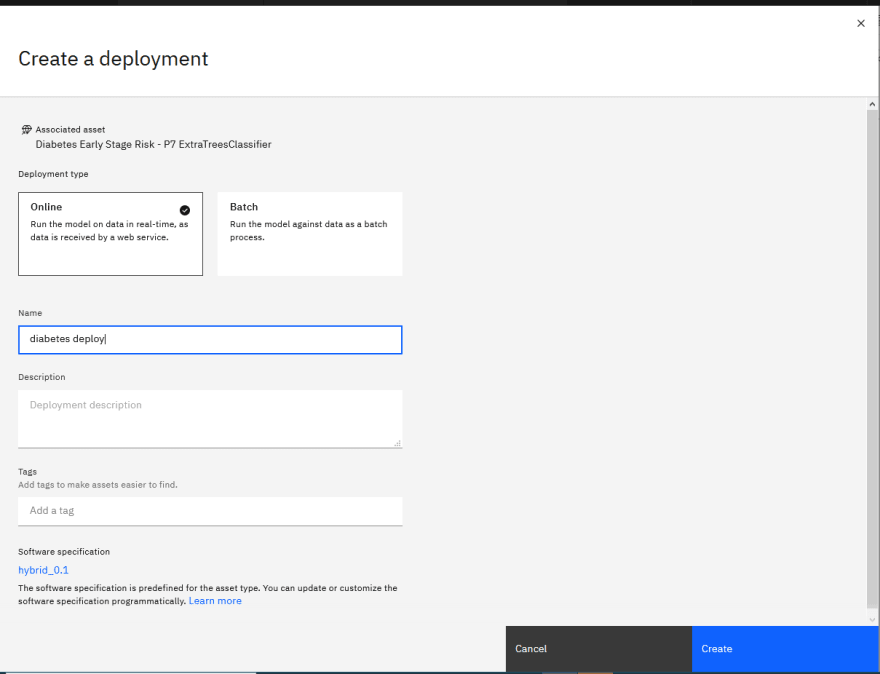
Click deployment type online and named it diabetes deploy or whatever name you want then click create
Refresh the page and click deployments and you can see that your deployment is still in progress, we will wait until it's complete
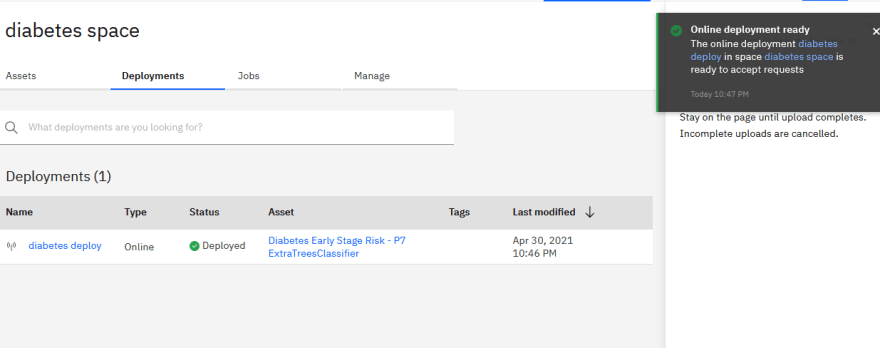
After it getting deployed it will showed like this
We can now try to test our machine learning model is it gonna output the same as in the csv or no,in order to do that click on diabetes deploy hyperlink then click on test
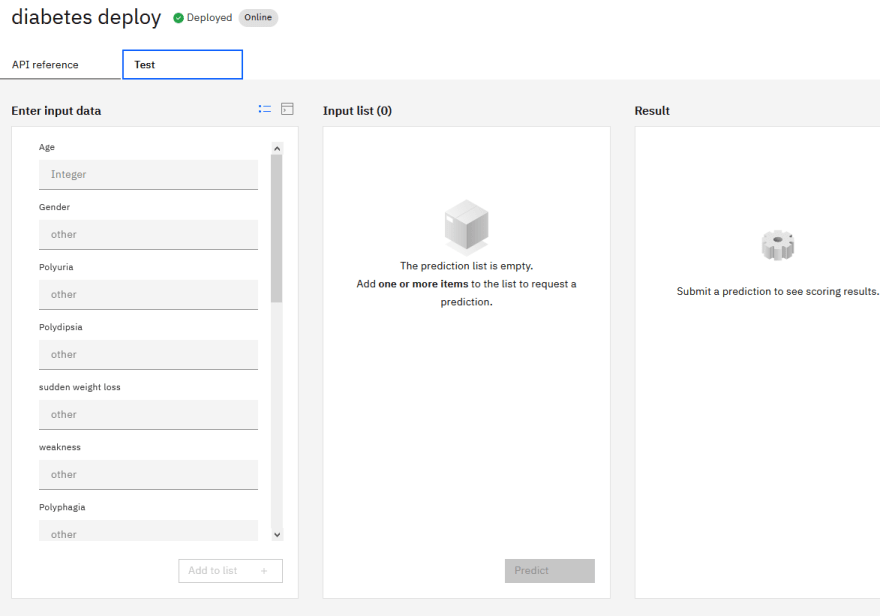
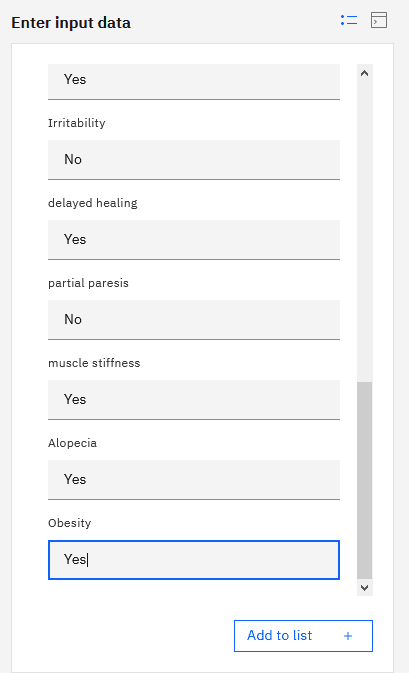
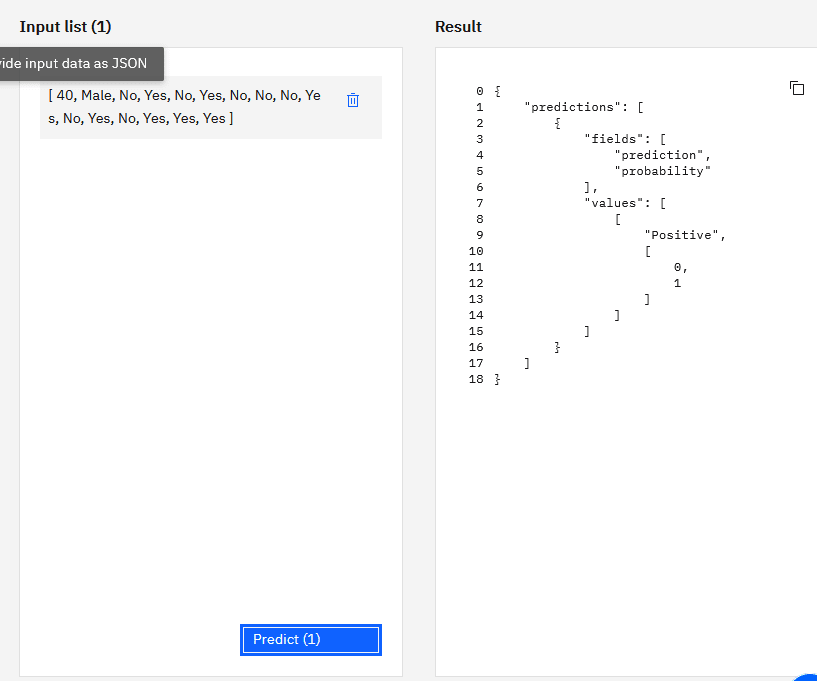
We can see that our input is exactly like what we have in csv and the output is our class column to determine whether or not we are in an early stage of diabetes let's input first data one by one we gonna input this data below, and the input should be Positive which mean we are in the early stage of diabetes

After we added our input data click add to list
After that click on Predict and we can see the result is Positive which mean our machine learning model accuracy is great
Now we can move forward and connect our machine learning model to web application in part 3

Latest comments (0)
Some comments may only be visible to logged-in visitors. Sign in to view all comments.