
If you're coming into React Native development from a web background you may be intimidated by using a full blown IDE like Xcode. Today I'd like to give you a run down of how to use this super powerful tool.
You won't need to use it often but, as they say, knowledge is power! Let's get to it.
First let's get a rundown of the main areas of Xcode.
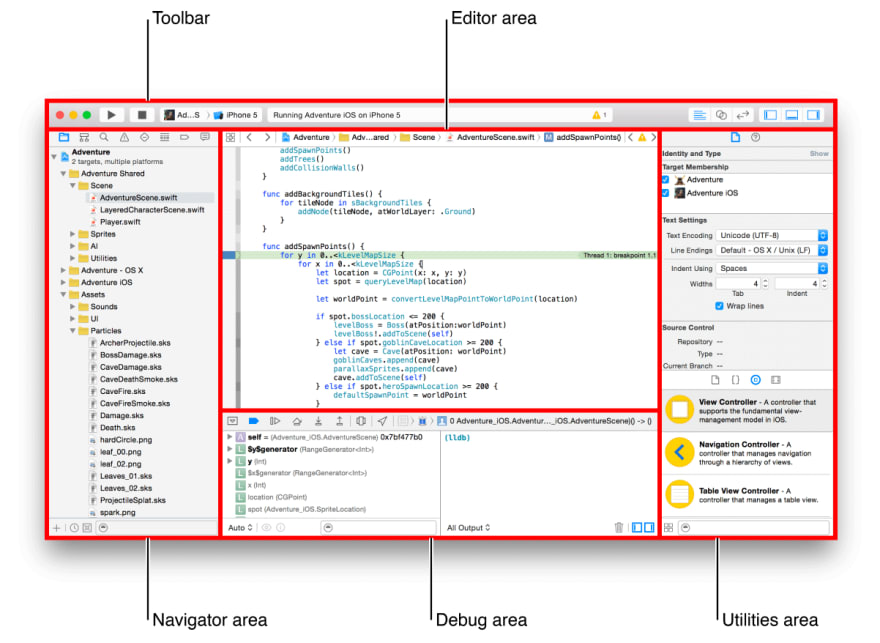
This images comes directly from Apple's Workspace Window Overview. For React Native development you'll spend most of your time in the Toolbar, Navigator area, and the Editor area.
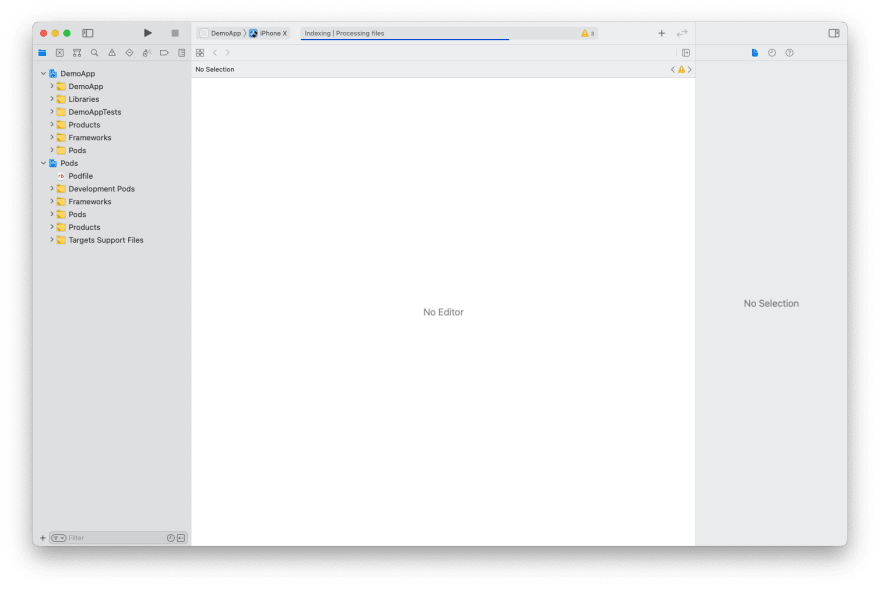
Taking a look at the navigator area you'll see two folders - "Pods" and one that aligns with your project name.
"Pods" is referring to Cocoapods which is the dependency manager (like NPM) for Swift and Objective-C projects. Along those lines you dependencies are defined in the Podfile in this folder (like a package.json).

Next, taking a look at the Toolbar, is where you can select which device you want to run your app on. It will populate based on the various simulators you have installed on your system. Press the "play" button to start building the app and the "stop" button to stop the app.
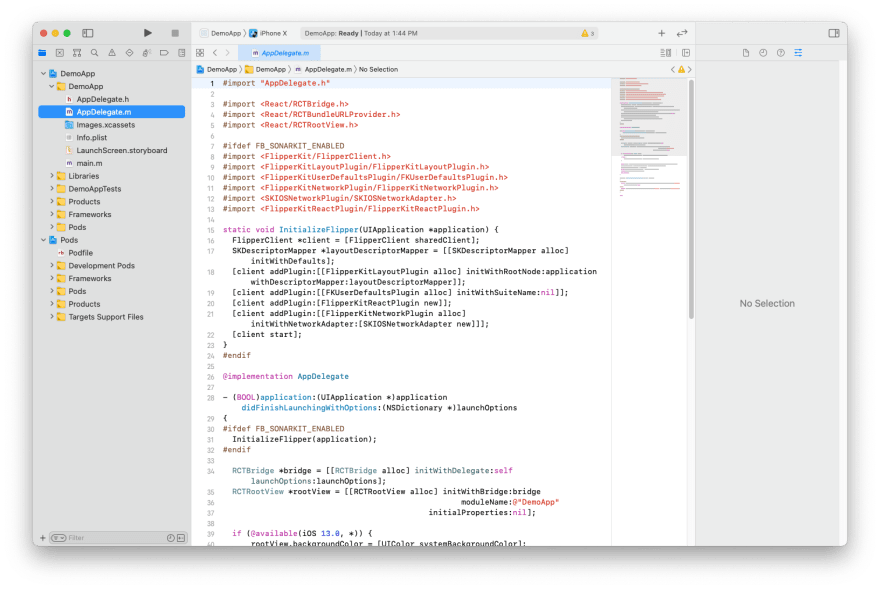
Taking a dive into the directory that aligns with your project name you'll find another folder with the same name. This is where your native app lives. You may find yourself needing to go into AppDelegate.m from time to time. This is the entry point of your app.
Within that file you'll see a few things happening. The function you'll most often be working with is didFinishLaunchingWithOptions which will run when your app has finished launching (it's at this point that React Native will actually start).
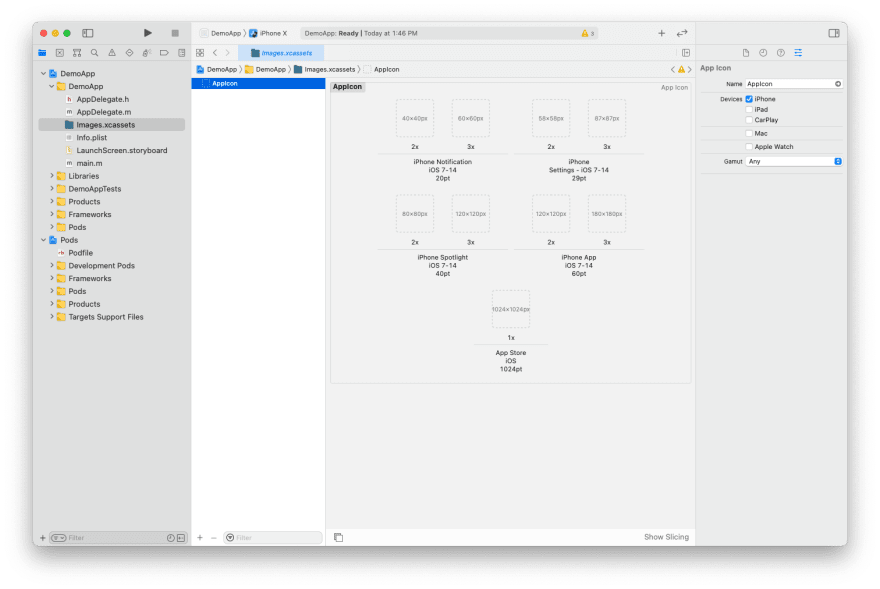
Next is Images.xcassets. This folder is where any native images will go. The only thing you'll really use this for is images that need to be available before React Native is ready. This really just ends up being:
- App icons (used on the user's screen, app store listing, etc.)
- Images related to the splash screen (shown between app open and app ready)
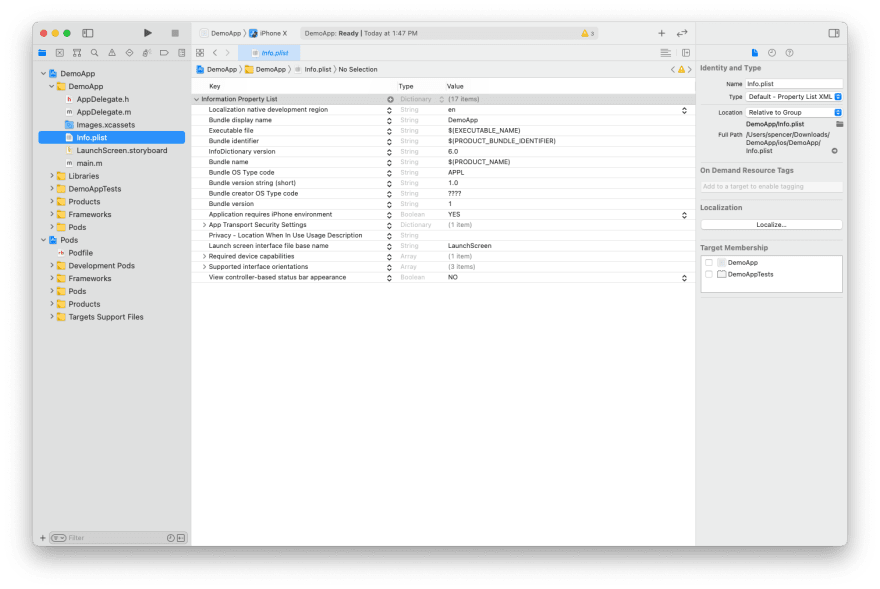
Also in here is Info.plist this is the configuration home of your app. Whenever you need to request certain permissions this is where you'll put your permission request reason. It also manages a bunch of the configuration of your app (such as supported orientation, version, build number, etc.)
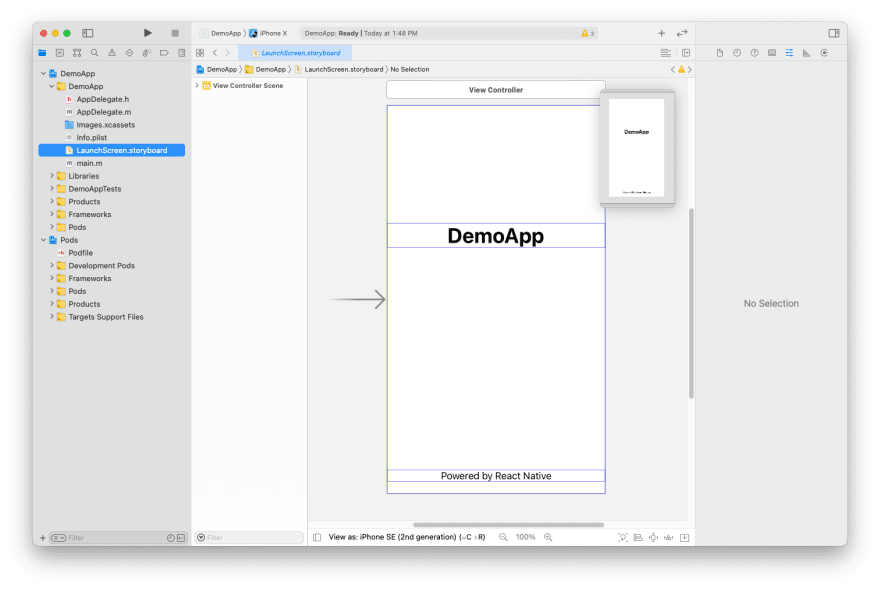
LaunchScreen.storyboard is the screen that is shown from when your app is first pressed to when it's ready (able to be used). Typically this is just a few milliseconds... this is where you would change it.

On the top row of the navigator area you'll find the issue navigator. This will automatically open if you ever have something wrong preventing a build or, as in the screenshot about, general warnings in your project.
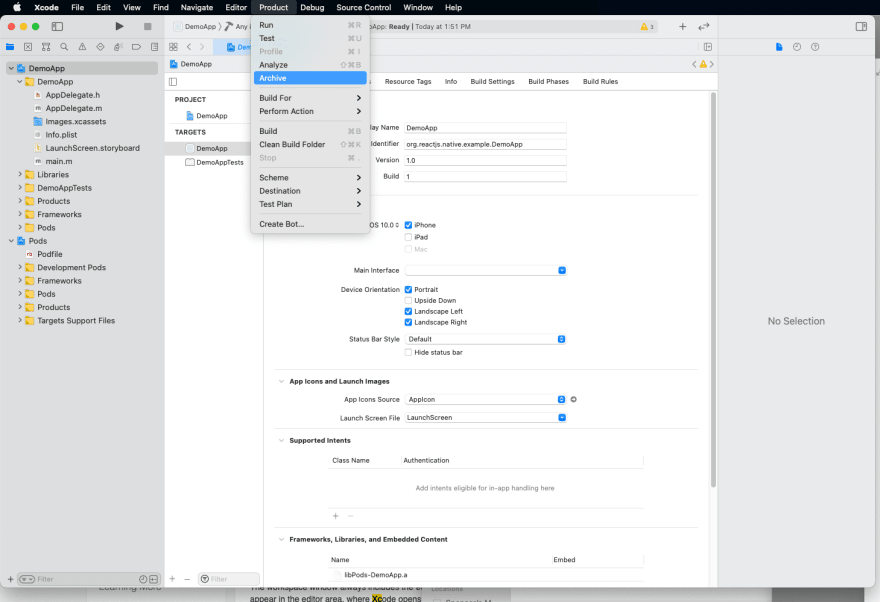
If you want to build your app for production you'll want to go to the Toolbar and change your target device to "Any iOS Device". Then in the Apple menu select Product > Archive to build the app.
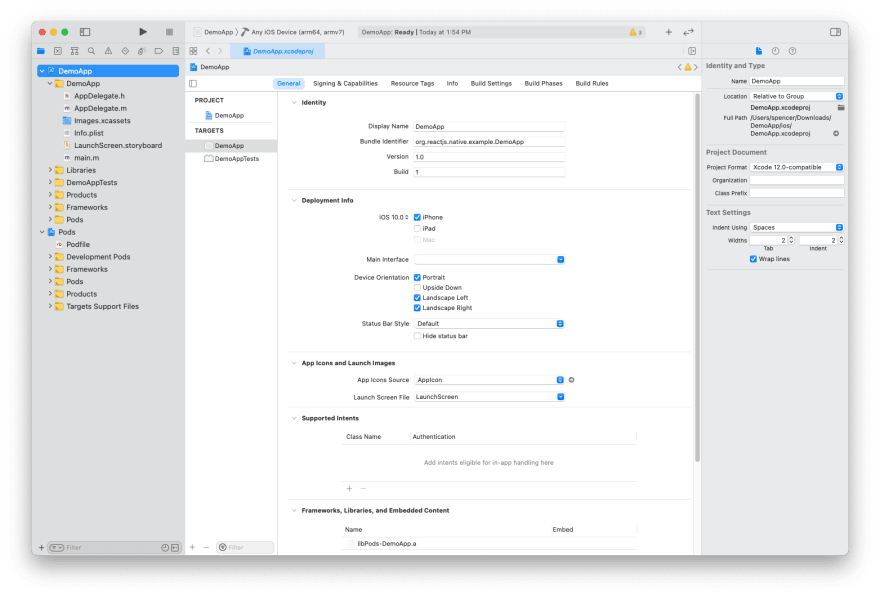
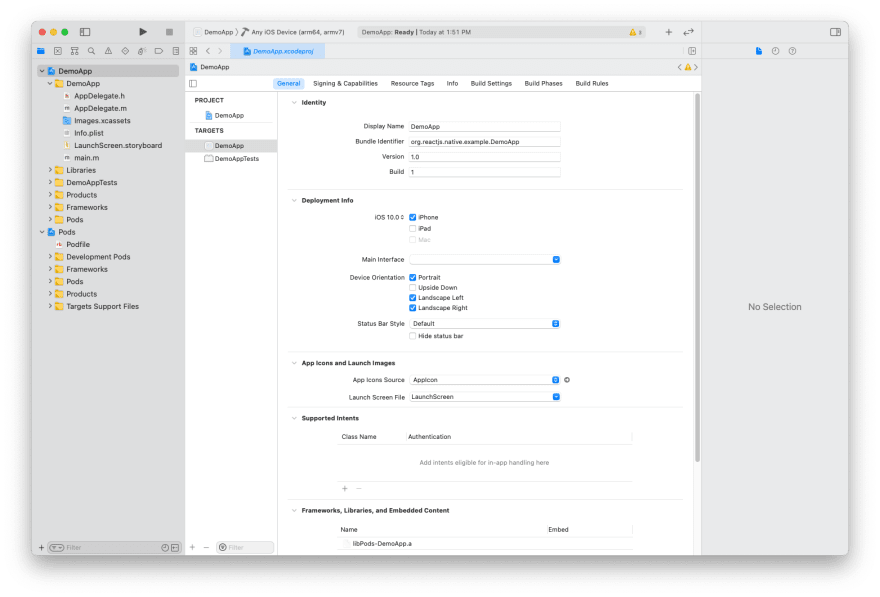
Jumping back over to the Navigator area if you select the directory that corresponds with your project name you'll get a new set of screens.
Within the Editor area select the [Project Name] within "Targets" and you'll see a set of options across the top of the editor area. We'll take a look at "General" for now.
This is essentially a GUI to edit your Info.plist. This screen specifically handles a lot of your configuration.
- App display name (shown on the user's screen)
- Bundle Identifier (used for setting certificates and permissions)
- Version and build number
- Target devices and OS versions
- App icon and launch screen source files
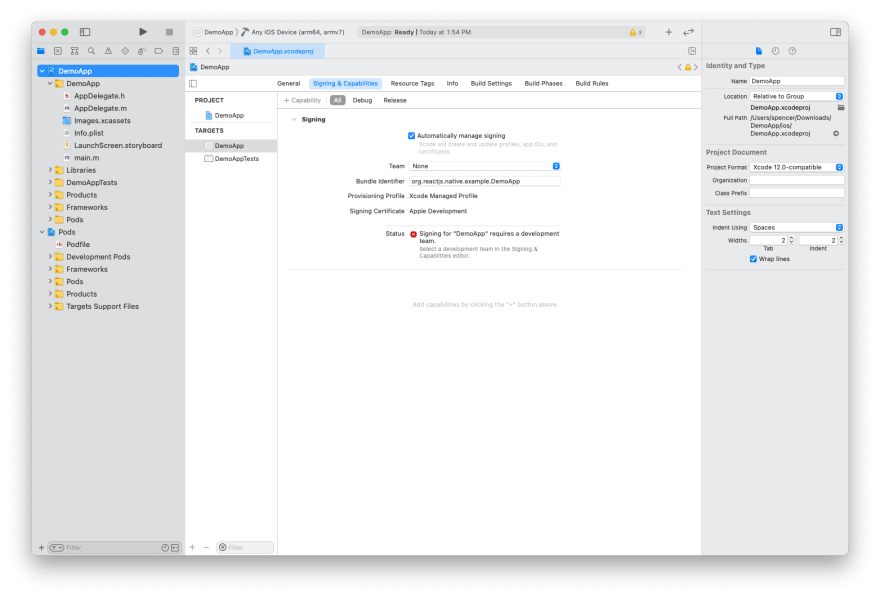
In that same submenu is "Signing & Capabilities". This is used to associate the app with the developer account that will be used to sign your app before uploading it.
And that's a basic rundown of the main screens within Xcode that I use when building React Native apps! Have a question about one? Let me know!

Top comments (0)