
At Specify, we want to help you work better as a product team. As a developer, one of your job is to implement design tokens in your codebase. And let's face it, manually updating design data is cumbersome.
Specify helps you collect design data from Figma and distribute it in the right format, in the right project, at the right time, and to top it all: automatically.
Let's see how to sync design tokens and assets from Figma to a web project using SCSS variables.
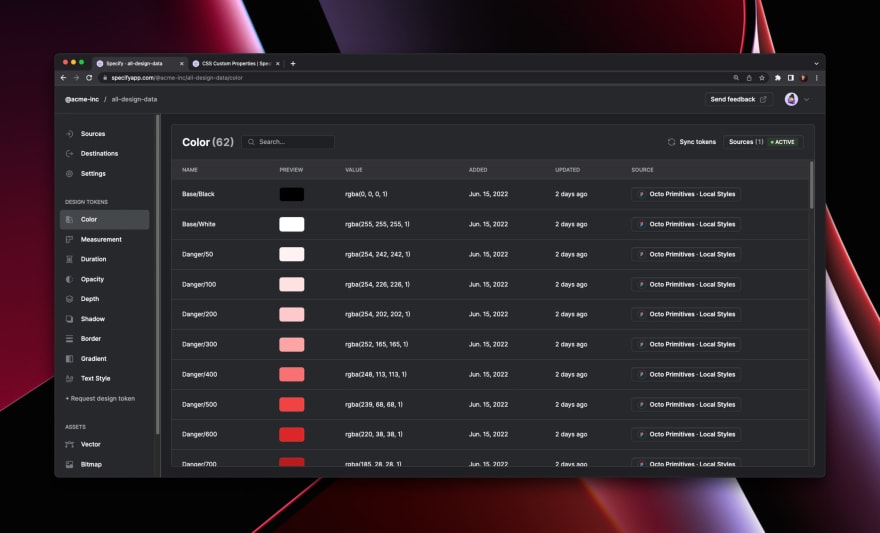
We'll pull design data from the following Specify repository:
We'll generate the following files:
🗂 output
└── 🗂 styles
│   └── colors.scss
│   └── fonts.scss
│   └── text-styles.scss
├── 🗂 assets
|   ├── 🗂 fonts
└── └── 🗂 vectors
Prerequisites
Before anything else, please make sure you have:
- created a Specify account
- collected design data from Figma to a Specify repository
Specify is a Design API.
You can pull design data from Specify through:
- The Specify REST API
- The Specify CLI
- Our native GitHub application
Using the CLI
The Specify CLI helps you get design tokens and assets from Specify right from the terminal or even in a CI/CD pipeline.
Here's a short video tutorial to help you use the CLI to generate SCSS variables:
Installation
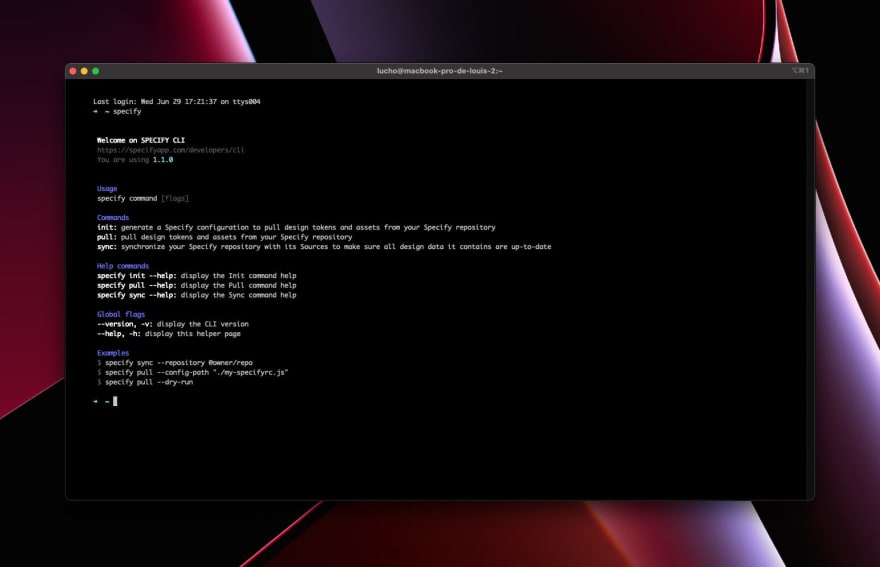
First of all, let's install the Specify CLI: yarn global add @specifyapp/cli.
Once the Specify CLI is installed, run the specify command. You should get the following menu:
Configuration
Specify is flexible. It was designed to adapt to your needs and not the other way around. However you must configure Specify to get design tokens and assets that fit your needs.
We want:
- our design tokens to be pulled and transformed as SCSS variables
- our icons and our font files to be pulled, converted and optimized
First, let's create a .specifyrc.json Specify configuration inside our project folder.
Instead of writing our configuration manually, let's use our Configuration Template for SCSS variables.
We could copy the suggested .specifyrc.json (CLI) template inside our config file. However, we could use this template right from the CLI thanks to the specify init command.
This commands help you setup a Specify configuration file right from the CLI:
- You either choose to use a dedicated configuration template or start from scratch
- You choose your template
- You choose your configuration format (
.jsor.json)
Finalizing the configuration
Our configuration is almost done but we still need to change a couple of things:
- We must set the Specify
repositorywe're pulling design data from. In our case we're pulling design data from theall-design-datarepository created in the@acme-incorganization. - We must generate a new personal access token and set it in the
personalAccessTokenproperty
Our final configuration is:
{
  "repository": "@acme-inc/all-design-data",
  "personalAccessToken": "1518676e8cb6a7d5f909acdaa59a00ae9d1f72263e49d1211a52e6303f7f2ece",
  "rules": [
    {
      "name": "Colors",
      "path": "./output/styles/colors.scss",
      "filter": {
        "types": [
          "color"
        ]
      },
      "parsers": [
        {
          "name": "sort-by",
          "options": {
            "keys": [
              "name"
            ]
          }
        },
        {
          "name": "to-scss-variables",
          "options": {
            "formatName": "camelCase",
            "formatTokens": {
              "color": "hex"
            }
          }
        }
      ]
    },
    {
      "name": "Text Styles",
      "path": "./output/styles/text-styles.scss",
      "filter": {
        "types": [
          "textStyle"
        ]
      },
      "parsers": [
        {
          "name": "kebabcasify",
          "options": {
            "keys": [
              "name"
            ]
          }
        },
        {
          "name": "sort-by",
          "options": {
            "keys": [
              "name"
            ]
          }
        },
        {
          "name": "to-scss-mixin-text-style",
          "options": {
            "exclude": [
              "color",
              "text-indent",
              "vertical-align",
              "text-align"
            ],
            "relativeLineHeight": true,
            "genericFamily": "serif"
          }
        }
      ]
    },
    {
      "name": "Fonts Declaration",
      "path": "./output/styles/fonts.scss",
      "filter": {
        "types": [
          "font"
        ]
      },
      "parsers": [
        {
          "name": "to-css-font-import",
          "options": {
            "formats": [
              "woff",
              "woff2"
            ],
            "genericFamily": "sans-serif",
            "fontsPath": "../assets/fonts"
          }
        }
      ]
    },
    {
      "name": "Fonts Import",
      "path": "./output/assets/fonts",
      "filter": {
        "types": [
          "font"
        ]
      },
      "parsers": [
        {
          "name": "convert-font",
          "options": {
            "formats": [
              "woff",
              "woff2"
            ]
          }
        }
      ]
    },
    {
      "name": "Assets / Vectors",
      "path": "./output/assets/vectors",
      "filter": {
        "types": [
          "vector"
        ]
      },
      "parsers": [
        {
          "name": "kebabcasify"
        },
        {
          "name": "svgo",
          "options": {
            "svgo": {
              "js2svg": {
                "pretty": true
              }
            }
          }
        }
      ]
    }
  ]
}
This configuration is now ready to be executed.
Let's run it by executing: specify pull.
The pull command helps you pull design data from the Specify repository you set in the repository property of your configuration. It tells Specify to read and execute your configuration and so it can generate design tokens and assets in your project.
Using the GitHub app
The Specify GitHub app helps you distribute your design tokens and assets from your Specify to your GitHub repositories. Every changes detected in your Specify repository creates a Pull Request in your GitHub repositories.
How to do this:
- Head over to your Specify repository you want to pull design data from
- Go to your repository Destinations page
- Add a Destination
- Select GitHub app
- Select your GitHub account and your GitHub repository
- Select the "SCSS" template
- Create the Pull Request
- Merge the Pull Request on GitHub
- A new Pull Request containing your design data is created 🎉
Let's sum things up
Thanks for reading!
We've learned how to sync our design tokens and assets from Figma to a web project.
We've used the SCSS Configuration Template in two ways:
- with the Specify CLI to pull design data in a local directory
- with the Specify GitHub app to pull design data in our GitHub repository
Did enjoy the tutorial? Please do share! Don't see the configuration template you're looking for? Feel free to request a template.

Oldest comments (0)