I will show you how to install Tailwind CSS and React locally in this step-by-step guide!
Create a new project
Start by creating a new React project, by opening the terminal and run
npx create-react-app my-project
This usually takes a couple of minutes.
After the installation of your React project is complete, go ahead and cd over to your project folder in the terminal and run
cd my-project
npm start
You should now see this on http://localhost:3000

Delete items
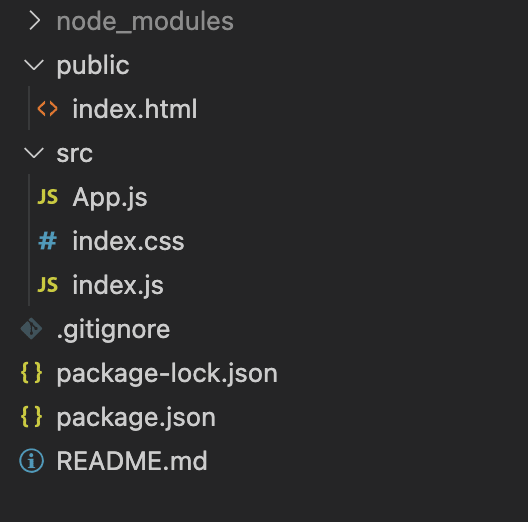
We are now going to delete everything in the src and public folder except for index.html, App.js, index.css, and index.js
Your project folder should look like this:
Editing files
Go ahead and replace everything in your index.html with this
<!DOCTYPE html>
<html lang="en">
<head>
  <meta charset="UTF-8">
  <meta http-equiv="X-UA-Compatible" content="IE=edge">
  <meta name="viewport" content="width=device-width, initial-scale=1.0">
  <title>React Tailwind Starter</title>
</head>
<body>
  <div id="root"></div>
</body>
</html>
Replace your index.js with this
import React from "react";
import ReactDOM from "react-dom";
import "./index.css";
import App from "./App";

ReactDOM.render(
    <App />,
  document.getElementById("root")
);
Open your App.js and replace the code with
import React from "react";

function App() {
  return (
  <div>
    <h1 className="text-2xl text-red-900">Hello World!</h1>
  </div>
  )
}

export default App;
And the index.css
@tailwind base;
@tailwind components;
@tailwind utilities;
Installing Tailwind CSS
Now it is time to install Tailwind CSS and its dependencies. We do this with npm. Inside your terminal run npm i -D tailwindcss@npm:@tailwindcss/postcss7-compat @tailwindcss/postcss7-compat postcss@^7 autoprefixer@^9This will install Tailwind, Post CSS 7 and Auto prefixer to your project.
CRACO
Create React App Configuration Override is an easy and comprehensible configuration layer for create-react-app.
We need to install CRACO, since Create React App won't let us override the PostCSS configuration.
So let's install CRACO withnpm i @craco/craco
Open your package.json and replace
"scripts": {
    "start": "react-scripts start",
    "build": "react-scripts build",
    "test": "react-scripts test",
    "eject": "react-scripts eject"
  },
with this
"scripts": {
    "start": "craco start",
    "build": "craco build",
    "test": "craco test",
    "eject": "react-scripts eject"
  },
You now need to create a file named craco.config.js in the root of your project. Copy and paste this inside
module.exports = {
  style: {
    postcss: {
      plugins: [
        require("tailwindcss"),
        require("autoprefixer"),
      ],
    },
  },
}
Tailwind configuration
Create your Tailwind CSS configuration file:npx tailwindcss initAnd replace everything in tailwind.config.js with this:
  module.exports = {
   purge: ["./src/**/*.{js,jsx,ts,tsx}", "./public/index.html"],
    darkMode: false, // or 'media' or 'class'
    theme: {
      extend: {},
    },
    variants: {
      extend: {},
    },
    plugins: [],
  }
This will purge the unused CSS in public/index.html and any .js, .jsx, .ts, .tsx files in any folders inside the src folder.
If you run npm start and your site looks like this, then everything is working as it should! 
Resources:
Tailwind CSS
React
CRACO


Top comments (0)