
In the past months, I’ve noticed a trend where I download the same exact packages to my freshly installed Laravel application — which I’ve decided to coin as the L.I.T.T.R stack. LITTR standing for Laravel - Inertia - Tailwind - Typescript - React. Yes, I can already hear your sigh of yet another acronym being introduced to the Laravel stack. However, I feel this write up is necessary because I’ve noticed a common theme of having to reference my other projects just to get this combination of packages to work together. In this blog post, I will show you how to quickly get started with the L.I.T.T.R stack.
1. Install Laravel
In order to get started, we need a Laravel project to work with. That can be done with a quick composer command like so:
$ composer create-project --prefer-dist laravel/laravel littr-stack
2. Install Server Side Inertia
First we want to set up Inertia on the server side by adding it as a composer dependency like so:
$ composer require inertiajs/inertia-laravel
Then create the file resources/views/app.blade.php
and add the following code:
<!DOCTYPE html>
<html>
  <head>
    <meta charset="utf-8" />
    <meta name="viewport" content="width=device-width, initial-scale=1.0, maximum-scale=1.0" />
    <link href="{{ mix('/css/app.css') }}" rel="stylesheet" />
    <script src="{{ mix('/js/app.js') }}" defer></script>
    @inertiaHead
  </head>
  <body>
    @inertia
  </body>
</html>
Then create the middleware by running:
$ php artisan inertia:middleware
and then add the following to the App/Http/Kernel.php file:
'web' => [
    // ...
    \App\Http\Middleware\HandleInertiaRequests::class,
],
3. Install React Typescript
Next, we want to prepare React by first installing our npm packages:
$ npm install react react-dom @types/react @types/react-dom
then add Typescript by running:
$ npm install ts-loader typescript @babel/preset-react --dev
after that we want to create the tsconfig.json file and add the following:
{
    "compilerOptions": {
        "target": "es5",
        "lib": [
            "dom",
            "dom.iterable",
            "esnext"
        ],
        "allowJs": true,
        "skipLibCheck": true,
        "strict": true,
        "forceConsistentCasingInFileNames": true,
        "noEmit": false,
        "esModuleInterop": true,
        "module": "esnext",
        "moduleResolution": "node",
        "resolveJsonModule": true,
        "isolatedModules": true,
        "jsx": "preserve",
        "incremental": true,
        "baseUrl": ".",
        "paths": {
            "@/*": [
                "resources/js/*"
            ]
        }
    },
    "include": [
        "next-env.d.ts",
        "**/*.ts",
        "**/*.tsx"
    ],
    "exclude": [
        "node_modules",
        "public"
    ]
}
4. Install Client Side Inertia
Next we want to set up Inertia on the client side by adding it as a npm dependency like so:
$ npm install @inertiajs/inertia @inertiajs/inertia-react
then delete the file by running:
$ rm resources/js/bootstrap.js
and convert our app.js file to typescript by running
$ mv resources/js/app.js resources/js/app.tsx
then add the following code to your app.tsx
import React from 'react'
import {render} from 'react-dom'
import {createInertiaApp} from '@inertiajs/inertia-react'

createInertiaApp({
    resolve: name => require(`./Pages/${name}`),
    setup({el, App, props}) {
        render(<App {...props} />, el)
    },
})
5. Install Tailwind
Lastly, we want to install Tailwind by running the following commands:
$ npm install -D tailwindcss postcss autoprefixer
then initialize your config file like so:
$ npx tailwindcss init
then update your tailwind.config.js with the following code
module.exports = {
    content: [
        "./resources/**/*.blade.php",
        "./resources/**/*.js",
        "./resources/**/*.jsx",
        "./resources/**/*.tsx",
        "./resources/**/*.vue",
    ],
    theme: {
        extend: {},
    },
    plugins: [],
}
and then update your resources/css/app.css with the following code
@tailwind base;
@tailwind components;
@tailwind utilities;
and lastly update your webpack.mix.js with the following code
mix.ts('resources/js/app.tsx', 'public/js')
    .react()
    .postCss('resources/css/app.css', 'public/css', [
        require('tailwindcss'),
        require('autoprefixer'),
    ]);
6. Test Our Code
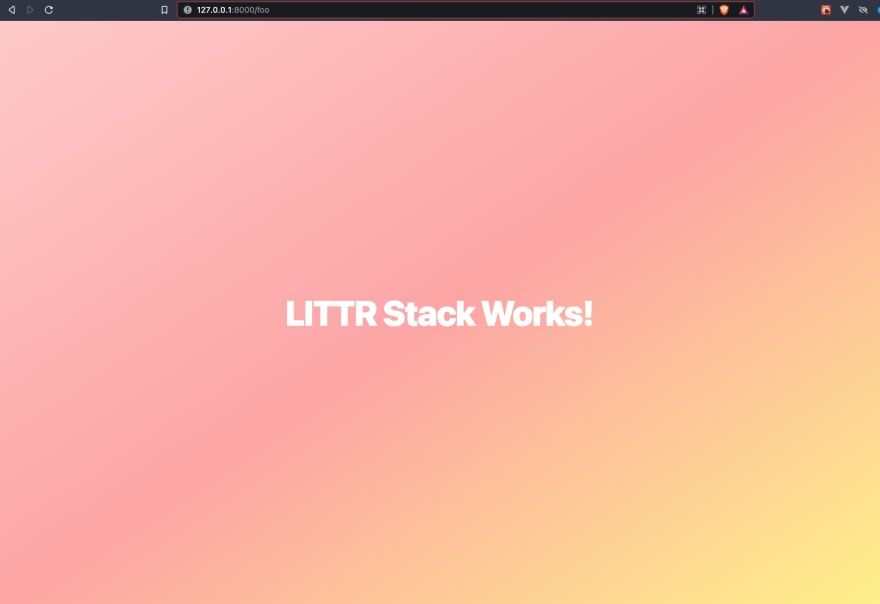
Create a new file resources/js/Pages/Foo.tsx then add the following code:
import {FunctionComponent} from "react";

const Foo: FunctionComponent = () => {
    return (
        <div className="h-screen bg-gradient-to-br from-red-200 via-red-300 to-yellow-200 flex items-center justify-center">
            <h1 className="text-white text-center text-6xl font-extrabold tracking-tight">LITTR Stack Works!</h1>
        </div>
    )
}

export default Foo;
Then update routes/web.php to include the following:
Route::inertia('foo', 'Foo');
Then compile our client side code by running:
$ npm run dev
After that we can start our server by running:
$ php artisan serve
and then visit http://127.0.0.1/foo
FYI, the page should look like this:

Top comments (1)
Nice ...