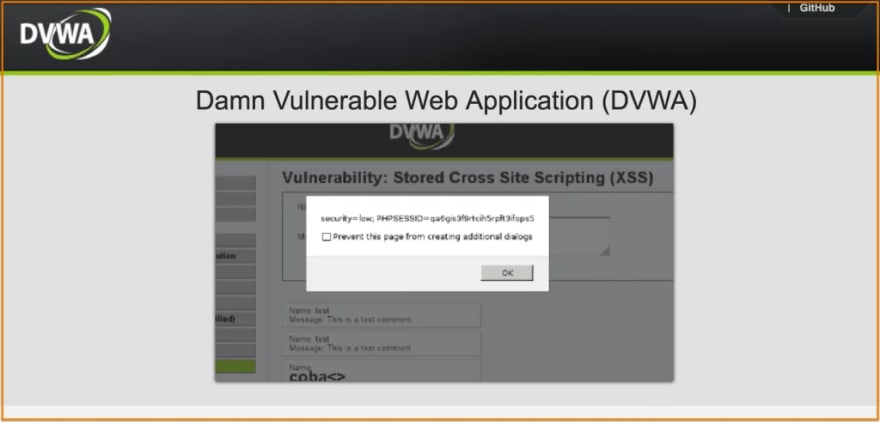
In this tutorial, I'll demonstrate you to setup Damn Vulnerable Web Application (DVWA) along with Apache, MySQL, PHP on localhost. It's always been a concern for newbies that where they should practice and explore the vulnerabilities. If you are one of those guys, DVWA would be for you to figure it out yourself. I will help you create a hacking environment into your Linux distro to practice and test your skills.
If you are new to Web Security and want to get ahead in the field of CyberSecurity. I'd suggest that you read 'Kickstart Your Web Application Security Career', you'll richly benefit from the tips and resources provided.
Attacks Covered in DVWA
- Brute Force
- Command Execution
- CSRF
- File Inclusion
- SQL Injection
- SQL Injection (Blind)
- Shell Uploading
- XSS ( Reflected )
- XSS ( Stored)
Prerequisites:
Virtual Machine: VirtualBox
Linux Distro: Kali Linux, Parrot Security OS or elementaryOS ( or any other Linux Distribution)
I prefer using elementaryOS which is Lightweight Linux based distribution, but you can follow the same instructions for Kali Linux which is aimed at advanced Penetration Testing and Security Auditing. Remember, we need to use a virtual machine and not a connected server because DVWA is really vulnerable and should only be installed on your virtual machine with NAT. Having that said - Let's get started.
Setup & Install DVWA Into Your Linux Distribution
DVWA is made with PHP and MySQL for security professionals or aspiring security professionals to discover as many issues as possible and exploit some of the most commons vulnerabilities of web platforms like SQL injection, Cross Site Scripting (XSS), Cross Site Request Forgery (CSRF), and more.
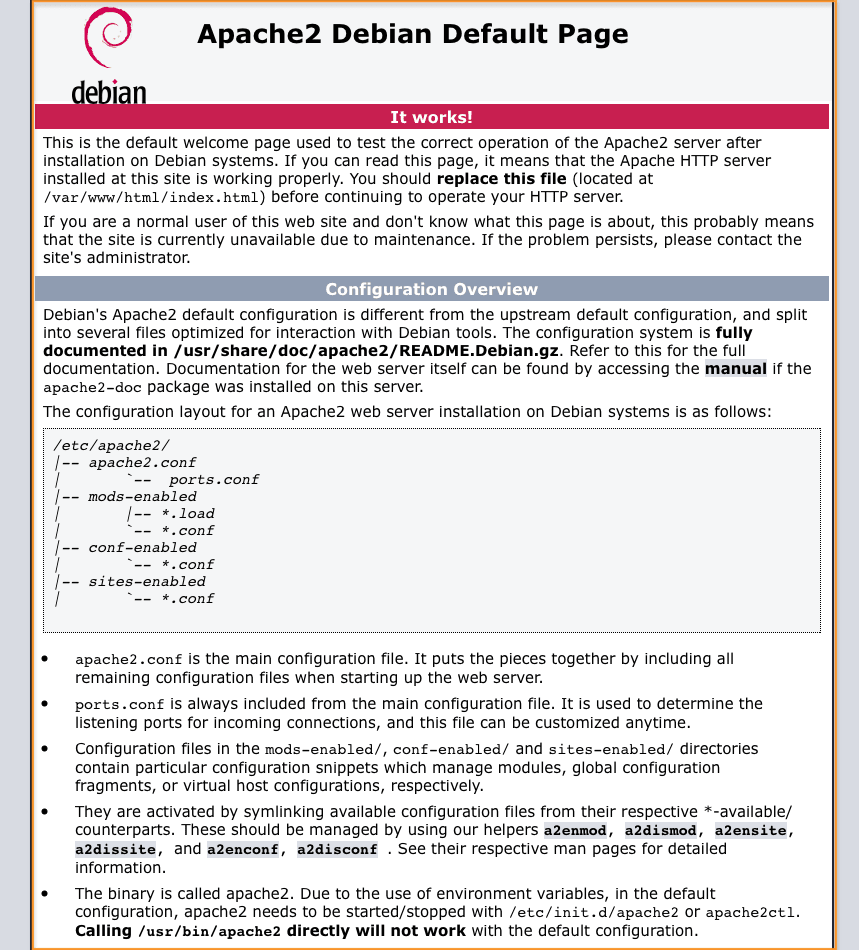
Step 1. Setup Web server (Install Apache)
- To install Apache, Open your Terminal and type the following:
sudo apt install apache2
Once done, type 127.0.0.1 in the browser and you will see the default Apache 2 web page, similar to this:
When you are done looking at this test page, you can remove it by typing the following command:
sudo rm /var/www/html/info.html
Step 2. Download DVWA
We need to download the archive of DVWA from Github.
- To install Git, type following command:
sudo apt-get install git
- Go to the apache2 folder.
cd /var/www/html/
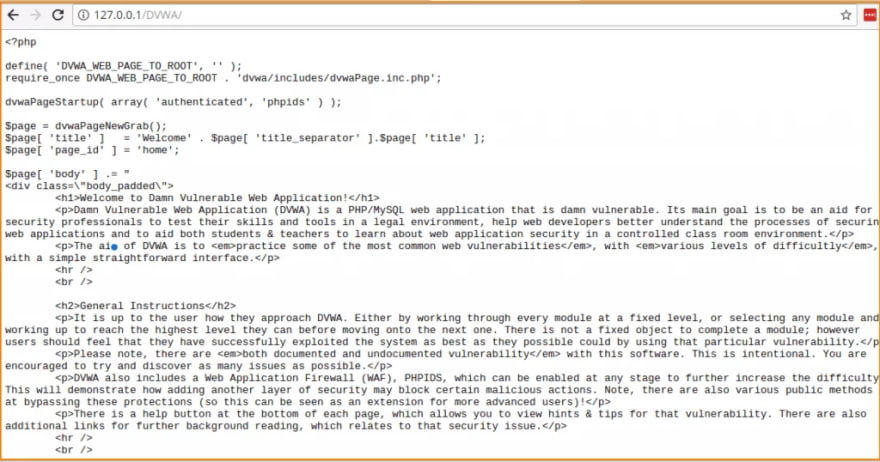
- Clone DVWA from Github, type the following command:
sudo git clone https://github.com/ethicalhack3r/DVWA.git
Once done, type 127.0.0.1/DVWA/ in the browser and you will see the DVWA page, similar to this:
- Change permissions for DVWA
sudo chmod -R 777 /var/www/html/DVWA/
Step 3. Install MySQL
The next component for Setting up DVWA is Installing MySQL.
- To install MySQL, type the following:
sudo apt install mysql-server
Note that the installation routine may ask you to create a new password for the root MySQL user. Once you have completed all of the required steps, your MySQL installation should be completed. Let's double-check that our new MySQL server is running. Type this command:
mysql -u root -p
Enter the root password you created for MySQL when you installed the software package. Once in, the following to get the server status, version information and more:
status
This is a good way to ensure that you’ve installed MySQL and are ready for further configuration.
- Restart Apache Server
sudo service apache2 restart
-Create Database and User
To create a MySQL database and user, follow these steps:
At the command line, type the following:
mysql -u root -p
Type the MySQL root password, and then press Enter.
To create a database, type the following command:
CREATE DATABASE dvwadb;
To create a database user, type the following command. Replace dvwausr with the user you want to create, and replace dvwa@123 with the user's password:
CREATE USER 'dvwausr'@'127.0.0.1' IDENTIFIED BY 'dvwar@123';
Grant permission, type the following command:
GRANT ALL PRIVILEGES ON dvwadb.* TO 'dvwausr'@'localhost' IDENTIFIED BY 'dvwa@123';
Once done, exit the application by typing either of the following commands:
\q (or) exit
Step 4. Install PHP5
For our last component in DVWA Installation, we will setup and install PHP. Installing this on your VM is quite easy.
- To install PHP, simply type the following command:
sudo apt install php5 or sudo apt install php5.6
Agree to the installation and PHP 5 will be installed on your Server.
- Restart Apache Server
sudo service apache2 restart
Now, let’s take a moment to test the PHP software that you just installed. Move into your public web directory:
cd /var/www/html
Once there, use the text editor to create a file named info.php by typing the following command:
sudo vim info.php
This command will use the command line editor vim to open a new blank file with this name. Inside this file, type the following:
- Inside this file, copy paste the following:
<?php phpinfo(); ?>
- Save your changes by entering:
:wq!
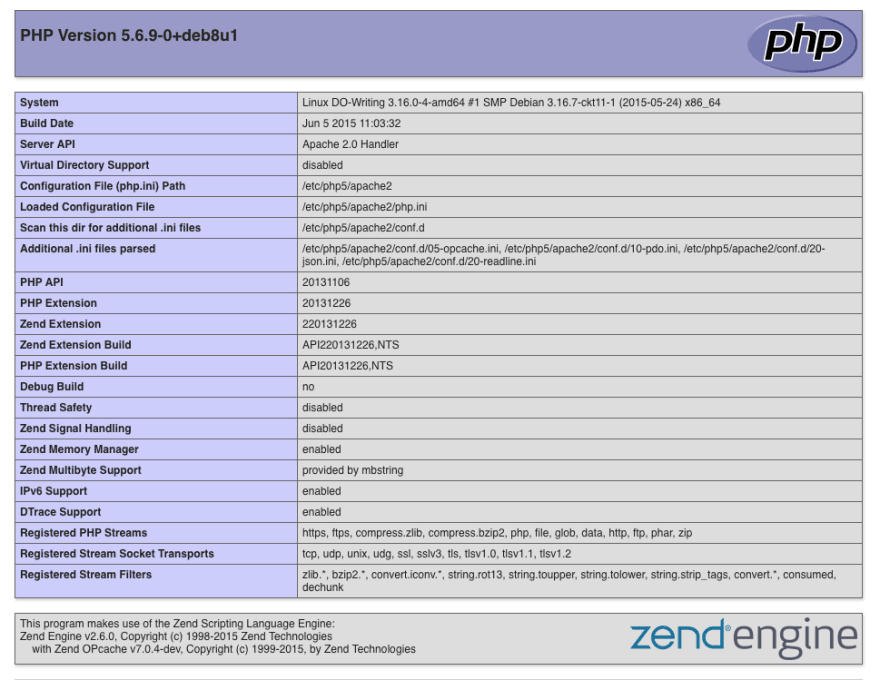
Once done, open your web browser and type your localhost IP address in the browser.
(Example IP Address) http://127.0.0.1/info.php
You will see the default PHP information page, similar to this:
When you are done looking at this test PHP page, you can remove this file if you want by typing the following command:
sudo rm /var/www/html/info.php
- Install MySQL Extension for PHP.
To Install MySQL Extension for PHP Support, type the following:
sudo apt install php5-mysql
Once done, you have completed the PHP installation required for DVWA.
- Install PHP-GD
DVWA requires a module for PHP which is not installed into Kali Linux or elementaryOS. So we need to add a Debian source for APT.
sudo add-apt-repository 'http://ftp.de.debian.org/debian sid main'
sudo apt update
sudo apt install php5-gd
Once done, you have completed the PHP installation for DVWA.
Step5. Configure DVWA
Now we are ready to edit the source of PHP config files to make sure your web application connects to the database and has got a working captcha. You can obtain reCaptcha keys from your Google Account by clicking here.
We will use the text editor to edit the configuration typing the following command:
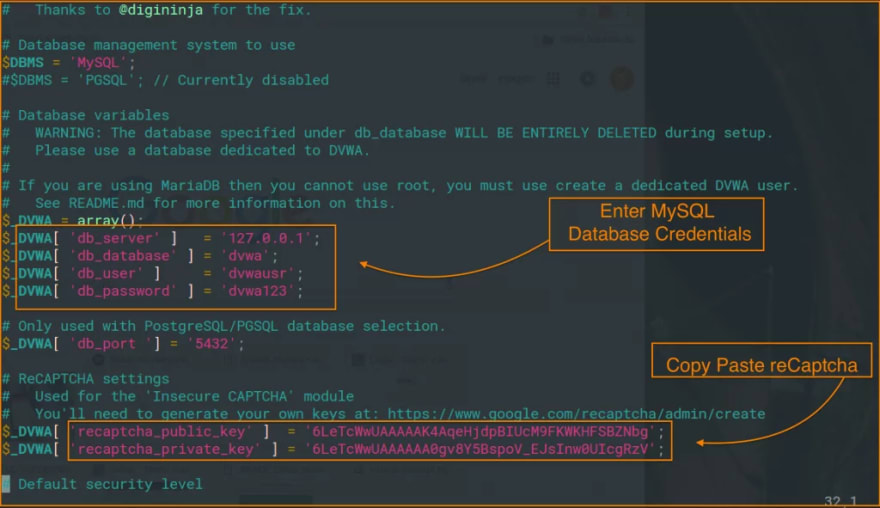
sudo vim /var/www/html/dvwa/config/config.inc.php.dist
Add the database name, user, and password of the MySQL database.
Enter reCaptcha keys.
Here’s a screenshot on how your file needs to be after editing.
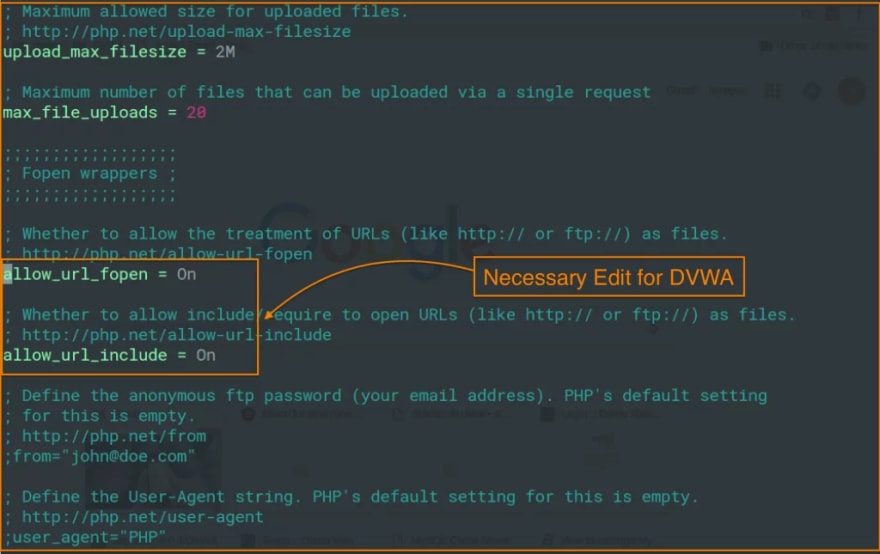
Once done, we need to edit the main config (php.ini) file for apache2, which is not correctly overridden for DVWA by default.
sudo vim /etc/php5/apache2/php.ini
- Enable Allow_url_fopen
- Enable Allow_url_include
This is necessary to exploit the file upload vulnerability. Here's a screenshot for php.ini after making changes.
After saving changes for php.ini, we need to follow few more steps.
- Install Iceweasel
sudo apt install iceweasel
- Restart Apache
sudo /etc/init.d/apache2 restart
- Restart MySQL Service
sudo /etc/init.d/mysql restart
Once done, you have completed the required configuration for DVWA.
- Test DVWA Installation
iceweasel http://127.0.0.1/DVWA/setup.php
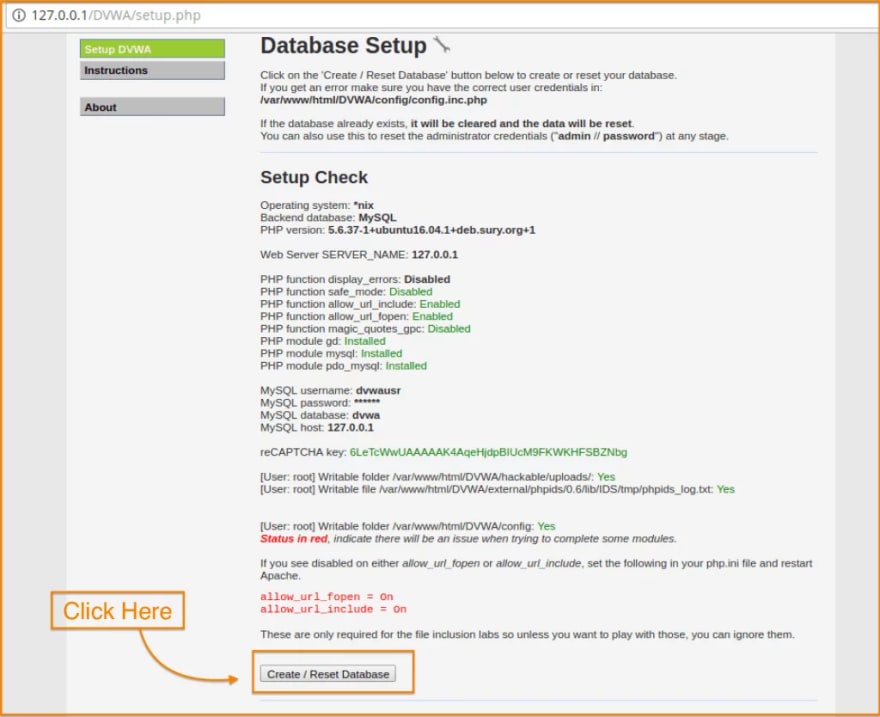
You will be redirected to the web browser and the page similar to this will be in front of you.
When you are done looking at this DVWA Setup page, you can click on Create / Reset Database button. You will be redirected to the login page.
- Use MySQL User and Password to Login

Now, login to change the strength of vulnerabilities by clicking on “DVWA Security”.
DVWA Security Options for Attacks:
Low Level: Low-Level Security gives you the freedom to exploit all known vulnerabilities means there will be no security in a given framework and hence you can try all attacks if you are using it first Time.
Medium Level: Medium security will have all entry-level validations and filtration which can stop any script kiddie to get the benefit of available vulnerabilities.
High Level: High Level is kind of Zero Day environment and if you can breach it then that means you are on the right track to becoming a VAPT Expert.
Start with Low level.
You’re done. 🍻
So, we have setup a simple vulnerable web application on localhost. You can now Explore DVWA interface.
If you encounter any errors during the installation or have questions, Let us know in the comments below!

Top comments (0)