
This post was originally shared on my blog. Read create a react blog using gatsby.
Some weeks ago, my colleague shared the Gatsby blog that he created for his personal blog.
He has also written a good post on JavaScript Proxies that you will enjoy reading.
Whenever I see a new website, I immediately head over to Google's pagespeed insight to find out the speed of the page. I was astonished by the speed that the page was able to achieve.
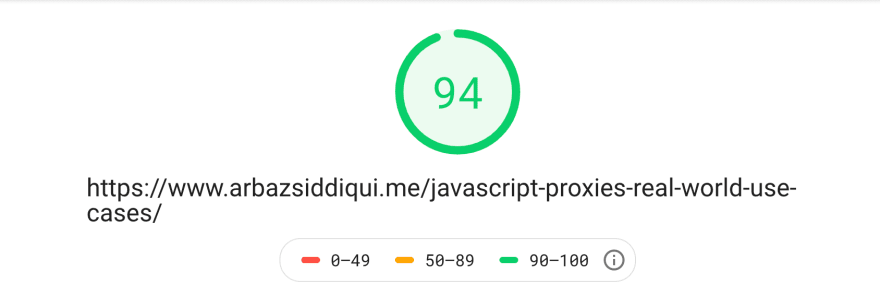
Honestly speaking I was never able to reach to those numbers on the Jekyll blog.
So, I started working on my personal Gatsby blog. This post will contain all the details which I happen to do to make this blog to the stage it is currently at.
Also, currently I don't have the concept of private posts on this blog, I am unable to keep it private when it is clearly not finished. You have to bear with for this.
Final result
The final blog after this series is going to be present on this URL.
Prerequisites
I don't think there are any prerequisites required to start a blog using Gatsby and Netlify CMS, It is fairly easy to set up if you know how to make changes and use basic GitHub.
The basic things required for this specific version of post are:
Domain Name
I already had a domain name which I was already using. It will still work if you don't have it though. 🙏
GitHub Account
To follow this tutorial, you will need to have a GitHub account where the code for the blog can reside. There are other ways to keep the code, but I think GH provides the easiest way to maintain your code.
Netlify Account
You will also need account on Netlify so that you can deploy and
The rest of the stuff we are going to figure out during the course of the post.
Let's begin
Choose a theme
You can choose from a list of themes that are available. Most of them has deploy on Netlify button which will deploy it directly on Netlify and can save the code to your Netlify Account. Next time you make any change to your code, netlify will automatically detect the change and deploy the change.

I choose the basic gatsby-theme-blog. Just click on the deploy button and choose Connect to GitHub the code and it will host the code on GitHub. Finally, choose the name of the Repository that you want to contain the code in.
Making the changes
Once your site is deployed on something.netlify.com, you can clone the code locally and start making the changes.
git clone https://github.com/your_repo/repo_name
For more information on various git commands check this post.
The first thing to change if the gatsby-config.js file. Change siteMetadata as follows
  siteMetadata: {
    title: `Tutorial blog`,
    author: `Ranvir`,
    description: `Basic description of the blog`,
  ...
Push the code and you will see the changes being deployed in your Netlify account. https://app.netlify.com/sites/your_site_id/deploys.
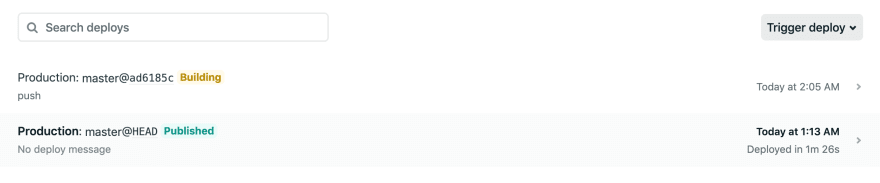
git push origin master
After some time the changes will be available on the current website.
Adding Netlify CMS
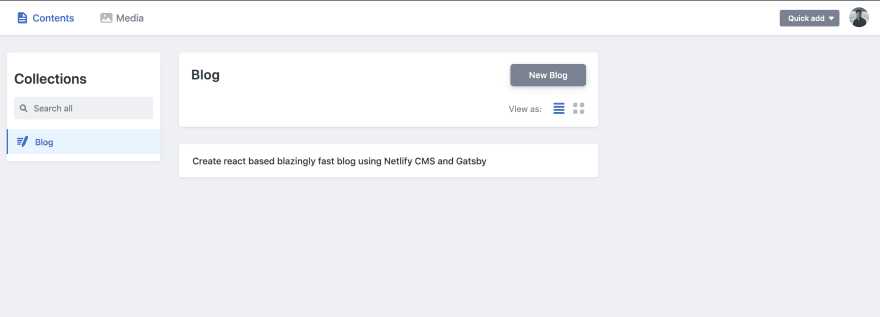
Adding Netlify CMS will help you to quickly make changes to your posts and deploy them with a click of a button. All your posts are at a single place.
You can create and edit your posts easily using the Netlify CMS.
For adding Netlify CMS and allowing editing using GitHub Login, you will have to add a static directory to the root of your code.
Add this to the static/admin/config.yml file.
backend:
  name: github
  repo: singh1114/tutorial
  branch: master

media_folder: static/img
public_folder: /img

collections:
  - name: "blog"
    label: "Blog"
    folder: "content/posts"
    create: true
    slug: "{{slug}}"
    editor:
     preview: false
    fields:
      - { label: "Title", name: "title", widget: "string" }
      - { label: "Publish Date", name: "date", widget: "datetime" }
      - { label: "Image", name: "image", widget: "string", required: false }
      - { label: "Tags", name: "tags", widget: "list", required: false }
      - { label: "Description", name: "description", widget: "string" }
      - { label: "Body", name: "body", widget: "markdown" }
You can change the fields using widget guide according to your needs.
After deploying this you can access the website's admin panel on https://web.netlify.com/admin.
For turning on the GitHub login on your website's admin page, so that only you can edit the posts, you will have to turn on the OAuth access using your Netlify account.
Just go to the settings tab > Access Control > OAuth >Install Provider. For installing, you will need auth credentials which you can generate using the GitHub Application page
Add your netlify address as the home page URL and https://api.netlify.com/auth/done as callback.
Once done, you will be able to Login to the admin panel and make changes to the posts directly.
Adding Redirects
As I already told you that I had a domain name and I wanted the website to be hosted on that https://blog.ranvir.xyz and not on something.netlify.com. For this we will need to set up CNAME record in your domain name provider.
You can find more about what record to set with simple google search.
In my case, where I was using a subdomain, I had to use blog as a host and something.netlify.com as value.
After that is done you can redirect, something.netlify.com to blog.ranvir.xyz by creating a redirect file.
Create static/_redirects file and add the following content to it.
# Redirect default Netlify subdomain to primary domain
https://something.netlify.com/* http://blog.ranvir.xyz/:splat 301!
This will create a 301 permanent redirect.
Adding Google Analytics
Adding analytics to your website can be very useful, you can check how many people are looking at your website at every given moment.
You just have to install a basic npm package and add the Google Analytics tracking ID to your code.
npm install --save gatsby-plugin-google-analytics
Now change the code in the config file.
module.exports = {
  plugins: [
    ...
    {
      resolve: `gatsby-plugin-google-analytics`,
      options: {
        trackingId: 'UA-*******-*'
      }
    },
    ...
You can take the tracking ID from the Google Analytics dashboard.

Top comments (1)
If anyone wants to join the reddit discussion: reddit.com/r/gatsbyjs/comments/fn7...