Before we start working on anything, we want to make sure to clone this repository so that you can easily edit your work and make pull requests locally.
First time connecting with GitHub from your computer? Check out this website on Connecting to GitHub with SSH
Prepare:
- Open Visual Studio Code (VS Code) on your computer
- We will be using VS Code as our code editor
- Open a new terminal (top menu > Terminal > New Terminal)
Run the following commands in the terminal to create a space for your work in Camp.Dev:
-
pwdto "print working directory" (check the name of the directory/folder you are currently working in) -
lsto see what's inside this directory -
mkdir Camp-Dev(make directory) to create a new directory for all your Camps -
cd Camp-Devto "change directory" (move) into the new folder that you just created
Run the following commands in the terminal to clone the repo:
-
git initto initialize the repository -
git clone [link-to-repo]to create a copy of this repo on your device -
lsto check the name of the folder that you just cloned -
cd [folder-name]to "change directory" (move) into the new folder that you just cloned -
git branchto check which branch you're currently in (should say eithermainormaster) -
git checkout -b w1s1(w1s1 = week 1 step1) to create a new branch (this should automatically move you to the new branch you create) - Optional:
git checkout w1s1to change branch to w1s1 (you can use this command when you have previously made a branch and don't need to create a new one)
This is what your terminal should look like:
![]()


How to make a Pull Request
-
git branchto check which branch you're in -
git pullto pull any updates from the remote (online) repository (repo) -
git checkout w1s1if you're in main, move to w1s1 for week 1 step 1 with (or the name of the branch you were editing in) -
git add notes.mdto add the files you were editing-
git add .will add all the changed files including all new ones (use this when you edit or add multiple files to save time)
-
-
git commit -m "[your-commit-message]"change [your-commit-message] to specifically what changes you are committing- make sure there are no errors in this step
- if there are errors and you're not sure how to proceed, reach out to an instructor on the Bit Project Discord
-
git pushto push all changes to the remote repo
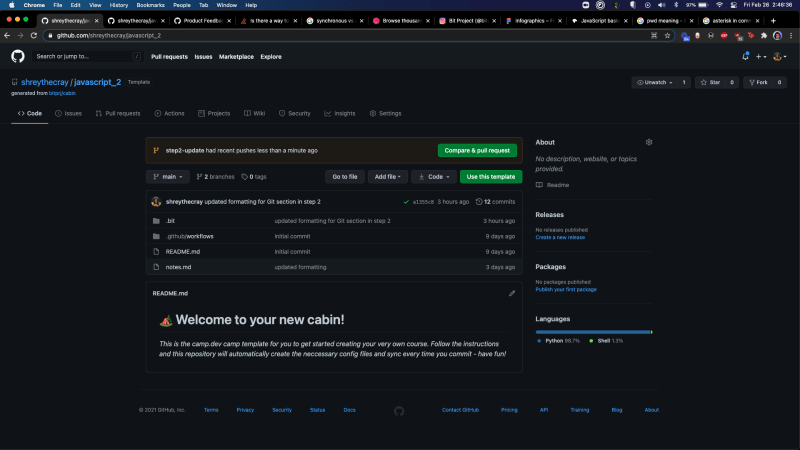
go to the github website and check to see if it updated notes.md with the changes you made on your computer
-
click on the button that says: "Compare & Pull Request"
leave a comment stating which specific step this PR is for
-
create the pull request
- if there are any merge conflicts and you're not sure how to proceed, reach out to an instructor on the Bit Project Discord


Top comments (0)