Hello artisans how's everything going as a Laravel developer? Hopefully great. Working in Laravel locally or in production we need to work with datatables in many manners. Now We will see the yajra datatable with proper oriented steps to handle small and huge data records. Usually most of the developers render data on the client-side using jQuery Datatables. But when the volume of data is big, server-side rendering can boost performance. In this article, I'll discuss the process of rendering datatables on server-side using one of the most popular packages out there.
Table Of Contents
Prerequisite
Basically the prerequisite will already filled up with Laravel installation because you have to have composer and installed Laravel project to use yajra as well
To install Laravel demo application latest version use the below command
composer create-project laravel/laravel demoapp
Installation & Configuration
In the Laravel project folder demoapp and open command prompt to execute this command to get the latest updated version of yajra package
composer require yajra/laravel-datatables
Now need to published the vendod files
php artisan vendor:publish --provider="Yajra\DataTables\DataTablesServiceProvider"
Now in your 'demoapp/composer.json' file you can see this yajra added to your application.
 "require": {
        ...,
        "yajra/laravel-datatables-oracle": "^9.18"
    },
Then you have to add those providers and aliases array's in root/config/app.php file
'providers' => [
    ...,
    Yajra\DataTables\DataTablesServiceProvider::class,
    ],

'aliases' => [
    ...,
    'DataTables' =>Yajra\DataTables\Facades\DataTables::class,
    ],
after adding the line in provider list
then need to run this command to update and published the vendor files
php artisan vendor:publish --provider="Yajra\DataTables\DataTablesServiceProvider"
Now good to go and serve the application, with artisan command
php artisan serve
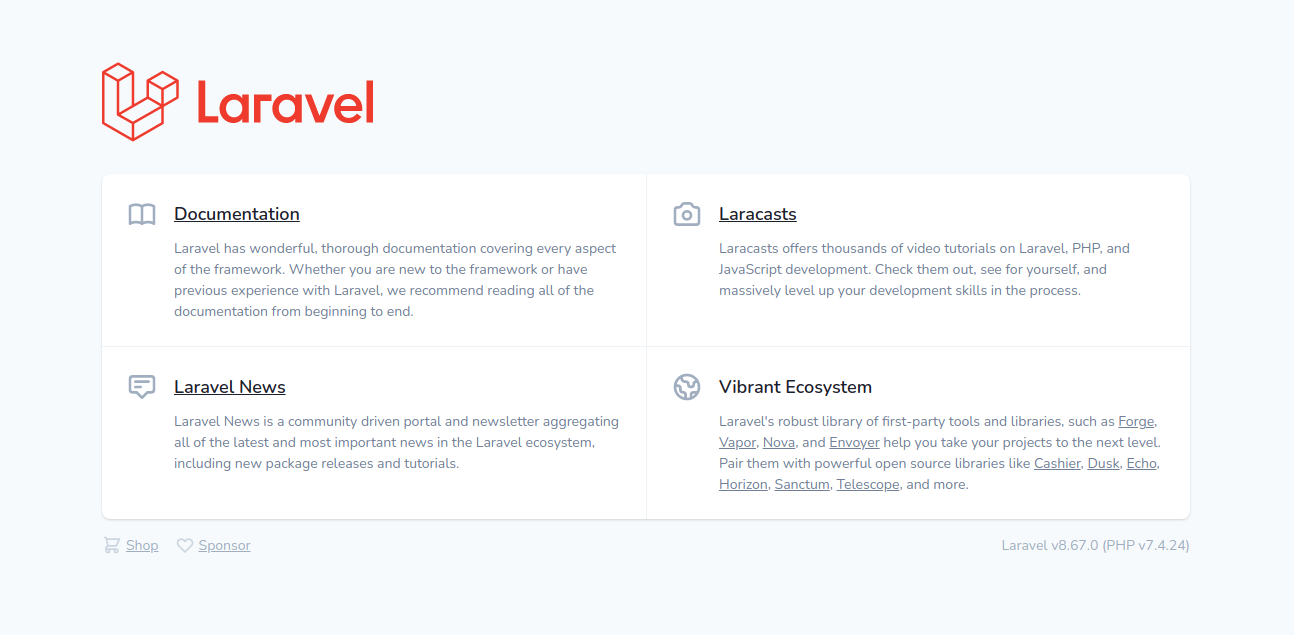
``` now type this url in the browser to see the welcome page of laravel `http://127.0.0.1:8000/`

<h3>
<a name="ModelandMigrations" href="#ModelandMigrations" class="anchor"></a>
Model and Migrations
</h3>
To set up the database we need to create a model and migration table for the schema. run this command to create a model and migration at the same time.
```php
php artisan make:model Customer -m
We are creating a customer schema table for our demoapp and the -m is responsible for creating the migration table.
Open up the database/migrations/2021_10_05_100745_create_customers_table file and create the customer table schema.
<?php

use Illuminate\Database\Migrations\Migration;
use Illuminate\Database\Schema\Blueprint;
use Illuminate\Support\Facades\Schema;

class CreateCustomersTable extends Migration
{
    public function up()
    {
        Schema::create('customers', function (Blueprint $table) {
            $table->id();
            $table->string('name');
            $table->string('phone')->unique();
            $table->string('email')->unique();
            $table->string('address');
            $table->timestamps();
        });
    }

    public function down()
    {
        Schema::dropIfExists('customers');
    }
}
Open up the app/Models/Customer.php to add the $fillable array in the Customer Model.
<?php

namespace App\Models;

use Illuminate\Database\Eloquent\Factories\HasFactory;
use Illuminate\Database\Eloquent\Model;

class Customer extends Model
{
    use HasFactory;

    protected $fillable = [
        'name',
        'phone',
        'email',
        'address',
    ];
}
Database Connection
Create a database to connect with the laravel application. I'm using MySQl database for my demoapp now got to the demoapp/.env file and the database name and connection setup
DB_CONNECTION=mysql
DB_HOST=127.0.0.1
DB_PORT=3306
DB_DATABASE=demoapp
DB_USERNAME=root
DB_PASSWORD=
Dummy Data With Faker
we need to create some dummy data to test the yajra-datatables. using faker and DatabaseSeeder.
need to this
php artisan make:factory CustomerFactory --model=Customer
command to create CustomerFactory go to the database/factories/CustomerFactory.php and add those code
<?php

namespace Database\Factories;

use App\Models\Customer;
use Illuminate\Database\Eloquent\Factories\Factory;

class CustomerFactory extends Factory
{
    protected $model = Customer::class;

    public function definition()
    {
        return [
            "name" => $this->faker->name(),
            "phone" => $this->faker->phoneNumber,
            "email" => $this->faker->safeEmail,
            "address" => $this->faker->address
        ];
    }
}
in the database/seeds/DatabaseSeeder.php file add this line
<?php

namespace Database\Seeders;

use Illuminate\Database\Seeder;

class DatabaseSeeder extends Seeder
{
    public function run()
    {
        \App\Models\Customer::factory(1000)->create();
    }
}
now run this command to seed data into the database
php artisan migrate --seed
now we got 1000 customer data in the database
Controller & Routes
Need to create a CustomerController for the functions for fetch data and display in the Yajra database.
php artisan make:controller CustomerController
In the app/Http/Controllers/CustomerController.php need to write the method for fetching the data dynamically into the yajra datatables
<?php

namespace App\Http\Controllers;

use DB;
use DataTables;
use App\Models\Customer;
use Illuminate\Http\Request;


class CustomerController extends Controller
{
    public function customer(Request $request)
    {
        if ($request->ajax()) {
            $data = DB::table('customers')->latest()->get();
            return Datatables::of($data)
                ->addIndexColumn()
                ->addColumn('action', function($row){
                    $actions =
                    '<a href="#" class="btn btn-sm btn-primary">Edit</a>
                    <a href="#" class="btn btn-sm btn-danger">Delete</a>';
                    return $actions;
                })
                ->rawColumns(['action'])
                ->make(true);
        }
    }
}
Now let's create a route for handling the request responses
<?php

use Illuminate\Support\Facades\Route;
use App\Http\Controllers\CustomerController;

Route::get('/', function () {
    return view('welcome');
});

Route::get('/customer', [CustomerController::class, 'customer']);
Setup Blade Files
Go to resources/views/welcome.blade.php file and set the blade file to show datatable.
<!DOCTYPE html>
<html>
<head>
    <title>Laravel Yajra Datatable</title>
    <meta name="csrf-token" content="{{ csrf_token() }}">
    <meta name="viewport" content="width=device-width, initial-scale=1">
    <link href="https://cdn.jsdelivr.net/npm/bootstrap@5.1.3/dist/css/bootstrap.min.css" rel="stylesheet"">
    <link href="https://cdn.datatables.net/1.10.21/css/jquery.dataTables.min.css" rel="stylesheet">
    <link href="https://cdn.datatables.net/1.10.21/css/dataTables.bootstrap4.min.css" rel="stylesheet">
</head>

<body>

<div class="container">
    <div class="row" style="margin: 1rem;">
        <h2 class="text-center ">Laravel Yajra Datatable</h2>
        <div class="card" style="padding-top:40px; border-radius: 5px;">
            <table class="table table-striped yajra-datatable" style="padding-top:10px;">
                <thead class="">
                    <tr>
                        <th>No</th>
                        <th>Name</th>
                        <th>Phone</th>
                        <th>Email</th>
                        <th>Address</th>
                        <th>Action</th>
                    </tr>
                </thead>
                <tbody>
                </tbody>
            </table>
        </div>
    </div>
</div>

</body>

<script src="https://ajax.googleapis.com/ajax/libs/jquery/1.9.1/jquery.js"></script>
<script src="https://cdnjs.cloudflare.com/ajax/libs/jquery-validate/1.19.0/jquery.validate.js"></script>
<script src="https://cdn.datatables.net/1.10.21/js/jquery.dataTables.min.js"></script>
<script src="https://cdn.jsdelivr.net/npm/bootstrap@5.1.3/dist/js/bootstrap.bundle.min.js"></script>

<script type="text/javascript">
  $(function () {
    var table = $('.yajra-datatable').DataTable({
        processing: true,
        serverSide: true,
        ajax: "{{ url('customer') }}",
        columns: [
            {data: 'id', name: 'id'},
            {data: 'name', name: 'name'},
            {data: 'email', name: 'email'},
            {data: 'phone', name: 'phone'},
            {data: 'address', name: 'address'},
            {
                data: 'action',
                name: 'action',
                orderable: true,
                searchable: true
            },
        ]
    });
  });
</script>
</html>
Here's all the data loaded in server-side

Conclusion
Yajra DataTables server-side processing system is much easier to use and render huge datas within a few minutes. Highly recommended to use yajra datatables.


Top comments (1)
Do you have tutorial on how to make Action buttons work?