
Authentication in rails applications with Devise gem
Authentication is a way to allow users to obtain identification and get identified. it is the process of verifying the identity of an individual.
It also covers cases such as when the user has forgotten their password or when a user would like to sign in through third-party providers. Although that all sounds time-consuming, if not complicated, Devise is here to help.
Integrating Devise
Devise provides us with a lot of features that are easy to integrate with. so Let’s see it for ourselves.
First, let’s grab Devise from RubyGems.org and add it to our gemfile

Now let's do bundle install first to download the gem
Then run rails generate devise:install to boostrap it
We now need to write the following code in app/environment/development.rb. which configures the default host and port for Action Mailer, the module responsible for sending out emails.
config.action_mailer.default_url_options = {
    host: 'localhost',
    port: 3000
  }
Also, let’s change the e-mail’s sender for any emails sent by Devise. This can be done by changing the value of mailer_sender defined in
app/initializers/devise.rb
config.mailer_sender = 'no-reply@example.com'
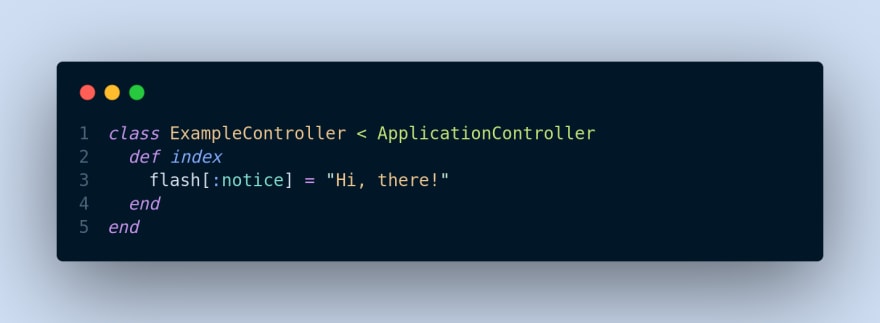
Now we will use flash messages so when a user signs in, for instance, we will let them know that they have successfully signed in.To do that add the following code to app/views/layouts/application.html.erb
<body>
  <p class="notice"><%= notice %></p>
  <p class="alert"><%= alert %></p>
  ......
The notice method displays the string assigned to flash[:notice] at the time the controller is rendering the page. The alert notice is similar; however, it fetches a message associated with flash[:alert].
Because we usually want to customize many session pages, rather than following Devise’s default templates, let’s run rails g devise:views to copy all of Devise’s views into our own app/views folder so that we can customize them as we like
Last but not least, let’s generate the supporting fields which are required by Devise to support various features that come with it.To do that run rails g devise user whereuser is the model name.
Now run rails db:migrate and after the migration, let's check the sign-up form on our app. To do that run rails server
Then go to this address New Form
You will see the sign-up form, auto-generated by devise. It doesn't have any special style, but you can easily take care of that and customize it as you please.
Congratulations, you now know how to install devise in your applications. and you can add more fields to the form as well as styling it however you like.
For the complete guide and reference please check Devise Doc on github
Thank you for reading!

Top comments (0)