Phew! That title is a mouthful.
I have a small office add-in product that I’m building to scratch an itch in actually delivering a product to market. I’ve found the local version quite useful and it’s time to get it into others’ hands.
To ensure users can trust my application, I need to digitally sign it. That was …a pain, so I figured I’d write up how I did it for others’ benefit.
A huge thanks here goes to Kevin Jones for the AzureSignTool utility, which is the only thing that makes this possible in a way I feel confident about.
Ingredients
Today we’ll be making use of:
- A Signing Certificate
- An Azure Subscription
- Azure Key Vault
- Azure Active Directory (AD) app registrations
- AzureSignTool
- Azure DevOps
If you’re not using these exact pieces, my hope is that there’s something in it for you regardless.
Obtaining the Certificate
This was probably the most involved part of the process. I bit the bullet and paid roughly $80/year for an Authenticode signing certificate under the name of my LLC. Once I purchased the certificate, I was contacted by a company named Sectigo. I provided documents to prove that my LLC existed, such as tax records and pointer to us on a state registration web site. However, they also needed to validate my phone number. This led me to register with Dun & Bradstreet for a DUNS number and listing on their site. After a phone interview and a short wait (it can take up to 30 business days; mine took 2, I believe), I had a DUNS number and a listing on their site. This allowed Sectigo to give me the green light on verification and approve the certificate, which I could then download and export.
While the process is unnecessarily cumbersome and annoying, I had to remind myself that certificates are about trust. At the end of the day, I’d much prefer certificate authorities who do their due diligence to those who are lax. So, it is what it is.

Setting up the Azure Pieces
- Log into your Azure account
- Create a resource group. This is so that your related resources can be, well, grouped.

- Add an Azure Key Vault within the resource group. Note the URL of your Key Vault; you’ll need it later.


- Note the Key Vault URL because you’ll use it later.

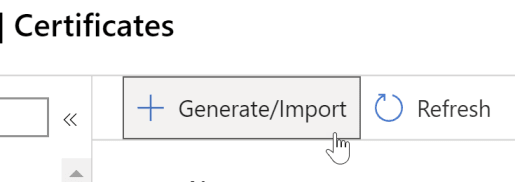
- Import your certificate into the Azure KeyVault, providing your password as you do so. Be sure to give your certificate a descriptive name, e.g.
ComodoAuthenticodeSigningCertificate.


Creating an Application Principal to Allow Access
Okay, so we’ve got the certificate in the Key Vault. But now we need a secure way to access it. But we don’t want any hard-coded direct credentials involved. This is where an application principal comes in handy.
- Within your Azure Portal, go to the Azure Active Directory page.
- In the Application Registration section, register a new application. Give it a descriptive name, and don’t worry about the redirect URL.


- Once it’s created, note the Application ID. This is the “client ID” that we’ll provide to AzureSignTool later.
We’ll also need a secret to pair with the client ID. How do we get that? By adding a client secret.
- In the app registration page, go to the “Certificates & Secrets” section.

- Create a new secret. Give it a descriptive name, e.g.
Access to Key Vault certificate for signing. Be sure to copy the secret somewhere temporarily, as this is the last time you’ll see it.

Granting Key Vault Access to the Principal
Merely creating the principal is not enough to grant us access – we must do so explicitly within the Key Vault.
- Open the Key Vault settings, and go to the
Access Policiessection. Click theAdd Access Policylink.

- Create an access policy that applies to your registered application, e.g. if the app you registered in AD was called
MyApp, this policy should apply to theMyAppuser. - For the access policy, set the below permissions:
| Area | Permissions |
|---|---|
| Key | Verify, Sign, Get, List |
| Secret | Get, List |
| Certificate | Get, List |

- Save your settings.
At this point, the application principal – which we have a client ID and secret for – can now access the Key Vault.
Setting up our Azure DevOps build
I am assuming that you’re using Azure DevOps here, but the steps will generally work as long as you’re executing them in your build system in whatever way it allows.
Firstly, we need to add a command within our Azure DevOps build in order to download the AzureSignTool, which can be installed as a .NET Core Global Tool. Add the below as a step prior to your signing step.
- task: DotNetCoreCLI@2
  inputs:
    command: 'custom'
    custom: 'tool'
    arguments: 'install --global azuresigntool'
  displayName: Install AzureSignTool
Now, we need to add a task to actually do the signing. This is the information you’ll gather:
- The Key Vault URL from earlier
- The Application ID from the app registration
- The Application client secret from the app registration
- The name of the certificate you uploaded
- A list of the files you want to sign.
Once you have those, add the build task to call the AzureSignTool, replacing the brackets and text within them with your values:
…BUT WAIT! Don’t add this directly….see if you can spot why. I’ll explain below.
What’s wrong with this picture?
- task: CmdLine@2
  displayName: 'Sign outputted .exe with global AzureSignTool'
  inputs:
    script: AzureSignTool sign -du "[YOUR_URL]" -kvu "https://[VAULT_ID].vault.azure.net" -kvi "[APPLICATION_ID]" -kvs "[APPLICATION_CLIENT_SECRET" -kvc "[CERT_NAME]" -v [FILES_YOU_WANT_TO_SIGN]
Did you spot the issue? If we drop the client ID and secret right into our build definition, which is right in our source control, are we really that secure? We should probably not keep it there.
- In Azure DevOps, open your pipeline
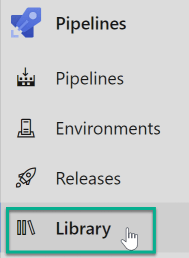
- Click the
Librarymenu.
- Add variables for the signing cert name, the client id, the client secret, and the vault URL.

- Click the lock icon next to the variables to mark them as sensitive.
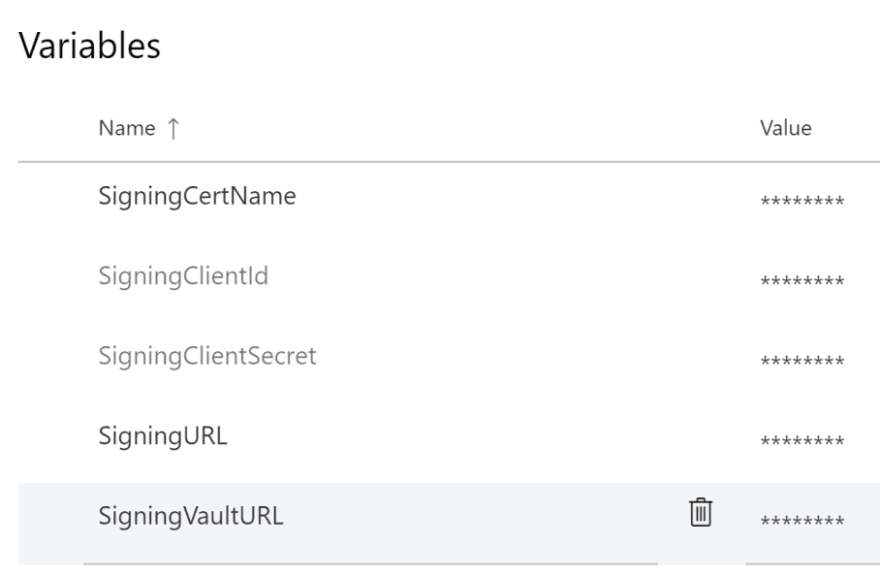
- Save the variables.
Now instead, replace the script of the AzureSignTool call with:
script: AzureSignTool sign -du "$(SigningURL)" -kvu "$(SigningVaultURL)" -kvi "$(SigningClientId)" -kvs "$(SigningClientSecret)" -kvc "$(SigningCertName)" -v $(Build.ArtifactStagingDirectory)\\setup.exe"
Thaaaat’s more like it. Now Azure DevOps will utilize the variables and also not output them in logs, which is nice.
At this point, the build should be able to run your build and sign the files you have listed.
Happy signing! Let me know if you’ve got any questions in the comments.

Top comments (0)