I had a moment of nostaliga the other day. I had the idea to build an app that simulated bubble wrap. That you can pop.
Because that's fun, right?
This post will walk through state in React and using state to render variations of a component.
Set up
When I had this idea, I knew that using React to manage the state of each bubble—popped or unpopped—was the way to go. The state of my Bubble component could look like this.
  state = {
    popped: false,
  }
And my render() function like this:
render() {
  return(
        <div className="bubble"></div>
      )
    }
  }
Ok, so that's a div but with the addition of some CSS...
.bubble {
  background-color: #5fdde5;
  width: 50px;
  height: 50px;
  border-radius: 25px;
}
That div now looks like a bubble.

So many bubbles
Now, I need more than a handful of bubbles (things are really stressful now, ok), but repeating <Bubble /> over and over within <App /> was not ideal.
If I created a <BubbleContainer /> component and loop over as many instances of <Bubble /> that I want, I could then render the one <BubbleContainer /> component to <App />.
The <BubbleContainer /> class component looks like this:
export default class BubbleContainer extends React.Component {

  render() {
    let rows = [];

    for (let i = 0; i < 96; i++) {
      rows.push(<Bubble key={i}/>)
    }

    return (
      <div className="container">{rows}</div>
    )
  }
}
With some styling on the container class, the app now looks like this:
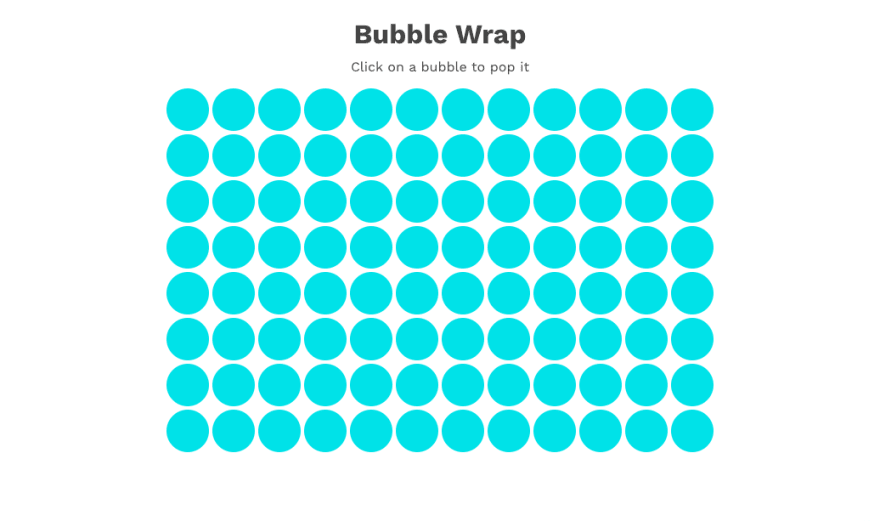
Click to Pop
At this point, it is time to add some interactivity.
Each <Bubble /> has a state of popped which is false by default. When a bubble is clicked, we want to change the value of popped to true and give a visual indication that the state has changed. And, we only want the state to be changed once, since un-poppping a bubble isn't a thing.
We'll update the return statement to include an onClick event which fires a handleClick function:
  handleClick = (e) => {

    if (this.state.popped == false) {
      this.setState({
        popped: true,
      })
    }

  }
Since we want a popped bubble to look different from an unpopped bubble, we can use an if statement to render a <Bubble /> with different classes, that we'll style with CSS:
render() {

    if (this.state.popped === false) {
      return (
        <div className="bubble unpopped" onClick={(e) => this.handleClick(e)}></div>
      )
    } else {
      return (
        <div className="bubble popped" onClick={(e) => this.handleClick(e)}></div>
      )
    }

  }
Our popped and unpopped classes changes the background color of the bubble.
Putting everything together, the Bubble Wrap app looks like this after clicking (or tapping) a few bubbles:

Look at those bubbles!
Recap
Overall, this was a fun way to test if I remember how local state works in React.
From a user perspective, I'd like to have a button or link to get a fresh sheet of bubble wrap (reset the state of all bubbles to popped: false). Some variances in color would be nice, so would some shading/depth to give a more 3D effect. And, technically bubble wrap has a offset by row as opposed to being perfectly lined up.
Considering I spent about two hours building and deploying this, I'm really happy with how it turned out!
-
Bubble Wrap originally posted on shannoncrabill.com

Top comments (0)