
What will we cover
We are going to set up a full NextJS stack including code quality and testing tools. We can use this boilerplate to developer high performance frontends.
Base
VSCode Plugins + Settings
NextJS 12 (React, Typescript)
Chakra UI (React UI Framework)
Code Quality
ESLint (Check for code quality and best practices)
Prettier (Format our code so it looks nice)
Unit/Component Testing
Vitest (Lightweight and fast testing framework)
React Testing Library (Used to make testing React components easy)
E2E Testing
- Playwright (Framework for E2E testing)
Git Hooks
Husky (Makes it easy to work with git hooks)
Lint-staged (Lets us only run linting on the files we commit)
Prerequisites
You probably know this by now, we do need some apps get us started. These would be VSCode (😂 duh!), NodeJS and Yarn.
Creating our project
Keeping this simple. For a more in-depth explanation your best bet would be to check out the NextJS website itself https://nextjs.org/docs/getting-started. We are going to dig straight in.
For the application we are going to use Yarn. There are a few other options you could use like npm or pnpm. There are some differences but they are very minimal. It boils down to personal preference if you ask me.
yarn create next-app --typescript myapp
You should replace “myapp” with the name of your application.
Out of the box this comes already shipped with a lot of goodies we need. We have a dev environment and a basic setup of ESLint. The only thing we need to do is add some of our own tools and make this work nicely in VSCode.
Now, let’s open the folder we just created in VSCode and continue with the next steps
VSCode Plugins
First of all we want to add some plugins to VSCode. This will allow us to have code formatting while we are working coding instead of just only running the linters via the Terminal.
ESLint
Description: Integrates ESLint JavaScript into VS Code.
VS Marketplace Link: https://marketplace.visualstudio.com/items?itemName=dbaeumer.vscode-eslintPrettier — Code formatter
Description: Code formatter using prettier
VS Marketplace Link: https://marketplace.visualstudio.com/items?itemName=esbenp.prettier-vscode
Just these two are fine for now. Later we will add some more optional plugins that will make our coding experience nicer.
Set up Prettier to work with ESLint
First we are going to add the needed packages to our project and the continue to configure.
Install
yarn add -D prettier eslint-config-prettier eslint-plugin-prettier
Settings
We can have a look at the Prettier documentation to see what kind of settings we want to use. These are not set in stone and can be different per project.
Now let’s create a file in the root of our project .prettierrc.js with the following code.
In your project root you should already have a file that is called .eslintrc.json create by the nextJS install. We just need to edit this slightly to integrate prettier.
Basically what this does is telling ESLint to also show prettier errors. This way we can only use one command.
To make our life just a little easier we can add the following line of code to the scripts section of our package.json file.
...
"lint:fix": "next lint --fix",
...
And we can run it.
yarn lint:fix
VSCode settings
Next, let’s add set up some settings so we have formatting while we are coding.
Let’s create the file .vscode/settings.json in the root of our project and paste the following code.
Implement Chakra UI
This step is completely optional. A good UI framework just helps out a lot and Chakra UI is a good option. It has a lot of options, highly flexible, they are up to date and there is good community support.
yarn add @chakra-ui/react @emotion/react@^11 @emotion/styled@^11 framer-motion@^6
Just to make sure everything is working correctly let’s add some Chakra UI components.
We can create/edit these files in the /pages/ directory.
Since React is such a populair framework there are a lot of options available. Vitest is a new framework that is lightweight and fast. One of the nice things is that we do not need babel to run.
Vitest will only run the tests for us but we also need a library that can render the react components. For this we will use React Testing Library.
Let’s get the libraries installed.
yarn add -D vitest @vitejs/plugin-react @testing-library/react jsdom
Next we can add the config for vitest. React Testing Library does not need any additional config.
Let’s create the file vitest.config.ts in the root of the project and add the following code.
We can now add a simple test for the homepage. We have a convention to add the tests inside a folder called __test__ so let’s go ahead and do that.
__tests__/Home.test.tsx
Finally in our package.json in the scripts section we can add the following lines.
...
"test": "vitest",
"test:ci": "vitest run",
"coverage": "vitest run --coverage",
...
Run the test
yarn test:ci
Implement Playwright
For integration or end-to-end testing we will use a framework called Playwright. This framework is also somewhat new and comes packed with a lot of nice features.
Let’s install.
yarn add -D @playwright/test
In the root of our project we can add the file playwright.config.ts with the following content.
In the scripts section of our package.json we can put the following code.
...
"test:e2e": "playwright test",
...
The convention is to create a folder inside the root of our project names e2e where we place our integration tests.
Let’s create a home.spec.ts inside this folder.
Now run the test.
yarn test:e2e
Git Hooks
Now even though our code gets already linted and prettified while we are typing it is always good to run a check before we commit. This way we make sure that every time we commit something it is in the correct format.
We will use two tools for this. The first one is husky, which will make creating git hooks a little easier. The next tool is lint-staged which will make sure we only run the linters on files we actually changed. If your codebase grows it might take a long time to run linters on the whole project. If you just changed one line we can run the linter only on that change.
yarn add -D lint-staged husky
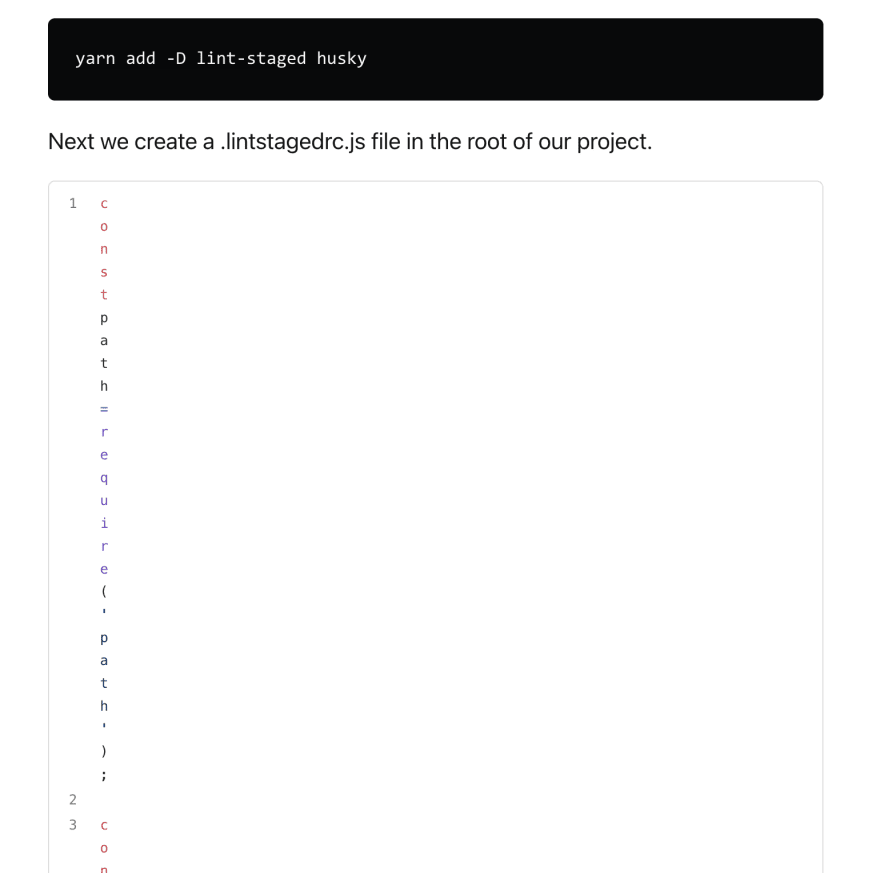
Next we create a .lintstagedrc.js file in the root of our project.
After this to set it up we have to run the husky install script.
yarn husky install
We also have to make sure to again add a line to the scripts section of our package.json file.
...
"prepare": "husky install",
...
Now you will have a .husky folder in the root of your project. In this folder we can add the following two files. They are just called pre-commit and pre-push respectively. As the name suggests one will run before we commit and the other one before we push.
npx husky add .husky/pre-commit "yarn lint-staged"
The above script will run the linter on all our staged files before we commit.
npx husky add .husky/pre-push "yarn lint"
npx husky add .husky/pre-push "yarn test:ci"
npx husky add .husky/pre-push "yarn test:e2e"
This final script will run linters, unit tests, and integration tests before we push our code. This way we can make sure our CI/CD pipelines do not get stuck.
Final Repo
The final result of this all is available on Github.
GitHub - saifbechan/nextjs-ts-eslint-chakraui-vitest-playwright

Top comments (2)
The formatting for the code examples hosted as Github Gitsts appear to be broken. I've viewed on both Chrome and Firefox on Mac and all the code examples display a single character per line. See this image...
Excellent tutorial, thanks for everything.
The only observation is to correct the part where you put the code of the file tests/Home.test.tsx for Vitest, this as an example the Plawright code.