Introduction
MindsDB embeds AI and machine learning into databases to assist groups working with day-to-day data to determine patterns, predict trends, and train models.
Currently, MindsDB offers two types of services to its users.
Not only it transforms traditional databases to AI-enabled tables, but also offers a free version (with 10K rows limit) to all its users around the globe.
So, in this tutorial we will be using MindsDB Cloud to train a Predictor Model that can predict the purchasing power of a country based on its cost_index and monthly_income. You can download the dataset we will use for this tutorial here.
Let's get started now with the rest of the steps.
Adding Data to MindsDB Cloud
We can upload the dataset we downloaded above directly in the MindsDB Cloud GUI and create a table from it easily.
Now let's setup our MindsDB Cloud account first so that we can proceed with the next steps.
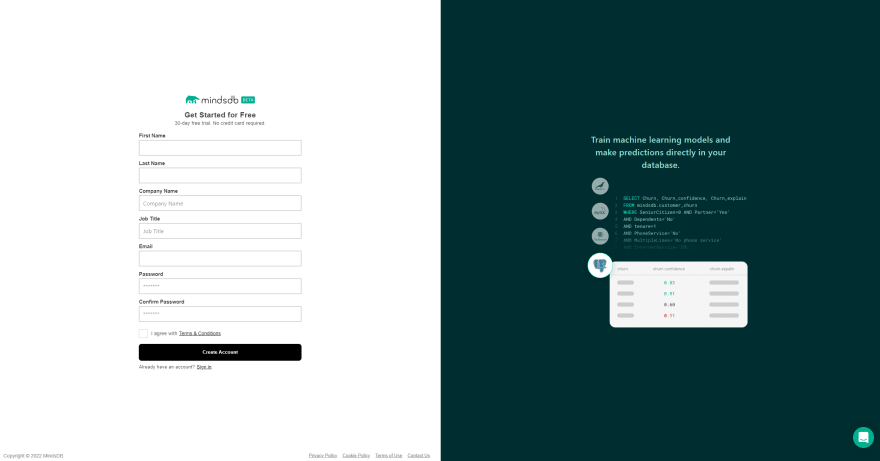
Step 1: Create a new MindsDB Cloud account here if you don't have one or else simply login to your existing account.
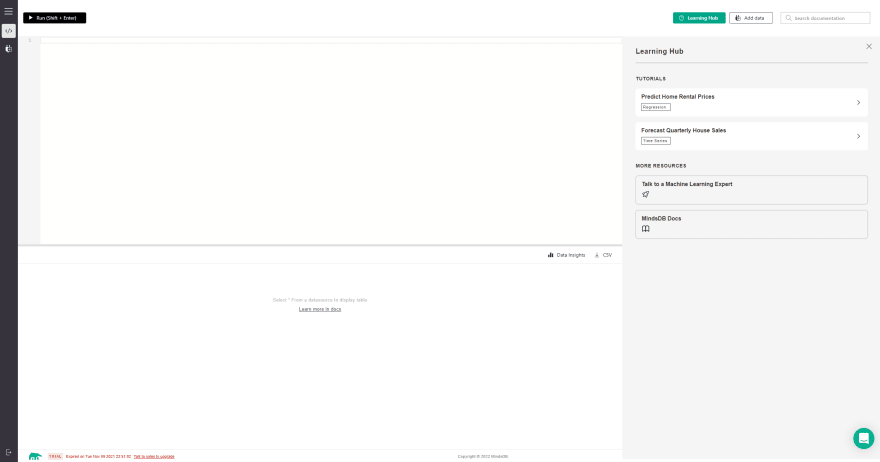
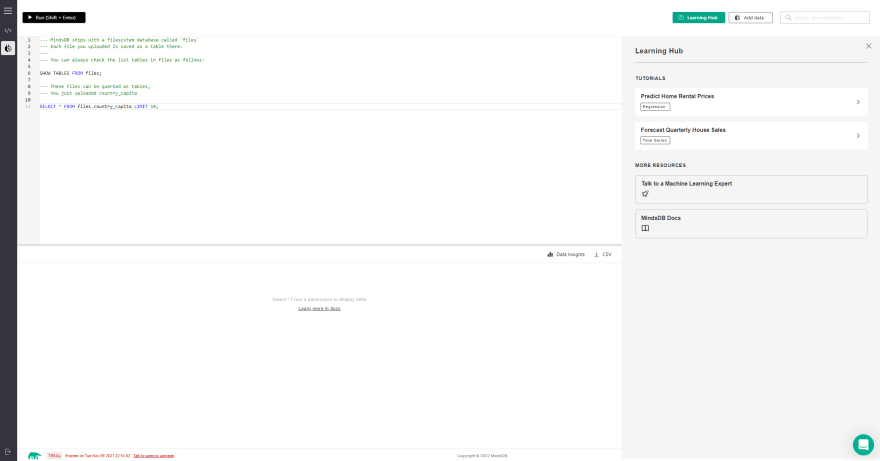
Step 2: Once you're in logged in, you can find the MindsDB Cloud Editor opened up for you.
You will find the Query Editor at the top, there's a Result Viewer at the bottom and Learning Hub resources are present at the right side.
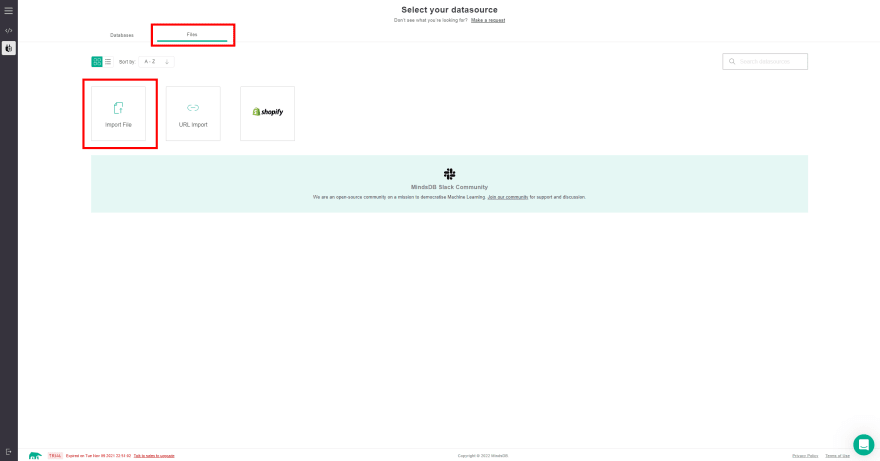
Step 3: Now click on Add Data from the top right corner and switch the tab from Databases to Files. Then hit the Import File button to proceed further.
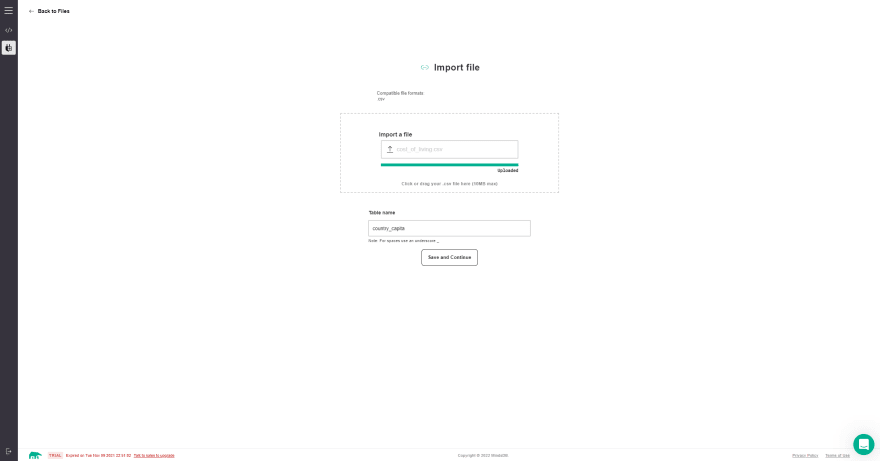
Step 4: Browse and open the .CSV file that you just downloaded on the Import File dashboard, provide a suitable table name in the Table Name field and then hit the Save and Continue button to create a table in the given name with the dataset you just uploaded.
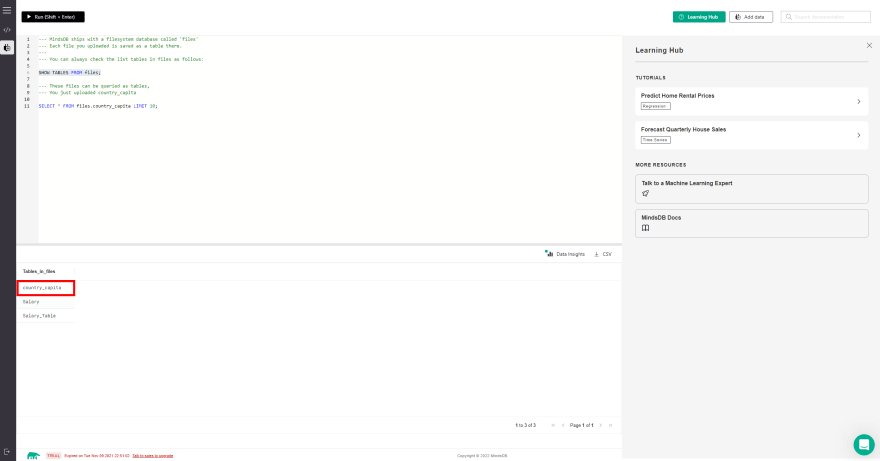
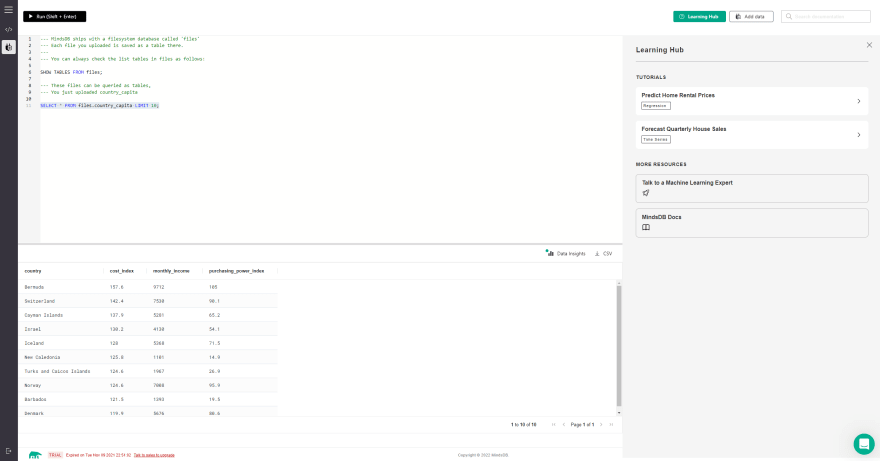
Step 5: Once the file is successfully uploaded, you will be automatically redirected to the MindsDB Cloud Editor page where you can see two queries that we can execute to check whether the table is created with all the proper data or not.
Execute both the queries to check the results.
SHOW TABLES FROM files;
SELECT * FROM files.country_capita LIMIT 10;
We are now ready to move to the next part of the tutorial where we need to train the Predictor model.
Training a Predictor Model
It is really easy to train a Predictor model using MindsDB. We have to just use a basic SQL kind of statement to do the job.
Step 1: We can now simply use the CREATE PREDICTOR statement to create and train a new Predictor model. Find the syntax below.
CREATE PREDICTOR mindsdb.predictor_name       (Your Predictor Name)
FROM database_name                            (Your Database Name)
(SELECT columns FROM table_name LIMIT 10000)  (Your Table Name)
PREDICT target_parameter;                     (Your Target Parameter)
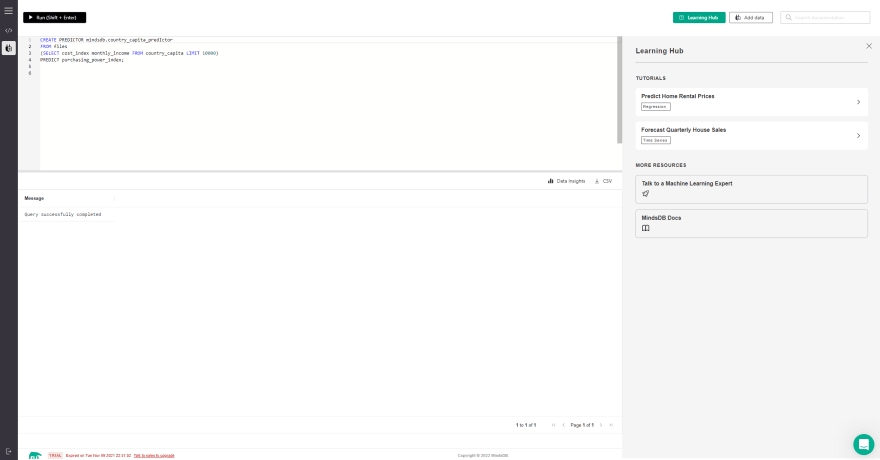
We have to execute this query with the correct parameters required and it should return a successful status in the Result Viewer. The actual query should look something like this.
CREATE PREDICTOR mindsdb.country_capita_predictor
FROM files
(SELECT cost_index monthly_income FROM country_capita LIMIT 10000)
PREDICT purchasing_power_index;
Note: You can only train a Predictor Model with 10K data rows maximum in free version. So, we have used
LIMIT 10000so that the query doesn't error out in case we have more rows in the table.
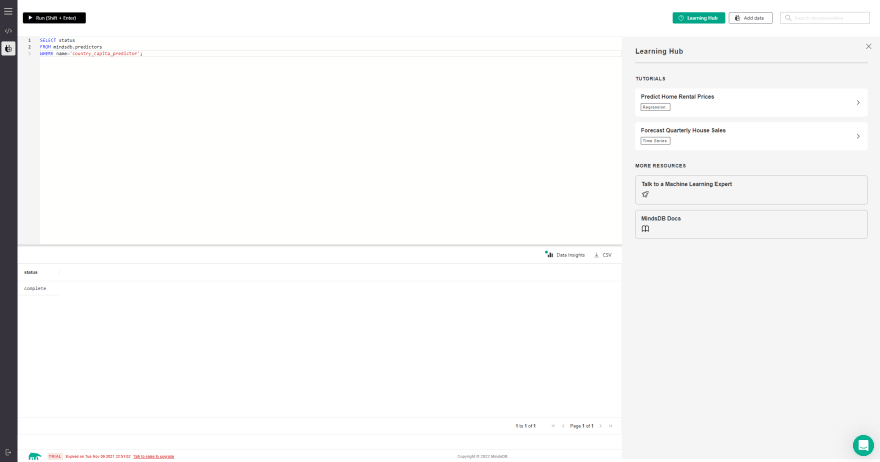
Step 2: Depending on how large the dataset is, the Predictor may take a while to complete its training. Meanwhile, we can check the status of the Predictor with the following statement.
SELECT status
FROM mindsdb.predictors
WHERE name='Name_of_the_Predictor';
Describing the Predictor Model
In this section, we will try to find out some basic details about the Predictor model that we just trained above. MindsDB provides a simple DESCRIBE statement that we can use to query different details about the model.
Basically, we can use the DESCRIBE statement in the following three ways.
- By Features
- By Model
- By Model Ensemble
By Features
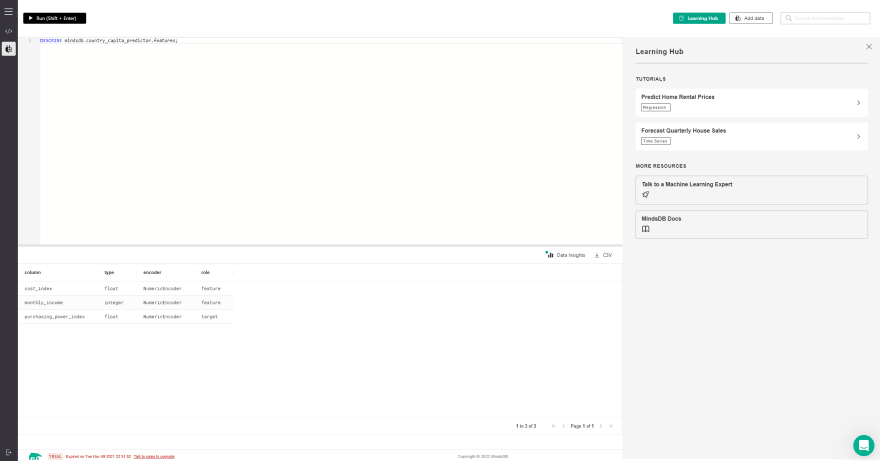
This statement returns the type of encoders used on each column to train the model along with the role that each column serves for the model. The query looks something like this.
DESCRIBE mindsdb.predictor_model_name.features;
By Model
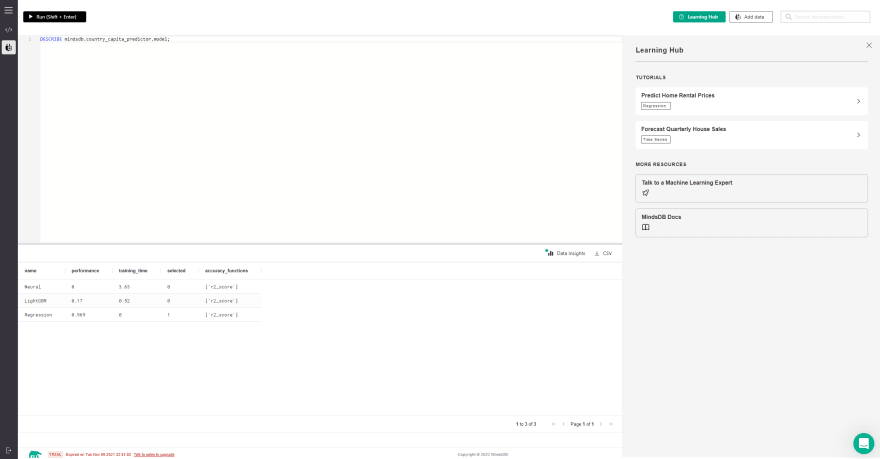
This statement returns the candidate model that is selected for the Predictor to do the predictions. The list contains all the candidate models used while training the data and the one with the highest performance gets selected and the selected column for this is set to 1 while other are set at 0.
The statament should be as follows.
DESCRIBE mindsdb.predictor_model_name.model;
By Model Ensemble
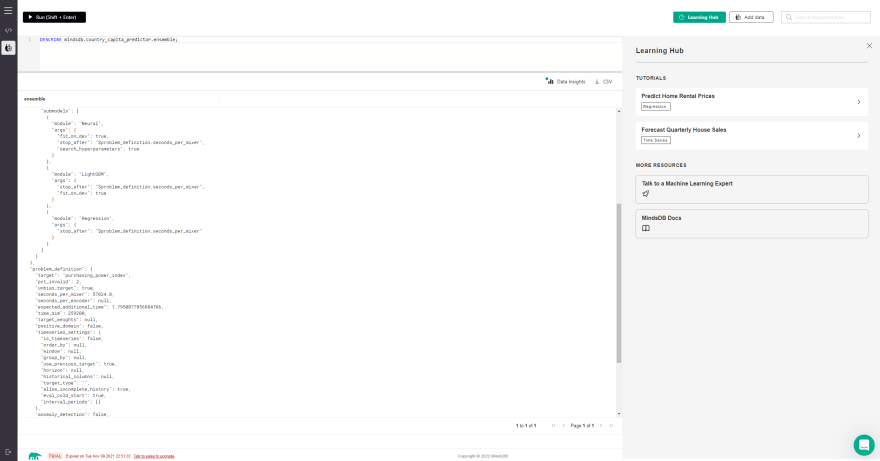
This statement returns a JSON object with a list of different attributes that are considered to select the best candidate model for the Predictor. We can use the query mentioned below to fetch this output.
DESCRIBE mindsdb.predictor_model_name.ensemble;
Querying the Model
The Predictor model is now ready to predict the target values for us. MindsDB eases the user experience as it allows simple SQL-like query statements to do the job.
We will start by predicting the purchasing_power_index value based on only single feature parameter. The query for this will be as follows.
SELECT purchasing_power_index purchasing_power_index_explain
FROM mindsdb.country_capita_predictor
WHERE cost_index =150;
Now, let's try to predict the purchasing_power_index value using both the feature parameters i.e., cost_index and monthly_income. The query will be like the one below.
SELECT purchasing_power_index
FROM mindsdb.country_capita_predictor
WHERE cost_index =200 AND monthly_income=100;
Conclusion
We have now reached the end of this tutorial. It's time for a quick recap now. So, in this tutorial, we set up our MindsDB Cloud account, uploaded our dataset to the MindsDB GUI directly, created a Predictor Model from the uploaded dataset and finally predicted the purchasing power of a country based on the cost_index and monthly_income.
Now, I recommend all of you to create your own MindsDB accounts, find some interesting datasets from the internet and then train some amazing Predictor models with MindsDB. Remember, it's all free to use!
Lastly, before you leave this page, show some support by hitting the LIKE button and also don't forget to key in your feedback below.



Top comments (3)
Really informative article. Looking forward for more such Articles.
Thanks for your kind words, @arman Happy Reading 📖
If you are interested in Android Apps, PC Software and MAC Applications then you can visit our official websites for registered applications which you can download full free without paying any charges.
Nexus Crack
Some comments have been hidden by the post's author - find out more