
Introduction
Are you someone who is so done with their traditional databases?
Are you not able to extract substantial value from your datasets?
Are you worried about using Machine Learning models for your data?
Well, you can now leave all your worries behind as you might have the all-in-one solution with MindsDB. As the name suggests, MindsDB literally adds a mind/brain to you existing database and makes it smarter by enabling easy data predictions from available datasets directly within the databases without any additional setups.
Currently, MindsDB offers both free community versions and paid versions to all of its users and the user gets the ability to choose from two available hosting models i.e., Self-Deployment via Docker/Pip or MindsDB Cloud.
Today let's learn one of the important aspects while using MindsDB i.e., Creating Views.
Creating a View will require two things.
- A Dataset
- A Predictor Model
So, let's get started with adding a dataset followed by creating the predictor model.
Importing the Dataset
We will use MindsDB Cloud to perform all the operations required to create a view. Let's begin by logging in/ signing up to the MindsDB account and then following the steps below.
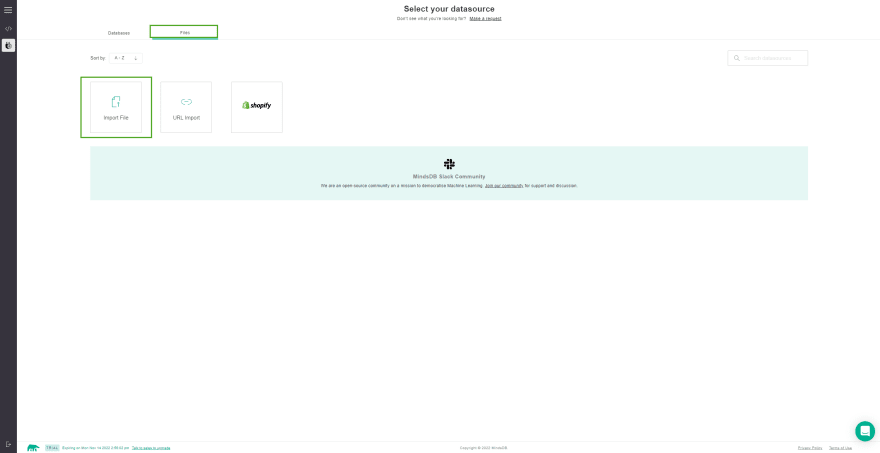
Step 1: Once you're logged in, you will find the MindsDB Cloud Editor loaded in front of you. It contains a Query Editor at the top, a Result Viewer at the bottom and the Learning Hub resources at the right side of the screen.

Now click on Add Data and switch the tab to Files instead of Databases and then hit the Import File button.
Step 2: We will use a Uber Trips Dataset and create a Predictor to predict the trip fare.
So, select the file that you just downloaded above by clicking on the Import a File section, provide a name for the Table we will be creating in the Table name section and then click on Save and Continue.

Step 3: Once the file is imported, we can run the two basic queries that we can now find on the Query Editor in Cloud UI to check whether the new table is present or not along with the correct records.
Show Tables;
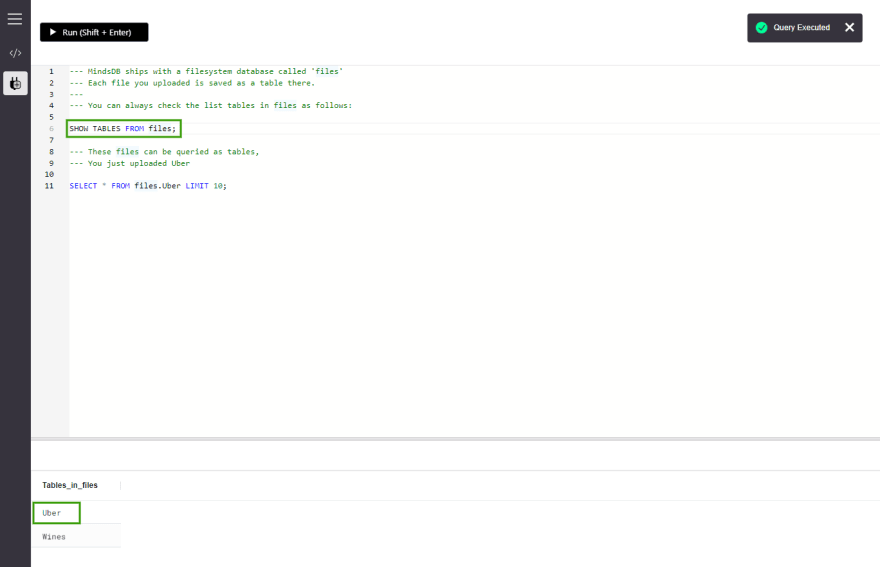
SELECT * FROM files.Uber LIMIT 10;
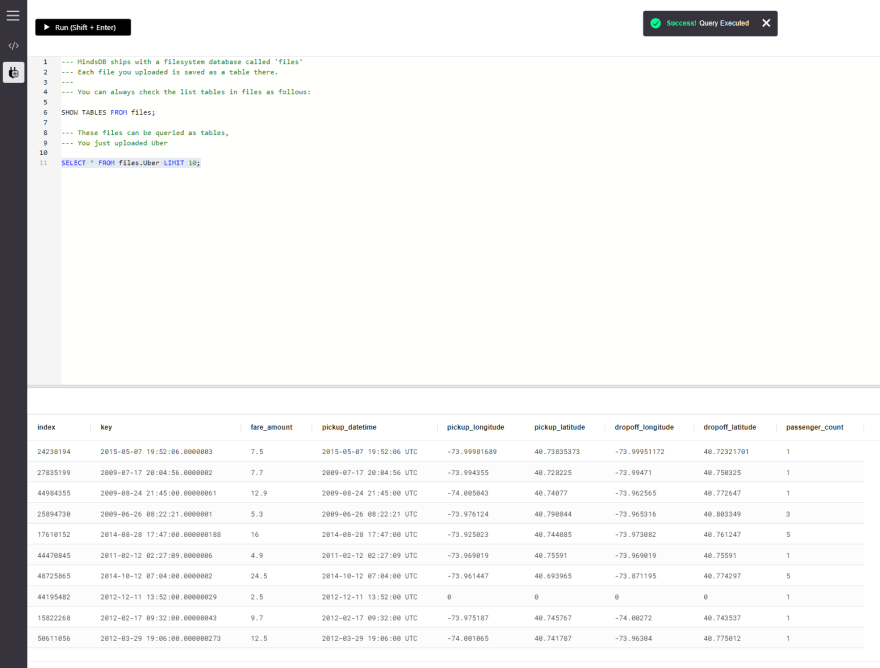
As we can see that the data records are present, it impliesn that we have successfully completed importing a dataset into our MindsDB Cloud console.
Creating a Predictor Model
We can easily create a Predictor Model in MindsDB using a simple SQL statement. Let us see how we can do that below.
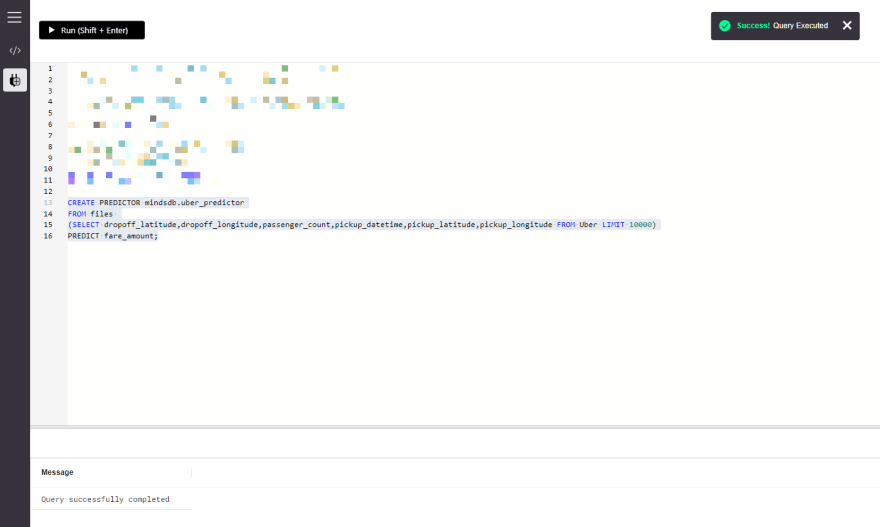
MindsDB provides a CREATE PREDICTOR statement that we will use now to create and train the model.
CREATE PREDICTOR mindsdb.uber_predictor
FROM files
(SELECT dropoff_latitude,dropoff_longitude,passenger_count,pickup_datetime,pickup_latitude,pickup_longitude,fare_amount FROM Uber LIMIT 10000)
PREDICT fare_amount;
The model might take a while to train. We can check the current status of the model with the model below.
SELECT status
FROM mindsdb.predictors
WHERE name='uber_predictor';
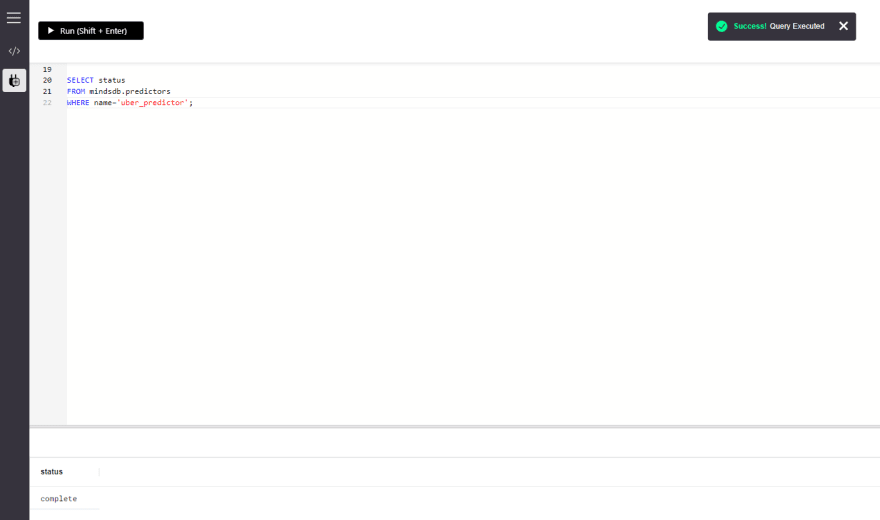
As the current status is complete, we are now ready to do the predictions. However, if the status says generating or training, then kindly wait until the status is complete.
Creating a View
In the previous sections we have completed creating the two required items for creating a view i.e., a dataset and a Predictor model.
In this section, we will start with creating a view. But let us first understand what a View is.
MindsDB provides us with the CREATE VIEW statement that in return creates a view for us. In other words, this statement creates an AI Table.
An AI Table generally consists of the original dataset table i.e., Uber Table here, and the Predictor model i.e., uber_predictor here.
So, the CREATE VIEW syntax will look something like this.
CREATE VIEW [new_view_name] AS (
    SELECT
        T.[Feature_column_name1],
        T.[Feature_column_name2],
        T.[Feature_column_name3],
        P.[target_column] AS target_column_name
    FROM [database_name].[table_name] AS T
    JOIN mindsdb.[predictor_model_name] AS P
);
Let's figure out what each of these parameters actually mean.
- new_view_name--> Name of the new View to be created
-
T--> Alias for the Table
Uber. -
Feature_column_name1--> Name of the Feature Columns to include in the View from the Table
Uber. - P--> Alias for the Predictor Model.
- target_column--> The column that has to be predicted.
- target_column_name--> A name for the target column that you want to show up on the View.
- database_name--> Database name in which the table is present.
-
table_name--> Name of the original data Table i.e.,
Uber - predictor_model_name--> Name of the Predictor Model
The actual query will look something like this when we replace the placeholders with actual column names.
CREATE VIEW UberFare AS (
    SELECT
        T.pickup_latitude,
        T.pickup_longitude,
        T.dropoff_longitude,
        T.dropoff_latitude,
        T.passenger_count,
        T.pickup_datetime,
        P.fare_amount AS Fares
    FROM files.Uber AS T
    JOIN mindsdb.uber_predictor AS P
);

The query should return a successful status when we execute the above statement. This confirms that the View is finally created.
Querying the View
As we are done with creating the View, let us now try to fetch the View using some simple SELECT statements.
SELECT * from views.UberFare;
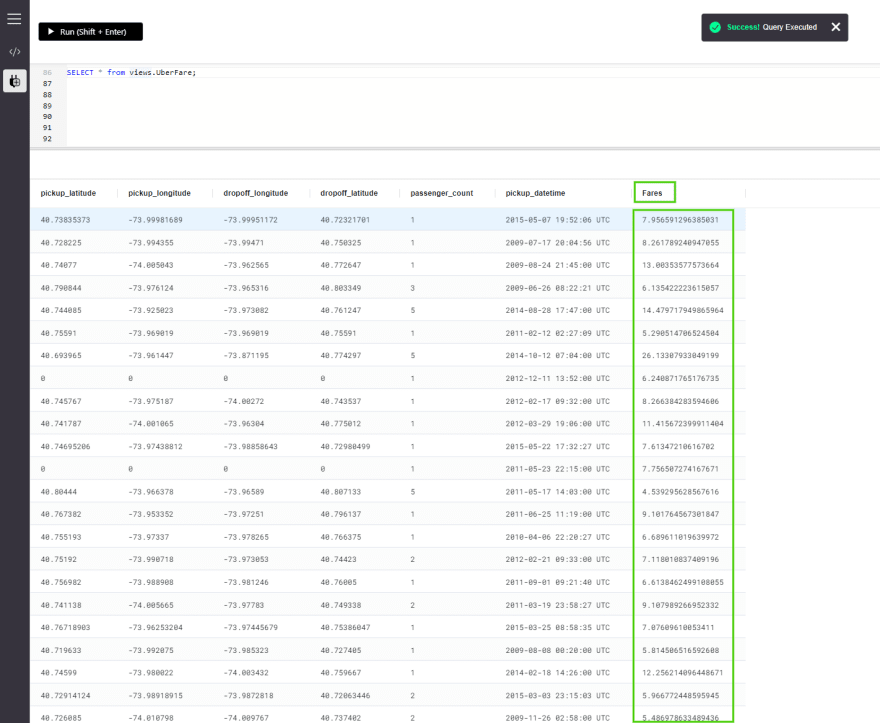
This should return the View (AI Table) with all the rows we have provided while creating it. You can mark that the target value column name is changed to the one we set in the CREATE VIEW statement i.e., changed from fare_amount to Fares.
Also, you should note that the values in this target column have changed as well. This is because now the Fares column holds the predicted values from the model rather than original ones that were supplied with the dataset.
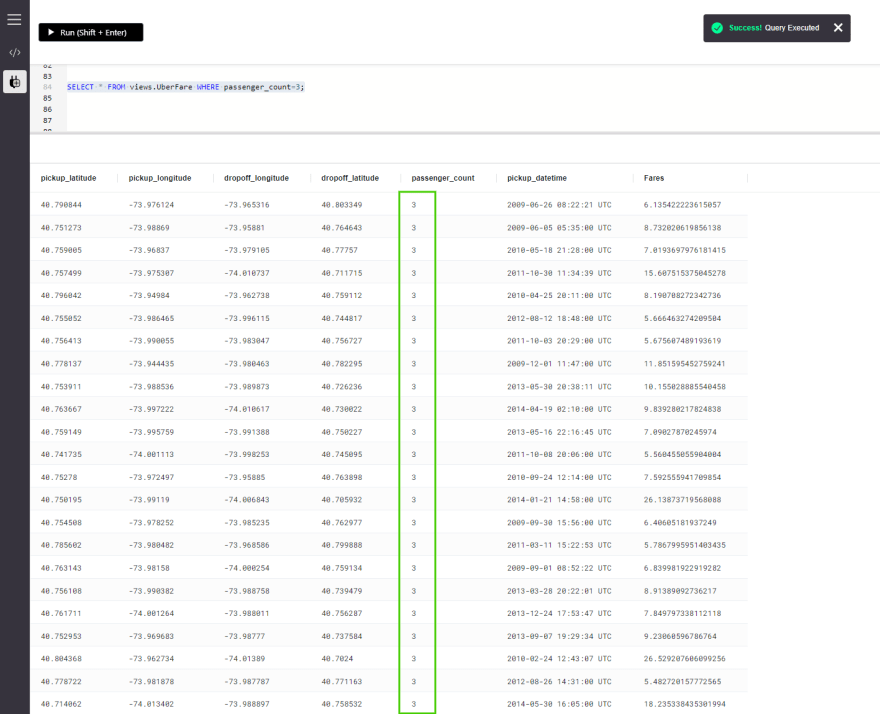
You can also pass some specific parameters with WHERE clause to filter out data in your VIEW.
SELECT * FROM views.UberFare WHERE UberFare.passenger_count=3;
This filters out all the records in the view that has a passenger count of 3.
You can find more documentation regarding CREATE VIEW in the official MindsDB Docs page here.
Conclusion
This marks the end of this tutorial. So, let's summarize the tasks that we just completed above. We started with logging in to our MindsDB Cloud account, downloaded a dataset and uploaded it to create a Table, trained a Predictor model, created a View and finally extracted records from the View using SELECT statement.
MindsDB has many such exciting features available for its users. So, it's time to sign up for a free account and get started with MindsDB yourself and explore the awesomeness it brings to your existing databases.
Lastly, before you leave, please drop a LIKE if you got to learn something new and valuable. Also, all sorts of feedback are welcome from the Readers' community.


Top comments (0)