
As iOS developers, we’ve all experienced the satisfying feeling of finally finishing coding an app and being excited to share it with users. Prior to users enjoying the app, there is only one more thing left to do- release the app to the App Store! Surely, you think it shouldn’t take longer than a few minutes of your time?
Oh, you’re completely wrong.
In order to reach that step, the following is needed:
- Ensure you have the right certificates and provisioning profiles in place.
- Create a variety of screenshots of the app.
- Build the app.
- Upload the app to App Store Connect.
- Log in to App Store Connect, input the correct metadata and inspect the upload.
- Submit the app for review and wait.
These steps are just one approach to deploying your app as there are many more aspects that should be considered, such as dealing with build/version numbers, running tests, uploading beta releases etc.
Why is this so difficult?
Well actually, it used to be difficult but thanks to Fastlane, all of the mentioned steps above can be automated. Continue reading this blog to find out how Fastlane can help you!
This blog will introduce Fastlane, the advantages it provides and present concrete scenarios showing how it automates the deployment of an application. The following examples of automation will be covered:
- The creation of an app
- Generation of certificates and provisioning profiles
- Deployment to Testflight
- Deployment to App Store
The focus and examples used in this blog will be for iOS. However, the same principles (and in many cases the same commands) apply for Android as well.
Important note: in order to use Fastlane for iOS, you need to have a paid Apple Developer Account.
What is Fastlane?
Before moving on to how to operate Fastlane, it is important to know what it is and how to set it up properly.
Fastlane Features
Fastlane is a tool that helps automate the development and release process for mobile apps.
It’s main features include:
- Automated generation of screenshots
- Beta deployment
- App Store deployment
- Code signing
- Setting Up Fastlane
Follow these steps, taken from Fastlane’s official documentation, in order to properly setup Fastlane.
- Install latest Xcode command line tools ```
xcode-select --install
2. Install Fastlane
Using RubyGems
gem install fastlane -NV
Alternatively using Homebrew
brew cask install fastlane
3. Navigate to project and run
fastlane init
#### Appfile and Fastfile
After running fastlane init, Fastlane automatically creates a new folder within the project called ‘Fastlane’. This folder contains two files: Appfile and Fastfile which are used to help automate the deployment process.
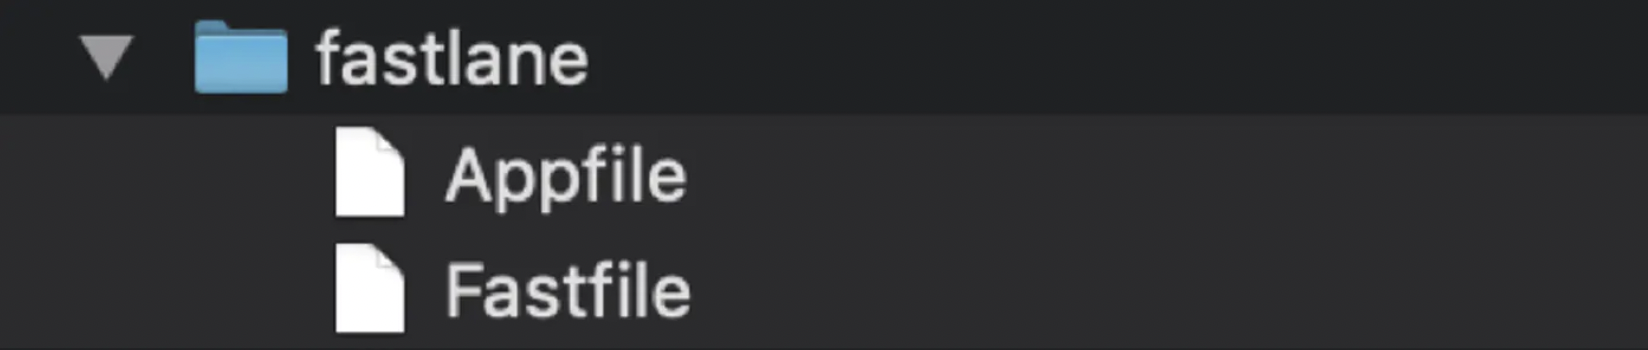
**Illustration 1: Fastlane folder structure**
The Appfile contains information about the developer and the app, such as the developer Apple email and the app ID of the application. The Fastfile contains different lanes, written in Ruby, which represent distinct workflows, or in other words, different automation tasks. We can create and customize these, however we'd like. For example, a lane can automate releases to Testflight or deployments to the App Store. The Fastfile is the file where developers spend the most time when it comes to Fastlane.
#### Using Fastlane
Now let’s look at some examples of how to automate tasks using Fastlane.
**Our First Fastfile Lane: App Creation**
In order to successfully upload a new build to the App Store, we first have to create the app on App Store Connect and on the Apple Developer Portal. Although this process is not too complicated, it is still a bit tedious to complete. Therefore, this is a good starting point for automation with Fastlane.
First, open the Appfile and input a few parameters:
app_identifier '[[YOUR APP IDENTIFIER]]' # The bundle identifier of the app
apple_id '[[YOUR APPLE EMAIL]]' # Apple email address
team_id '[[YOU TEAM ID]]' # Team ID from the Developer Portal
itc_team_id '[[YOUR ITC TEAM ID]]' # ID from the App Store Connect team
These parameters are used so that Fastlane can target the developer, the app and the team. It is not obligatory to input any of these, as Fastlane will ask for all of the missing parameters anyway. Sometimes, it is even easier to not input some of these, as for example the team_id and the itc_team_id since Fastlane automatically finds and lists out all of a developer's teams.

After setting up the Appfile, we will move onto the Fastfile. Open it, remove everything and input the following:
default_platform(:ios)
platform :ios do
desc "Creates a new app on both App Store Connect and the Apple Developer Portal"
lane :app_create do
produce
end
end
In essence, this lane utilizes the produce command, in order to create a new app on the App Store Connect and Apple Developer sites with a fitting description. The lane is named app_create, but this is arbitrary and can be changed to whatever is most suitable.

Now navigate to the app directory in the terminal and run the command fastlane app_create. Fastlane will prompt the user to input an app name. Make sure it is unique. After the process successfully completes, log in to App Store Connect and the Apple Developer Portal and the new app should now be visible in both places.

**Generating Certificates and Provisioning Profiles**

After the application is created, it is time to generate the required certificates for the app.

The following are some benefits of using Fastlane in order to generate certificates:
- Saves time! Generating certificates manually is a tedious and dull process.
- If the team decides on it, one account can be used throughout the team which will reduce the number of different provisioning profiles on the Apple Developer Portal keeping it a lot cleaner and easier to manage.

Follow these steps in order to generate the certificates and provisioning profiles:
1. Create one account which will be used by the entire time.
2. Fastlane utilizes Git Repos and Google Cloud Storages to store the certificates for the project in one centralized place. Create either one of these as well as copy the URL.
3. Run **match init.** This will prompt the user to input the URL from the previous step. The result of this command is a new file in the Fastlane folder called Matchfile. It is this file which is used as a reference for generating certificates and provisioning profiles.

Open the Matchfile, and input this:
git_url ‘[[YOUR PRIVATE GIT REPO URL]]’
app_identifier ‘[[YOUR APP ID]]’
username ‘[[YOUR APPLE DEVELOPER PORTAL USERNAME]]’
Now run the following commands:
fastlane match app store
fastlane match development
This will create the development, App Store certificates and profiles for the application. Easy as pie.

**Deploy to Testflight with Fastlane**

After reaching a certain point in development, we'd like to deploy the app to a selected number of testers who can provide us with feedback. With Fastlane, it is possible to fully automate this release. Let's do this by creating a simple lane for beta release:
lane :beta do
scan # run tests
match(type: "appstore")
increment_build_number
build_app(scheme: "[[YOUR APP SCHEME]]")
upload_to_testflight
end
Run the fastlane beta command in order to execute the lane.

The idea behind it is to first run all the tests with the scan command since if they fail, Fastlane automatically stops the execution of the rest of the script.

The upload is now fully automated. However, if we were to log in to the App Store Connect, we would see that before actually submitting the app for beta release we would need to also input the test information for the app. Since Fastlane is used, it would be handy to also automate this input. In order to achieve this, the beta lane could look something like this:
lane :beta do
scan # run tests
match(type: "appstore")
increment_build_number
build_app(scheme: "[[YOUR APP SCHEME]]")
upload_to_testflight(
localized_app_info: {
"default": {
feedback_email: "default@email.com",
marketing_url: "https://example.com/marketing-defafult",
privacy_policy_url: "https://example.com/privacy-defafult",
description: "Default description",
}
},
beta_app_review_info: {
contact_email: "email@email.com",
contact_first_name: "firstname",
contact_last_name: "lastname",
contact_phone: "111222333444",
demo_account_name: "demo account name",
demo_account_password: "demo password",
notes: "This is a review note"
})
end
Now when we run the fastlane beta command, all of the test information is uploaded to Testflight, in addition to the binary.
Note that the localized_app_info action may not work but remains in this blog for demonstration purposes.
**Deploy to App Store with Fastlane**
After the testers have reviewed the application, it is finally time to upload the app to the App Store. Now we’ll examine a number of steps in order to automate this:
- Creating the deliver file
- Automating screenshots
- Building and uploading to the App store
- Creating the Deliver File
Run fastlane init deliver in the command line. This will create a number of new folders and files in the Fastlane directory. This includes a Deliverfile, a metadata folder, and a screenshots folder. This is how the Fastlane folder currently looks like:
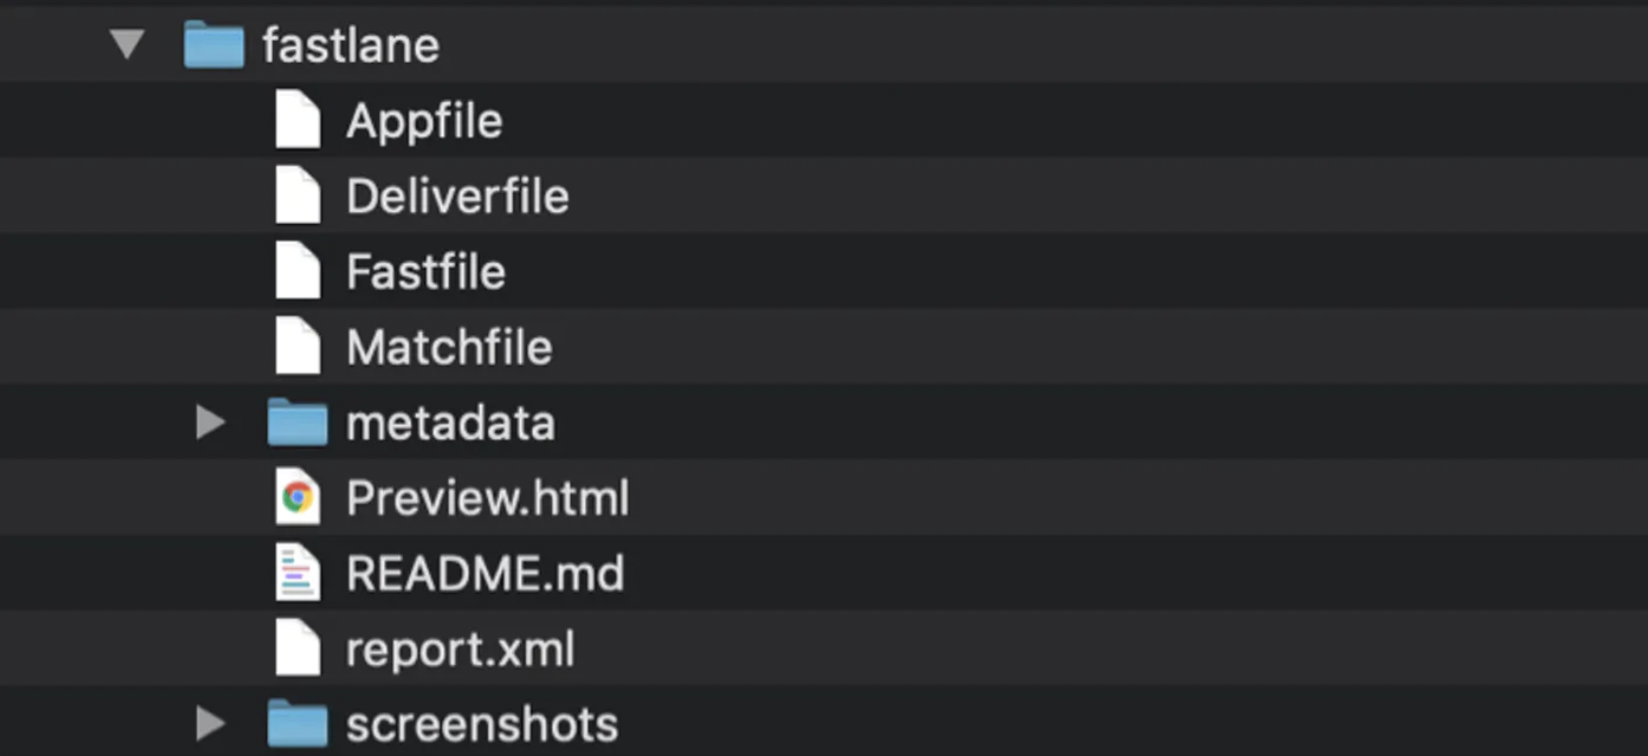
**Illustration 2: Fastlane folder structure after running Fastlane init deliver**
The purpose of initializing the Deliver file is so that we can input all of the required metadata and screenshots locally, before submitting it to the App Store. This will then greatly help automate the process. Here is how the new metadata folder is structured:
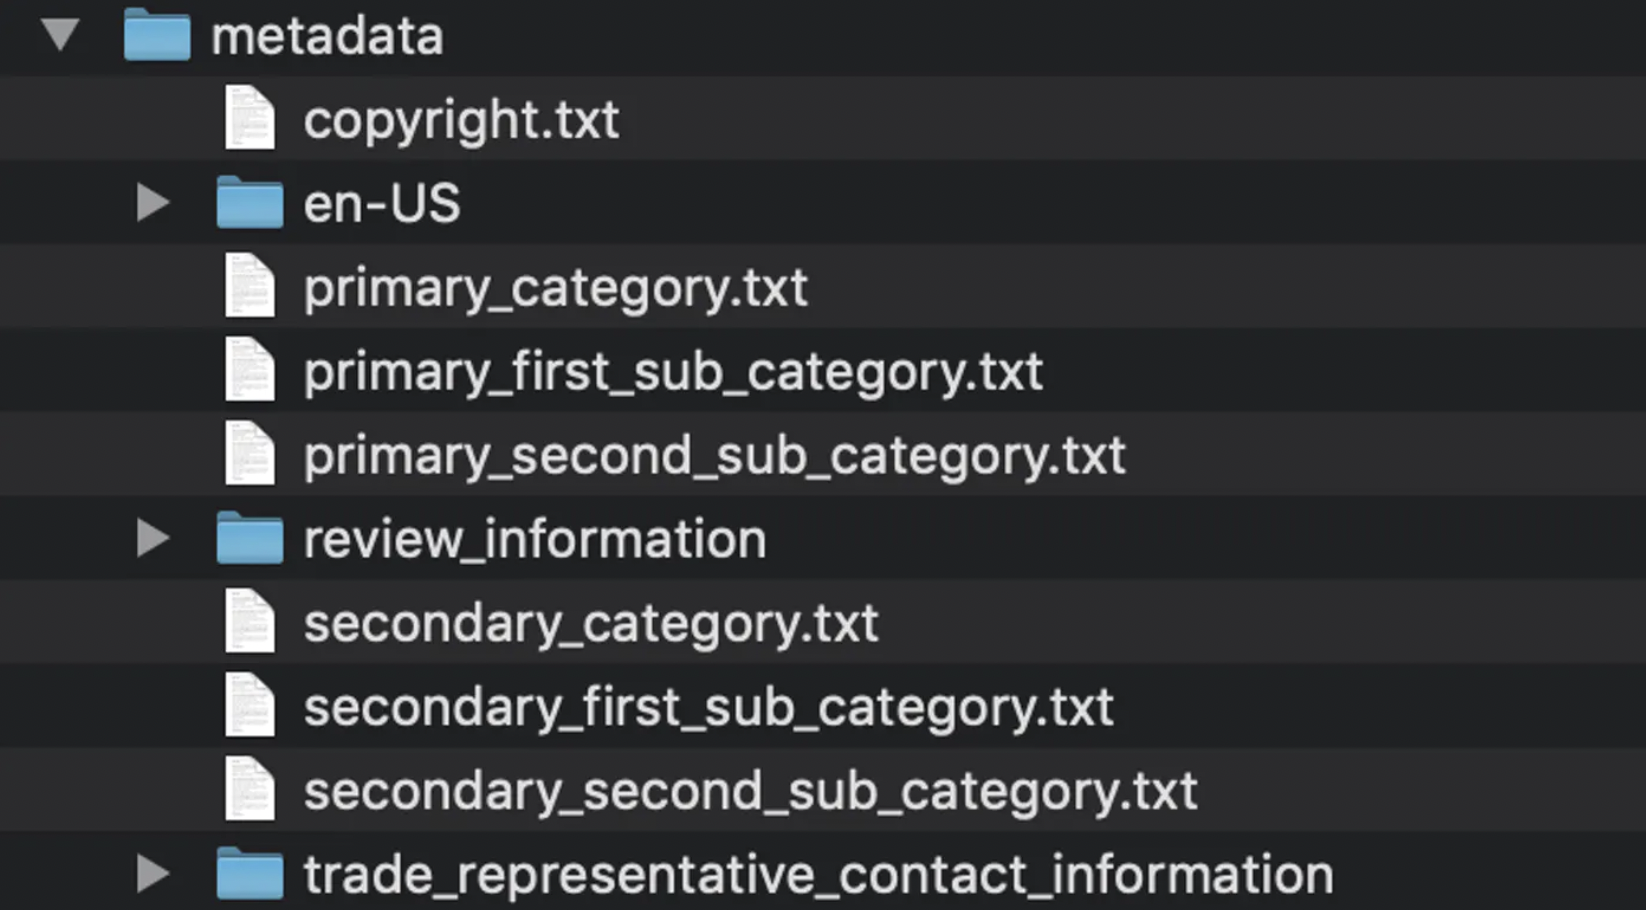
**Illustration 3: new metadata folder**
Go through the metadata folder and input all of the different parameters. The en-US folder contains the app information for the English-US language. It is possible to input all of the app's language in the same way, just using different language codes. The app's metadata is now ready to be uploaded.
#### Automating Screenshots
Fastlane takes advantage of Apple’s UITesting framework in order to automate screenshots. The basic logic behind it is to run UITests and when a certain point in the test is reached, Fastlane’s snapshot function should be used to capture a screenshot. For example, you can take a screenshot after the UITest executes typing in a username text field on a login screen like this:
userNameTextfield.typeText("Username")
snapshot(“01LoginScreen")
We will not be covering how to write tests for automating the screenshots but there are many tutorials online and it’s a fairly straightforward process.
In order to set up automated screenshots we can do the following:
Run fastlane snapshot init in the project directory. This will create two new files in the Fastlane folder; one called Snapfile and the other one called SnapshotHelper.swift.

**Illustration 4: Snapfile and SnapshotHelper.swift**
Go into the Xcode project and navigate to File -> New -> Target. In the pop-up that appears, find the iOS UI Testing Bundle and press next.
On the new screen, change the name of the UITests or leave everything as it is and press finish.
A new folder in the XCode project with the UITests is created. Find the previously created SnapshotHelper.swift and drag and drop it into the new UITests Folder. Note: Make sure to copy it correctly by selecting both the "Copy items if needed" and the UITest target button and then deselecting the project target.
Open “Manage Schemes” in the Xcode project and make sure that both the “Show” and “Shared” checkboxes for the created UITest Schemes are checked.
In the same window click on the newly created UITest Scheme and press “edit” and then in the new window, window press “Build”.
This will show the UITest Target with a number of checkboxes. Make sure the checkboxes named “Test” and “Run” are checked. Fastlane can now access the UITest target scheme.
Open the Snapfile, and input this:
devices([
"iPhone X",
"iPhone 8"
])
languages(['en-US'])
scheme("[[YOUR UITEST SCHEME]]")
output_directory "./fastlane/screenshots"
clear_previous_screenshots(true)
Now everything is ready for you to capture the screenshots. Input these lines of code in your UITest function in order to utilize the SnapshotHelper.swift:
let app = XCUIApplication()
setupSnapshot(app)
app.launch()
As I mentioned before, we'll not be covering the actual writing of the UITests since every application has different and specific screens. Therefore, it is the reader’s task to now create the UITests to automate the screenshots of the app.

After writing the tests, run fastlane snapshot in the terminal and if everything is set up correctly, the screenshots will be taken.

### Building and Uploading to the App Store

With the deliver file created and screenshots automated, the next step is to upload everything to App Store Connect. A couple of lanes will be individually created for each of the tasks required for the release and then combined together in order to make one lane for the entire release process.

The first lane is for testing:
lane :test do
desc "Run tests"
scan
end
The next lane is for taking screenshots:
lane :screenshots do
desc "Take screenshots"
snapshot
end
The third lane is for building the application:
lane :build do
desc "Build application"
increment_build_number({
build_number: latest_testflight_build_number + 1
})
build_ios_app(
scheme: "[[YOUR APP SCHEME]]"
)
end
increment_build_number checks the latest Testflight build number and increments this build number by 1. This is better than incrementing automatically because sometimes the binary is not uploaded to the App Store/Testflight because of an error, but the build number gets incremented. Bear in mind, that there must be at least one build on Testflight in order to run the latest_testflight_build_number command.

The fourth lane is to upload the binary:
lane :upload do
desc "Upload metadata, screenshots and binary"
deliver(
force: true,
automatic_release: true,
)
end
The deliver command is an alias for the upload_to_app_store action and is used to upload the metadata, screenshots and binary to the App Store. The force: true command is for skipping the HTML preview of the metadata and the automatic_release: true command is to ensure automatic release after the application is reviewed on App Store Connect.

Now all of this can be combined into a single lane called release:
lane :release do
desc "Run tests, take screenshots, upload deliver file, upload app"
ensure_git_status_clean
test
match(type: "appstore")
screenshots
build
upload
end
In addition to the created lanes, the match command is added in order to make sure that the certificates are up-to-date and the ensure_git_status_clean is used to make sure that you are working with a clean Git Repo. With this setup, the version number must be manually incremented. Keep in mind that Fastlane has actions for automatically incrementing version numbers. View this link for more information.

Navigate to the project directory and run fastlane release and watch the magic happen!

### Concluding Thoughts

As you can see from this blog, Fastlane is a powerful tool used for automated deployment. Once you become comfortable using it, the scripts and automation tasks will become more advanced and suited for your exact needs. If you feel hesitant about giving it a try, just start with small automation tasks and build upon that. After some time, it will definitely become an important tool in your toolbox.
______________________________________________________________
Original blog post: [Automated Deployment with Fastlane on iOS](https://www.rubicon-world.com/blog/2019/05/automated-deployment-with-fastlane-on-ios/)

Top comments (0)