
Developers and QA automate their tasks to make their life easy in doing repetitive tests on the code that they have developed. Web Automation is one such repetitive task that is done by almost all the QA out there! However, adding to the burden, testing the same application on multiple browsers makes it even monotonous and an overdose could be painful too!
Selenium, the popular browser automation framework, came to the rescue of QA automation. It provided a standard interface that can be used across browsers. It is no wonder that nobody thinks twice in choosing selenium for their browser automation. It supports popular languages that includes Java, C#, Python, JavaScript, Ruby and Kotlin. It also provides a record and playback; however to truly automate, one has to write the scripts in one of the languages.
However, writing browser automation tests requires a fair amount of programming knowledge; knowledge about the Selenium WebDriver APIs and, in most cases, JUnit too!
Introducing excelenium...
excelenium provides a way to write those automation tests using spreadsheets. Yes, you read it right! Automation tests using spreadsheets.
excelenium is an open source tool written in Java. It provides a web UI that provides the spreadsheet interface to write the automation scripts. It uses Spring Boot, Selenium and JExcel to provide the functionality it offers.
The following are the top features that makes excelenium a tool of choice for browser automation
- It requires no programming just getting the Id/XPath of the elements
- Automation Scripts are prepared in a spreadsheet in a web based UI
- It provides 40 different actions that can be performed in the script.
- Scripts can be run from within the browser
- Intuitive Report and log file
- Concurrently run tests on the browsers
It is a self-contained Java executable - a jar file - that does not require any dependencies. Though it needs the browser drivers and the browsers themselves installed.
To run excelenium, you have to download the jar file from the releases page and just type
java -jar <path/to/excelenium-1.0.0.RELEASE.jar>
That would fire up the web UI in the browser as soon as the Spring Boot loads the Web Application, as shown in the screenshot below.
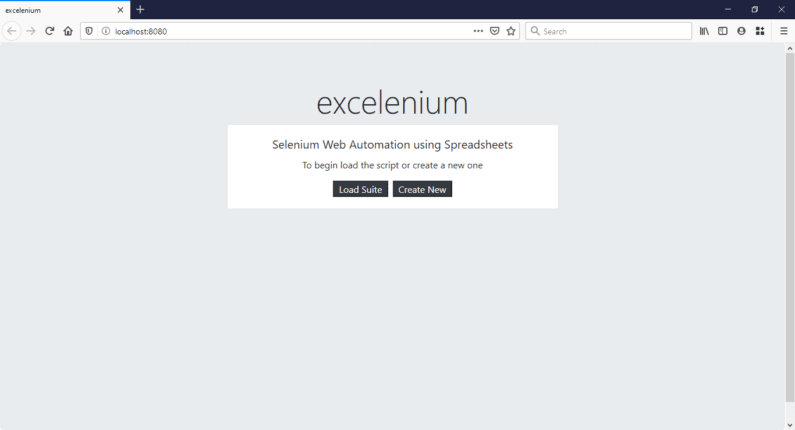
In the home page of excelenium, it allows either to load an existing suite or create one from the scratch.
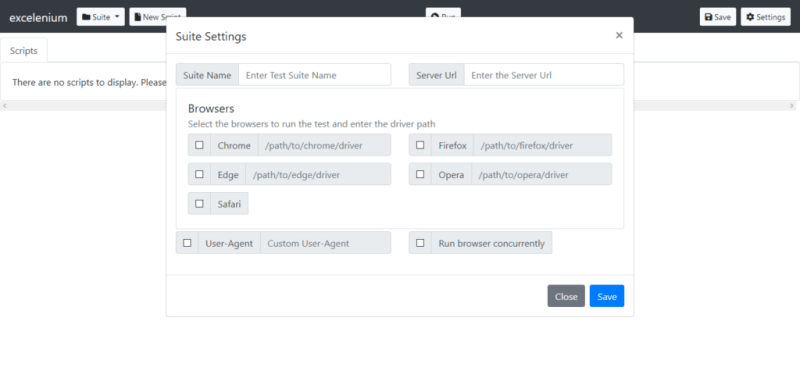
After choosing either one of the options it asks for some basic details of the suite as in the following screen
Once the details are provided, you are presented with the spreadsheet view where you start to prepare the scripts

Most of the options are self-explanatory; however, excelenium comes when an exhaustive manual and a Javadoc generated using doxygen that has the call graphs for understanding the code easily
To get started, excelenium has a set of samples that can be found in the sample directory of the repository. The sample suites are nothing but json files that excelenium understands.
You could run those straight away; however, the browser driver paths have to be altered appropriately.
If the suite is created from the scratch, excelenium provides a function to export the suite as a json file.
excelenium creates the reports and the screenshots, both requested and in case of error, for each browser and the files are uniquely named based on the browser that runs the test.
The simplicity of excelenium is that it is intuitive and improves the productivity of the team. It takes care of the browser level details.
More importantly, many scripts can be created in one suite where each script can perform a different set of action on a different page, for example. That way, it allows to modularize the scripts within a suite.
There is also a YouTube Channel that has video tutorials on how to use excelenium.
Go ahead, download excelenium and give it a try! If you are a developer, fork it from the GitHub repo.
Happy Automation!

Oldest comments (0)