Flutter is a UI Toolkit from Google allowing you to create expressive and unique experiences unmatched on any platform. You can write your UI once and run it everywhere. Yes everywhere! Web, iOS, Android, Windows, Linux, MacOS, Raspberry PI and much more…
If you prefer a video you can follow the YouTube series I am doing called “Flutter Take 5” where I explore topics that you encounter when building a Flutter application. I will also give you tips and tricks as I go through the series.
What is Flutter #
Flutter recently crossed React Native on Github and now has more than 2 million developers using Flutter to create applications. There are more than 50,000 apps on Google Play alone published with Flutter.
Flutter - Beautiful native apps in record time
*Flutter is Google's UI toolkit for crafting beautiful, natively compiled applications for mobile, web, and desktop from…*flutter.dev
Getting Started #
Getting started is very easy once you get the SDK installed. After it is installed creating new applications, plugins and packages is lighting fast. Follow this guide to install Flutter:
Install
*How to set up your code editor.*flutter.dev
One nice thing about Flutter is that it is developed in the open as an open source project that anyone can contribute to. If there is something missing you can easily fork the repo and make a PR for the missing functionality.
Create the Project #
Now that you have Flutter installed it is time to create your first (Of Many 😉) Flutter project! Open up your terminal and navigate to wherever you want the application folder to be created. Once you “cd” into the directory you can type the following:
$ flutter create my_awesome_project
You can replace “my_awesome_project” with whatever you want the project to be called. It is important to use snake_case as it is the valid syntax for project names in dart.
Congratulations you just created your first project!
Open the Project #
So you may be wondering what we just created so let us dive in to the details. You can open up you project in VSCode if you have it installed by typing the following into terminal:
$ cd my_awesome_project && code .
You can open up the folder in your favorite IDE if you prefer. Two important files to notice are the pubspec.yaml and lib/main.dart
Your UI and Logic is located at “lib/main.dart” and you should see the following:
You can define any dependencies and plugins needed for the application at “pubspec.yaml” and you should see the following:
Running the Project #
Running the application is very easy too. While there are buttons in all the IDEs you can also run your project from the command line for quick testing. You can also configure Flutter for Desktop and no need to wait for an emulator to warm up. Open your project and enter the following into terminal:
$ flutter run -d macos
Notice the “-d macos” as you can customize what device you want to run on. You should see the following in terminal:
Building macOS application... Syncing files to device macOS... 141msFlutter run key commands.r Hot reload. 🔥🔥🔥R Hot restart.h Repeat this help message.d Detach (terminate "flutter run" but leave application running).c Clear the screenq Quit (terminate the application on the device).An Observatory debugger and profiler on macOS is available at: [http://127.0.0.1:58932/f1Mspofty_k=/](http://127.0.0.1:58932/f1Mspofty_k=/)Application finished.
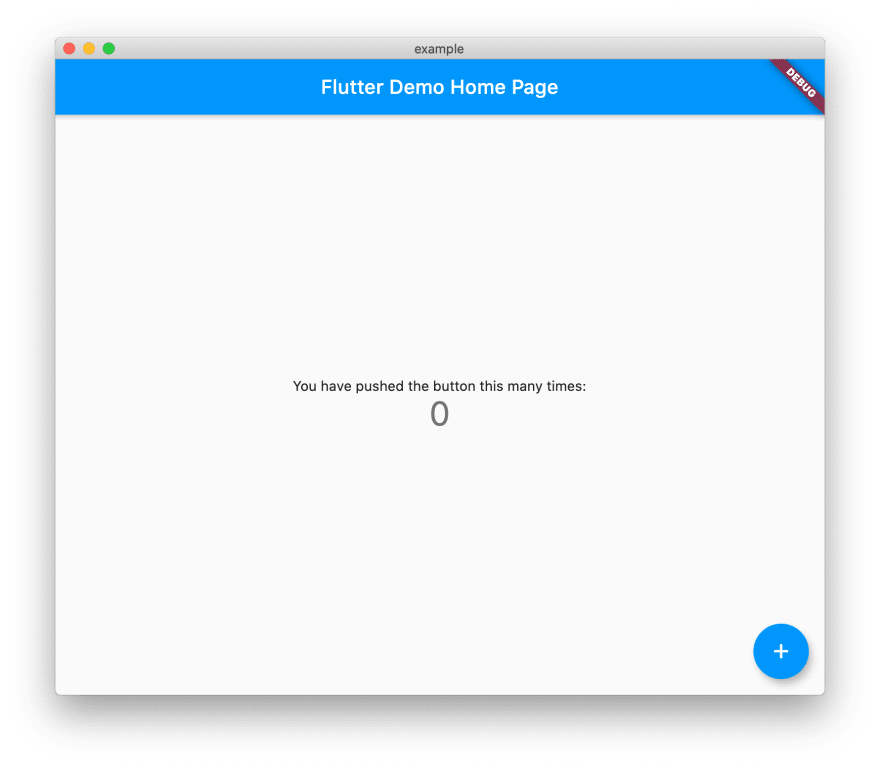
You can also run multiple devices at the same time. You can find more info on the Flutter Octopus here. If everything went well you should see the following application launch:
It is a pretty basic application at this point but it is important to show how easy it is to change the state in the application. You can rebuild the UI just by calling “setState()”.
Testing the Project #
Testing is one of the reasons I love Flutter so much and it is dead simple to run and write tests for the project. If you look at the file “test/widget_test.dart” you should see the following:
You can run these tests very easily. Open your project and type the following into the terminal:
$ flutter test00:07 +1: All tests passed!
Just like that all your tests will run and you can catch any bugs you missed.
You can also generate code coverage for your applications easily by typing the following:
$ flutter test --coverage
This will generate a new file at “coverage/lcov.info” and will read the following:
You can now easily create badges and graphs with the LCOV data. Here is a package that will make that easier:
test_coverage | Dart Package
*Command line utility to run tests in Dart VM and collect coverage data.*pub.dev
Conclusion #
Flutter makes it possible to build applications very quickly that do not depend on web or mobile technologies. It can familiar to writing a game as you have to design all your own UI. You can find the final source code here:
rodydavis/flutter_take_5
*A new Flutter project. This project is a starting point for a Flutter application. A few resources to get you started…*github.com
You can also find the Flutter source code here:
flutter/flutter
_Flutter makes it easy and fast to build beautiful apps for mobile and beyond. - flutter/flutter_github.com


Top comments (0)