
Some time ago, I was looking for some alternatives to WordPress or Blogger.
I wanted something lighter and faster.
I was already using markdown for notes and documentation, and looking for a way to use my markdown notes, I found Jekyll.
Content
- What is Jekyll and why you should use it
- Install Jekyll (Windows)
- Our first post
- Publish using GitHub Pages
- Next Steps
- References and additional information
What is Jekyll and why you should use it
- Jekyll is a static site generator.
- It uses your text files in your favorite markup language to create a static website.
- You can modify how your site looks, the data displayed and more.
- Jekyll is blog-aware, it provide helpers to work with categories, pages, post, etc.
- The website generated is fast and can be deployed in any hosting provider, you don't need to configure any database, just deploy your site.
Install Jekyll (Windows)
Jekyll is written in Ruby, the following install steps are for Windows (my every day OS), but you can use Linux or Mac.
Install Ruby version 2.5.0 or above
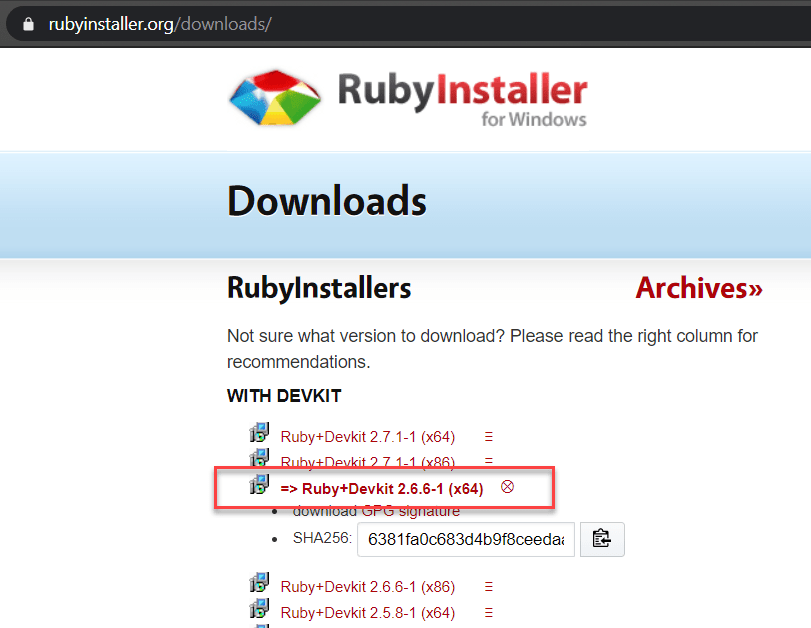
Execute the installer, accept the license and continue with default options
Check the installation running the following commands in a command prompt
ruby -v
gem -v

After this step I restarted my computer to be sure any configuration change would be applied.
Install Jekyll
Jekyll is a Ruby Gem (Gem is a package manager for Ruby)
To install Jekyll open a command prompt and run the command
gem install bundler jekyll
Create a blank site
Use the command
jekyll new my-new-blog
Change to your new site and run it
cd my-new-blog
bundle exec jekyll serve
Access your new site
Browse to https://localhost:4000
Basic configuration
Edit the _config.yml file in the root of your new site to change the configuration.
You can change the title, social media links, etc.
If you stop jekyll and start it again, it will re generate your site with the new configuration.
First post
In the recently created site, you will see a folder _posts.
In there you can put the pages that you want to see in your blog.
For that, we are going to use Markdown, it's a markup language used for example in the readme files in GitHub (at the end of the post you will see links with additional information about Markdown)
Create a file with a name using the following format YYYY-MM-DD-Title.md in the _posts folder using your favorite text editor and put the following text
---
layout: post
title:  "Markdown Resources"
---
# Markdown resources
- [Markdown](https://www.markdownguide.org/)
- [Markdown Cheatsheet](https://www.markdownguide.org/cheat-sheet/)
The first part, beetween the dashed lines is a YAML front matter block, and is used by Jekyll to process the file.
The second part is standard Markdown text
You can generate the site again at any time running the bundle exec jekyll serve command.
If you didn't close your previous command prompt window, your site would be regenerated automatically.
Publish using GitHub Pages
- GitHub Pages is a service provided by GitHub that allows you to use a repository to create a web site. The service is powered with Jekyll.
- For users or organizations, create a repository with the name username.github.io
- Push your jekyll site to the repo
- Navigate to your new site
- Every time that you push changes to the master branch of the repo, your site will be automatically updated
Next Steps
This is only an introduction, you should check other topics like

Top comments (0)