📚 Learn how to implement custom error handling logic in Spring Boot. You will see two approaches based on the @ControllerAdvice annotation. Similarly, you will learn how to deal with authentication and access denied errors in Spring Security.
TL/DR: Let’s take a look at everything required to build custom error handling logic in both Spring Boot Web and Spring Boot Security
REST applications developed in Spring Boot automatically take advantage of its default error handling logic. Specifically, whenever an error occurs, a default response containing some information is returned. The problem is that this information may be poor or insufficient for the API callers to deal with the error properly. This is why implementing custom error handling logic is such a common and desirable task. Achieving it requires more effort than you might think, and you need to delve into a few essential Spring Boot notions. Let's see everything required to get started with custom error handling in Spring Boot and Java.
Prerequisites
This is the list of all the prerequisites for following the article:
- Java >= 1.8 (Java >= 13 recommended)
- Spring Boot >= 2.5
- Spring Boot Starter Web >= 2.5
- Spring Security >= 5.5
- Project Lombok >= 1.18
- Gradle >= 4.x or Maven 3.6.x
Default Error Handling in Spring Boot
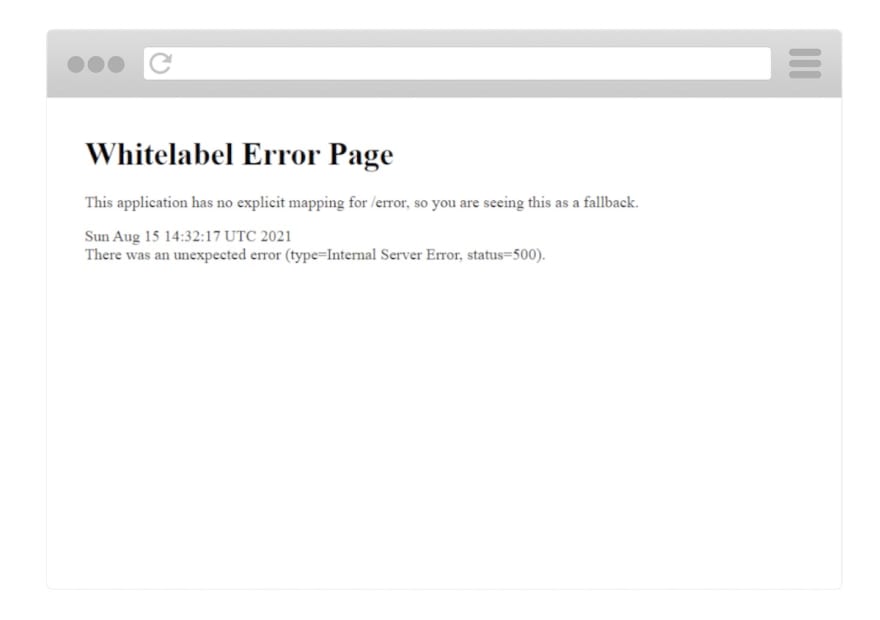
By default, Spring Boot offers a fallback error-handling page, as well as an error-handling response in case of REST requests. Particularly, Spring Boot looks for a mapping for the /error endpoint during the start-up. This mapping depends on what is set on a ViewResolver class. When no valid mappings can be found, Spring Boot automatically configures a default fallback error page. This so-called Whitelabel Error Page is nothing more than a white HTML page containing the HTTP status code and a vague error message. This is what such a page looks like:
<html>
   <head></head>
   <body data-new-gr-c-s-check-loaded="14.1026.0" data-gr-ext-installed="">
      <h1>Whitelabel Error Page</h1>
      <p>This application has no explicit mapping for /error, so you are seeing this as a fallback.</p>
      <div id="created">Sun Aug 15 14:32:17 UTC 2021</div>
      <div>There was an unexpected error (type=Internal Server Error, status=500).</div>
      <div></div>
   </body>
</html>
This is what the Whitelabel HTML page looks like in your browser:

The Spring Boot Whitelabel HTML Error Page
Similarly, when dealing with REST requests, Spring Boot automatically returns a default JSON response in case of errors. This contains the same information as the aforementioned Whitelabel HTML error page and looks as follows:
{
  "timestamp": "2021-15-08T14:32:17.947+0000",
  "status": 500,
  "error": "Internal Server Error",
  "path": "/test"
}
As you can see, the default Spring Boot error handling responses for REST does not provide much information. This can quickly become a problem, especially when trying to debug. It is also problematic for front-end developers, who need detailed information coming from API error response messages to be able to explain to the end users what happened properly.
Let’s see how to replace this default response with custom-defined messages. While this may appear like an easy task, this is actually a tricky one. To achieve it, you first need to know a few Spring Boot fundamentals. Let's learn more about them.
Custom Error Handling in Spring Boot
You are about to see two different approaches to custom error handling in Spring Boot REST applications. Both are based on a @ControllerAdvice annotated class handling all exceptions that may occur. So, let’s first see what a @ControllerAdvice annotated class is, why to use it, how, and when. Then, you will learn how to implement the two different approaches in detail. Finally, the pros and cons of each method will be explained.
Handling Exceptions with @ControllerAdvice
The @ControllerAdvice annotation was introduced in Spring 3.2 to make exception handling logic easier and entirely definable in one place. In fact, @ControllerAdvice allows you to address exception handling across the whole application. In other words, a single @ControllerAdvice annotated class can handle exceptions thrown from any place in your application. Thus, classes annotated with @ControllerAdvice are powerful and flexible tools. Not only do they allow you to centralize exception-handling logic into a global component, but also give you control over the body response, as well as the HTTP status code. This is especially important when trying to achieve custom error handling. Let’s see @ControllerAdvice in action.
Now, you are about to see everything required to implement two custom error handling approaches based on @ControllerAdvice. First, you should clone the GitHub repository supporting this article. By analyzing the codebase, going through this article will become easier. Also, you will be able to immediately see the two approaches in action.
So, clone the repository with the following command:
git clone https://github.com/Tonel/spring-boot-custom-error-handling
Then, run the DemoApplication main class by following this guide from the Spring Boot official documentation, and reach one of the following 4 endpoints to see the custom error handling responses:
http://localhost:8080/test-custom-data-not-found-exceptionhttp://localhost:8080/test-custom-parameter-constraint-exception?value=12http://localhost:8080/test-custom-error-exceptionhttp://localhost:8080/test-generic-exception
The first two APIs apply the first approach to error handling you are about to see, while the third API uses the second approach. The fourth and last API shows the fallback error handling logic presented above in action. Now, let's delve into implementing these two approaches to custom error handling in Spring Boot.


Top comments (0)