A step by step tutorial

Always wanted to build an app? Didn’t know how? Me neither, until I took some online courses and found that it’s not that hard (to build a simple app). You can too, follow this guide and get familiarized with XCode.
I’m currently a Flatiron School student in their Immersive Web Dev Program and learning Swift on Sundays with App Brewery through Udemy so I know very well that learning how to develop can be intimidating. In this post, there won’t be any coding. We’ll focus on getting you set up and familiar with the numerous XCode panels.
Let’s get you situated!
- Install the latest version of XCode here.
- You will need at least the second to latest version of macOS to use the latest version of XCode. Update your Mac here if necessary.
To avoid confusion
The following steps are demonstrated with XCode 10 running on macOS Mojave. Depending on how far into the future you are, the interface may or may not look exactly the same.

Rules
Anything circled in green means click.
Two green circles means double click.
Green arrow means click and drag.
Anything circled in yellow means take a look.
Description text always refers to the image above.
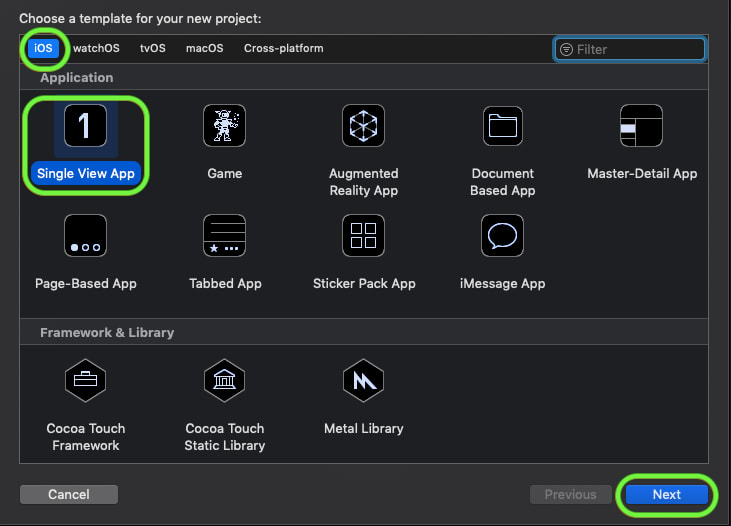
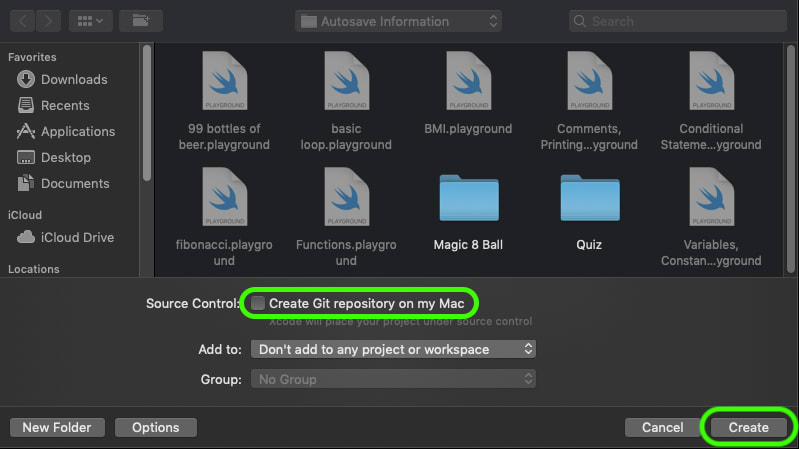
Create new project

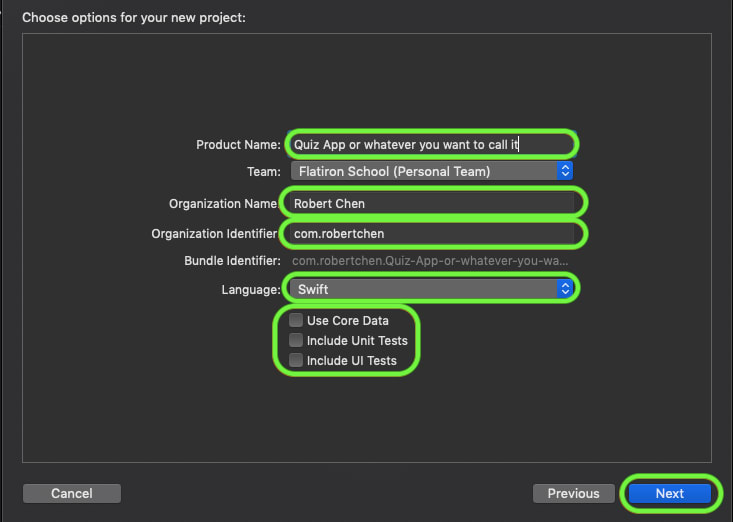
For ‘Organization Name’ you could just put your name.
For ‘Organization Identifier’ Apple wants a reverse domain identifier. That’s having ‘com.’ in the front instead of at the end like how we’re used to seeing it.
You want to choose Swift because C++ is getting phased out for iOS development.
We’re not doing any tests for the purposes of this app so uncheck all the boxes.
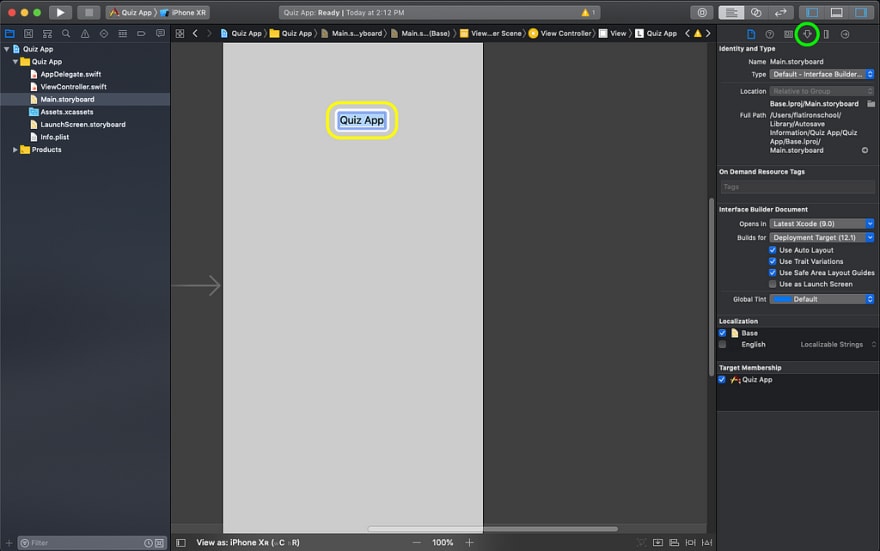
Pause. Let’s take a look at some stuff.
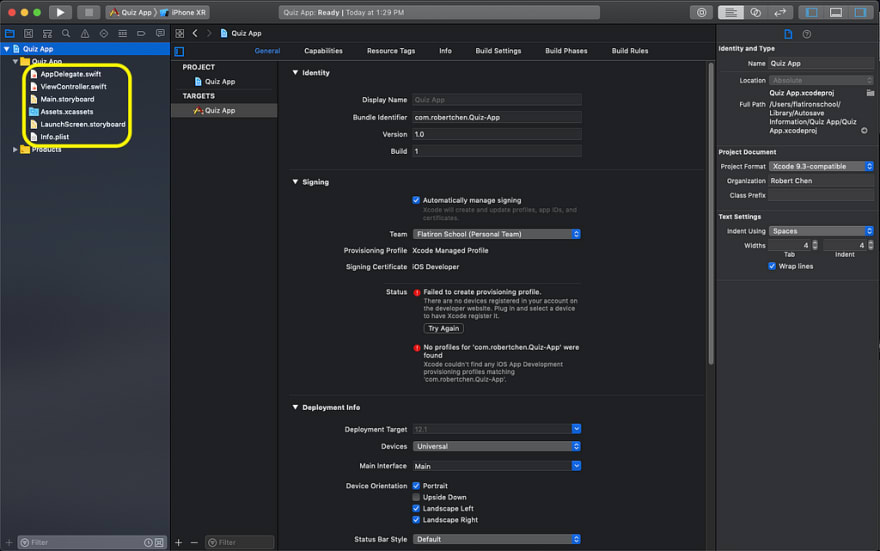
The files that end with ‘.swift’ are your code files.
The files that end with ‘.storyboard’ are your design files.
The ‘Assets.xcassets’ folder contains all your media files.
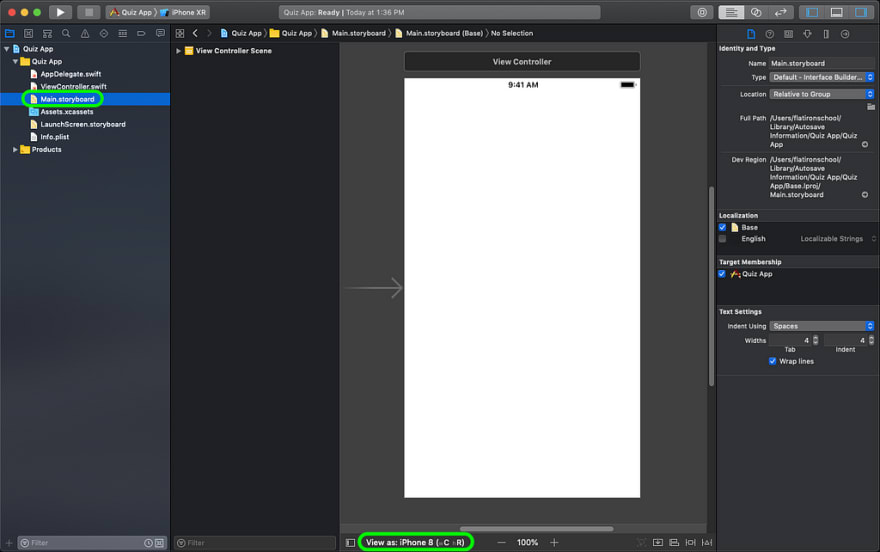
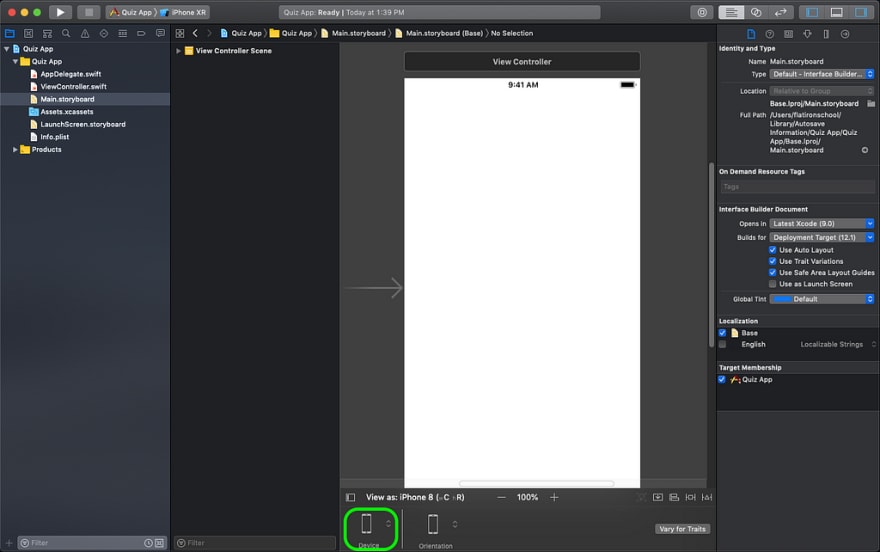
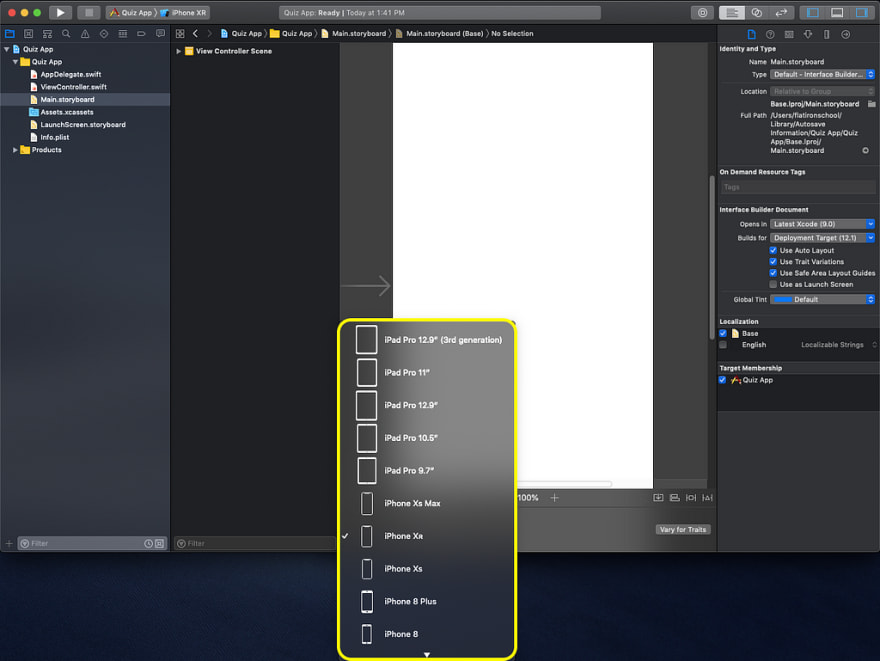
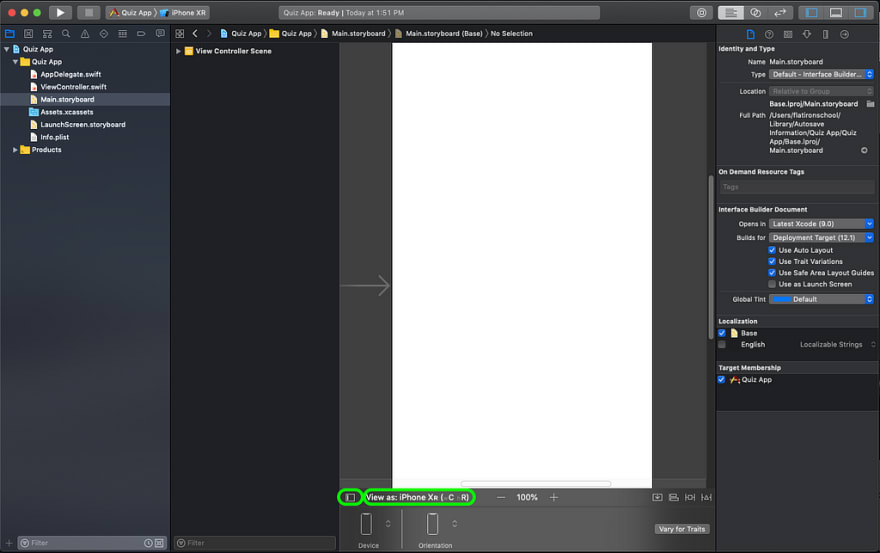
You can change the device that’s shown in your preview which directly affects the dimensions of the app that you build. I changed it from iPhone 8 to iPhone XR, but you can choose any device and still be able to follow along just fine.
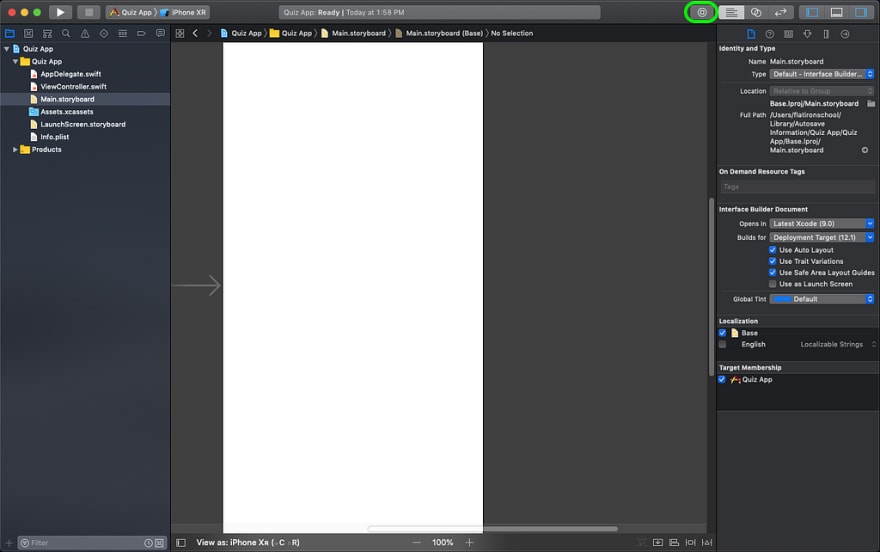
Let’s close the view panel because you want to give yourself as much space to work with as possible.
We’ll start designing your app now!

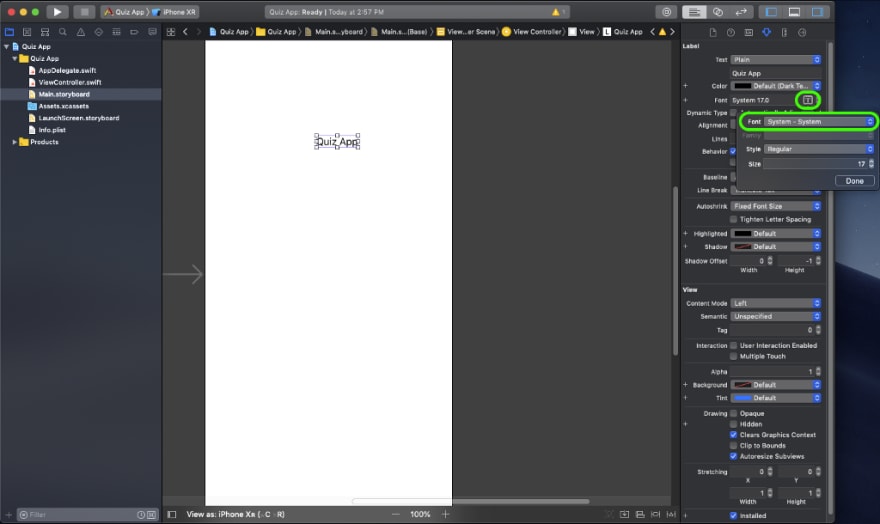
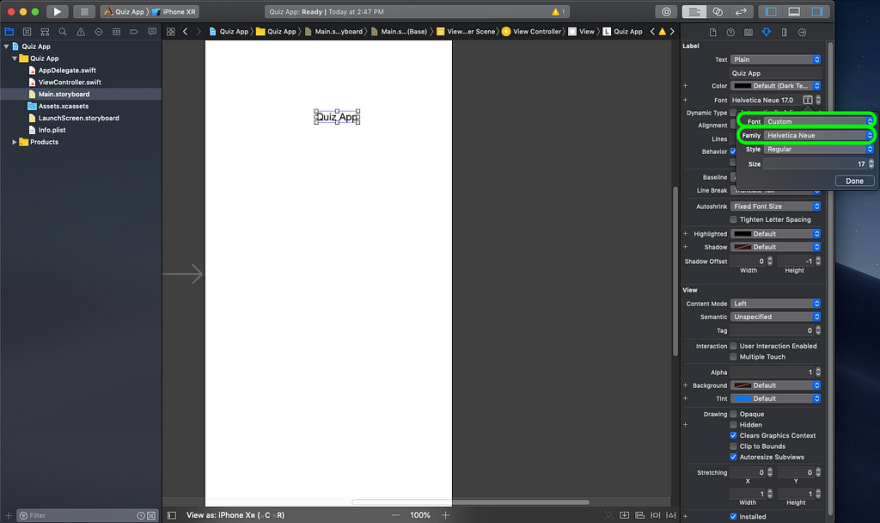

Choose the font that calls to you most.
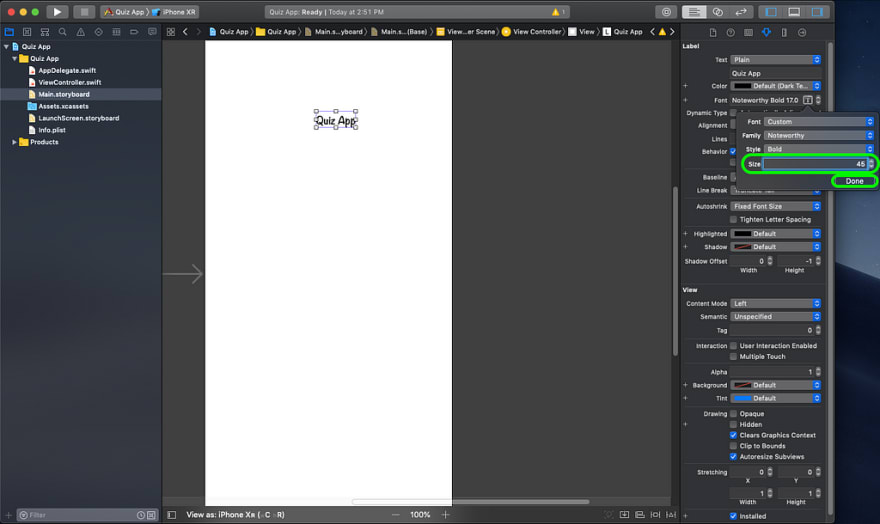
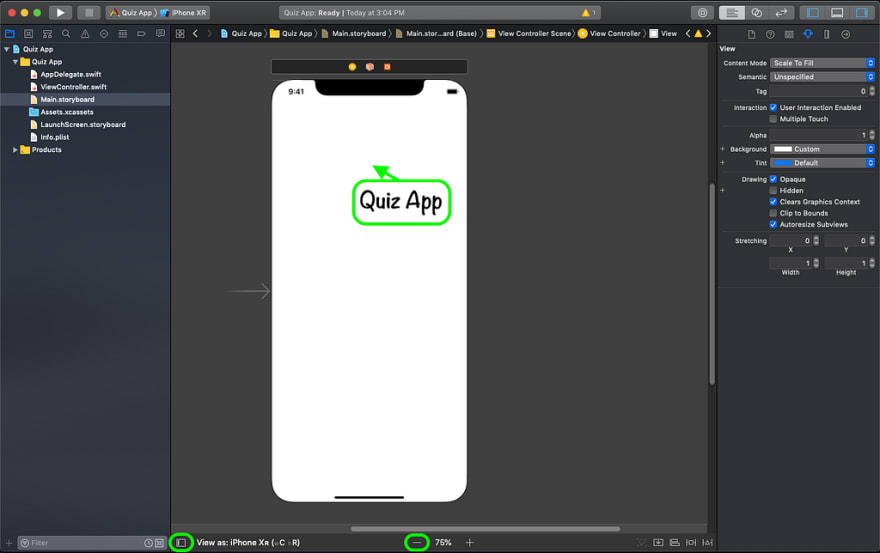
Zoom out a little if you don’t see the whole device.
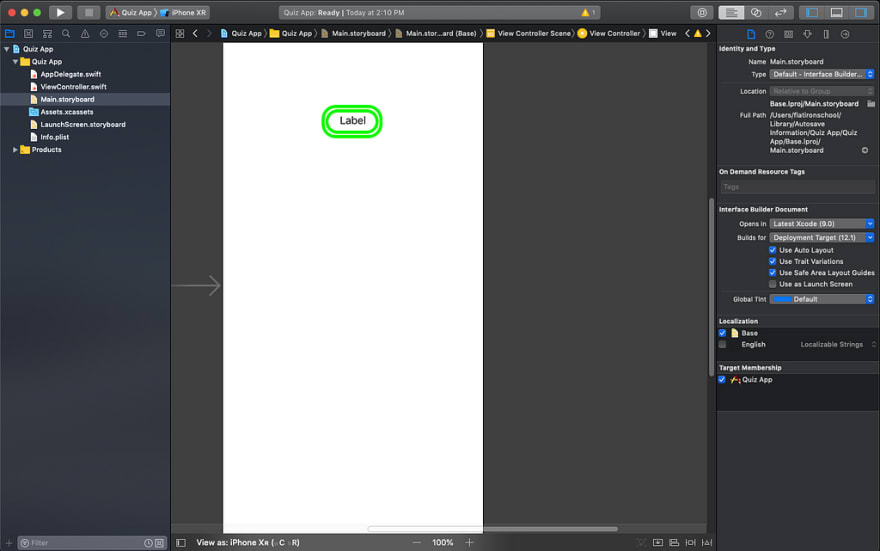
Recenter your label.
Reopen the view panel.
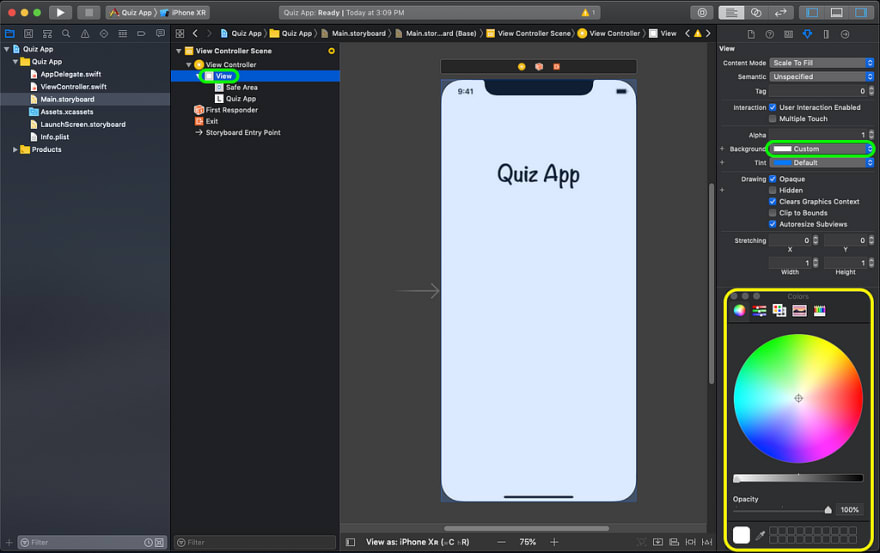
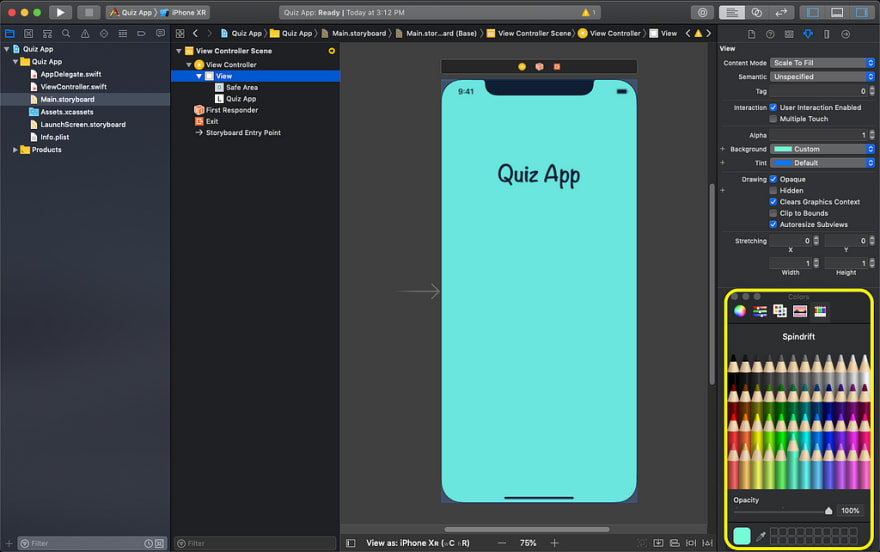
Choose your background color. I used the color pencil option with Apple’s pre-made color selection, but you can choose any color through any method that you want. Take a minute to click around and play with the color panel.

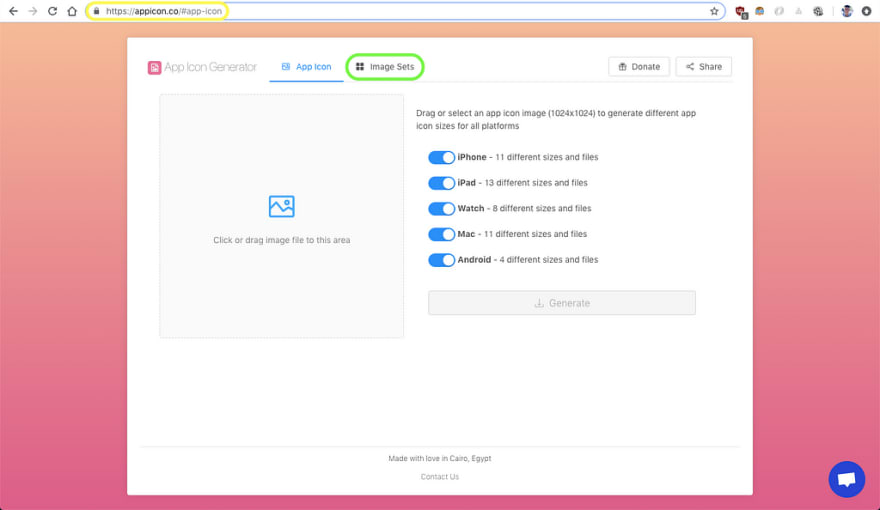
Let’s add an image
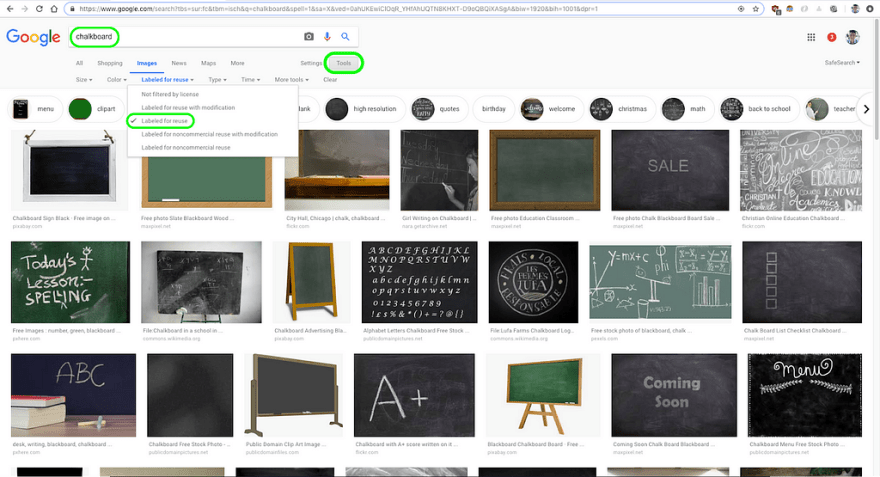
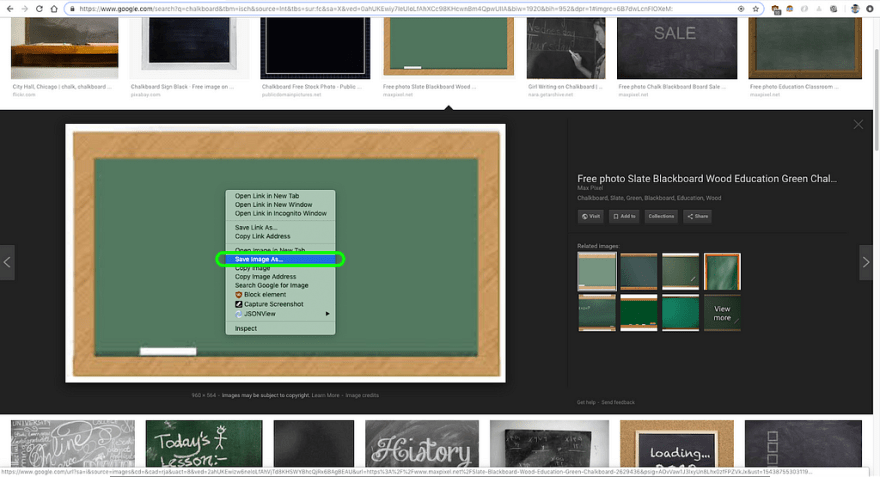
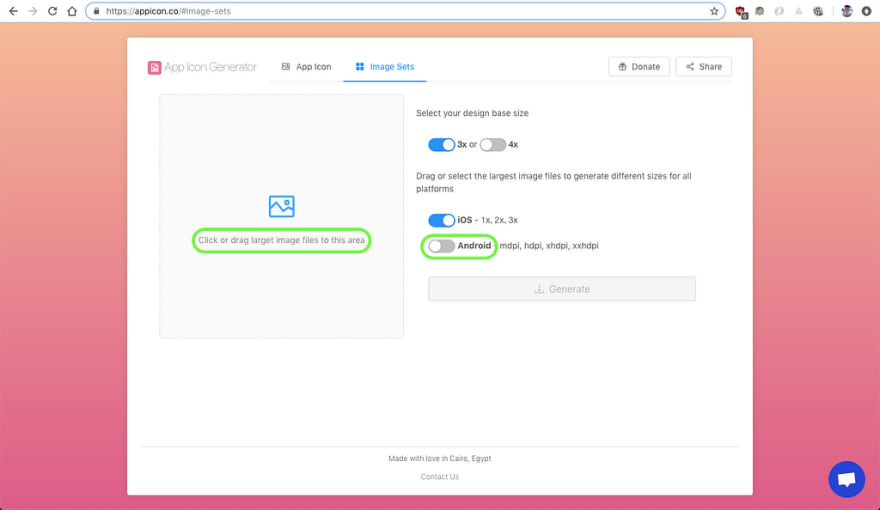
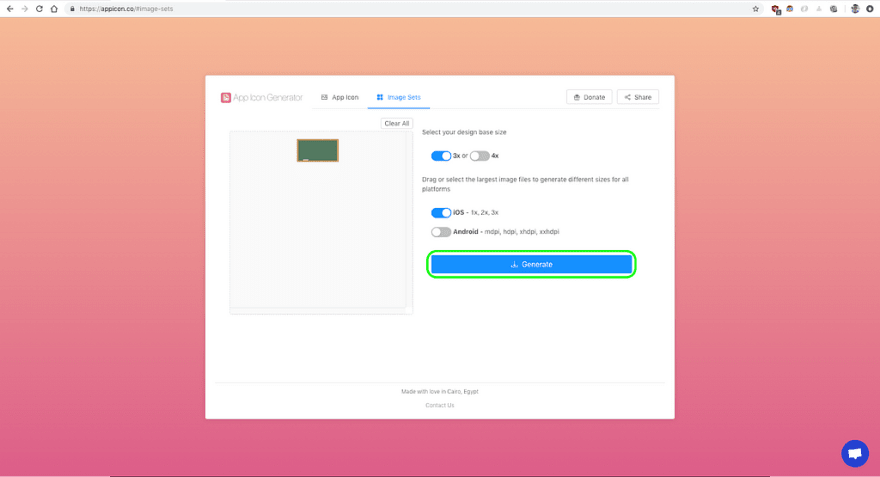
You will need various sizes of the same image for different devices, but there’s a great website called appicon.co that can take care of resizing images for you.

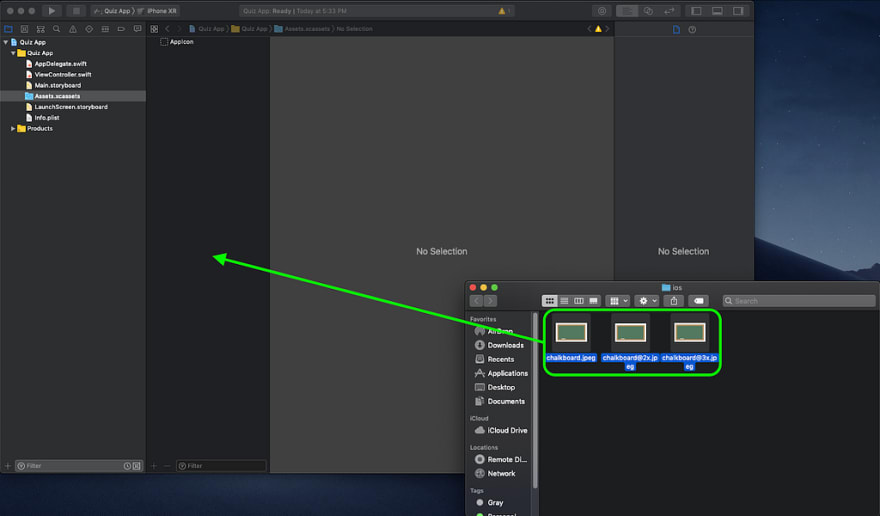
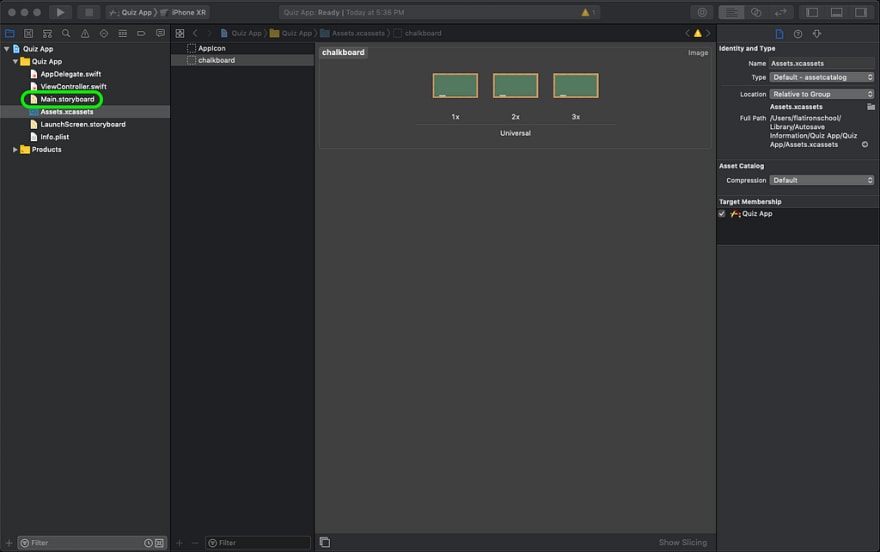
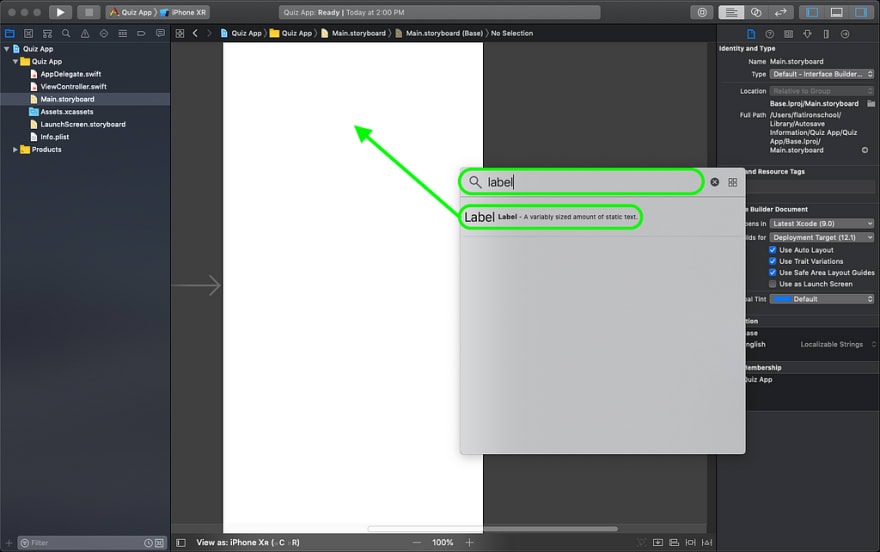
Type the image name to locate your image.
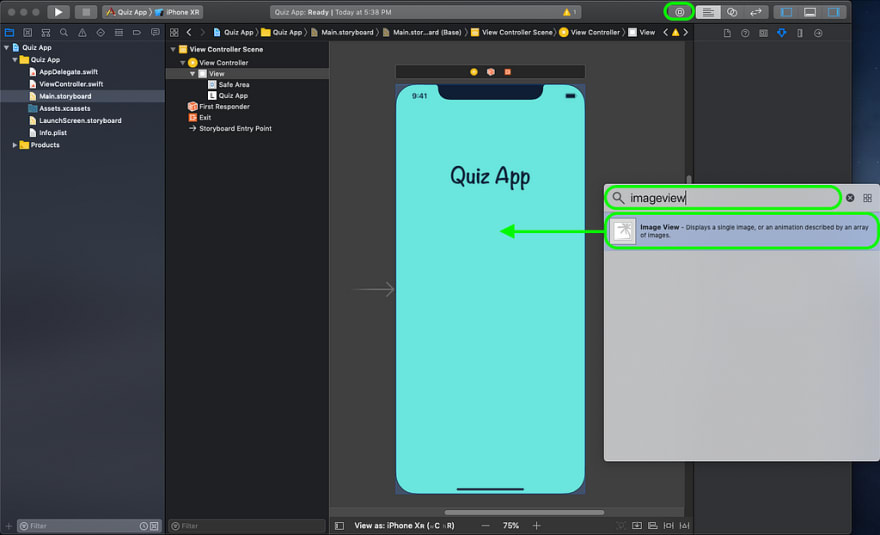
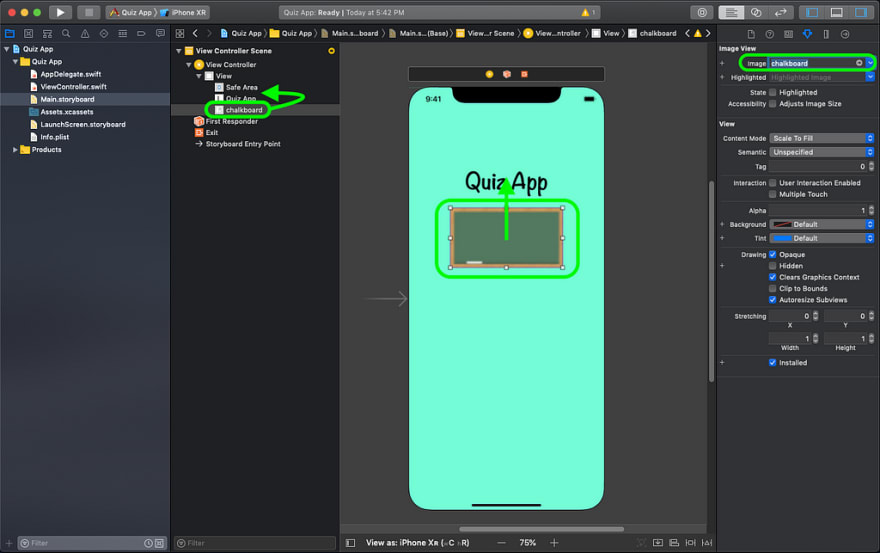
In the view panel, drag your image to be above your label so that it layers behind the label.
In the preview screen, drag your image to where your label is.
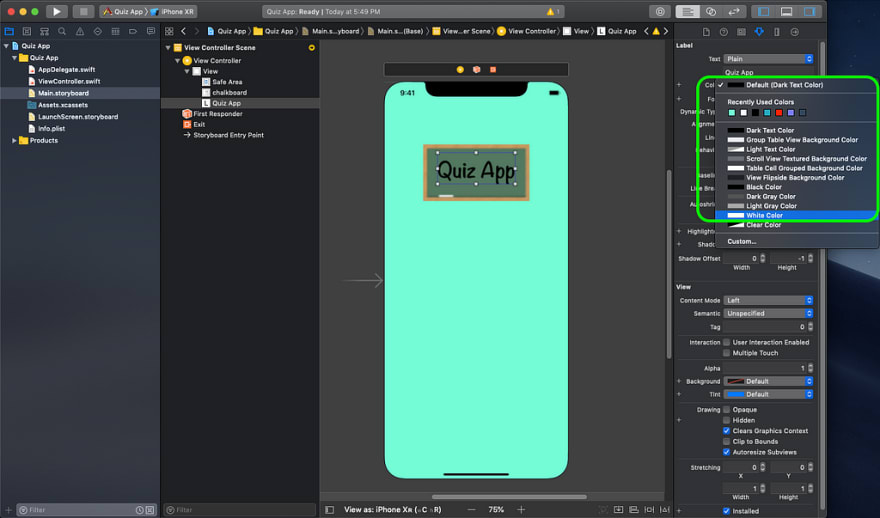
Now that we have a chalkboard behind your text, let’s change the text color to white.
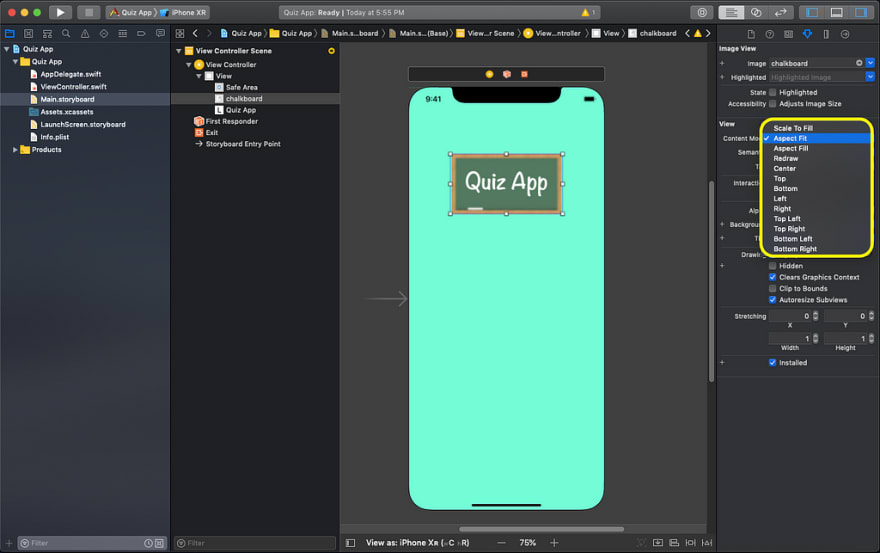
Sometimes your image will be distorted by default (not in this case), you can change the behavior of your image through the ‘Content Mode’ attribute.
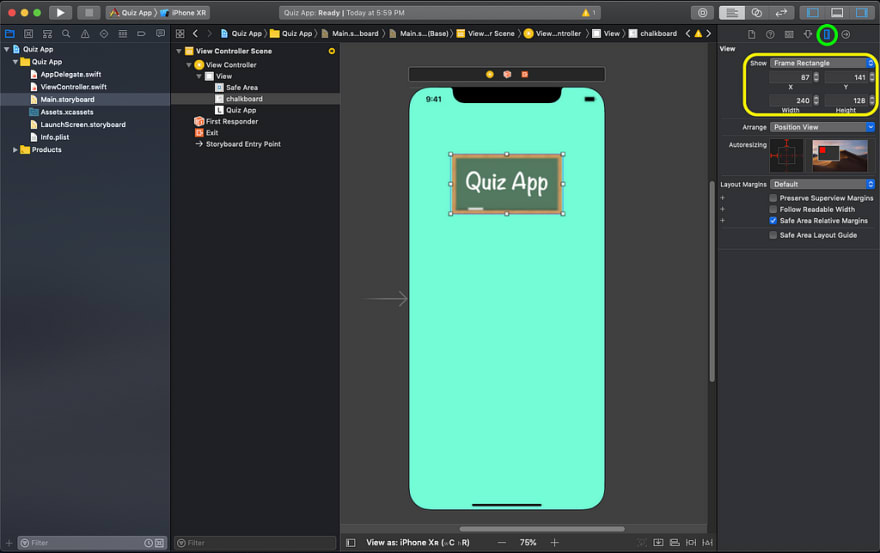
When you want very specific positions for your images or labels (provided by a client or design team), you can use the ruler panel to input the desired location.
Time out.
I know you want to go from 0 to 100, but that’s it for this post. Take some time to familiarize yourself with all the panels we went through. It’s a lot of panels to look at and remember but…

Congrats on taking your first step in becoming an iOS developer!

Top comments (0)