
Eleventy is a simpler static site generator. We will be using their template to build three simple blogs.
Getting Started
Before getting started, Eleventy v1.0.0 requires Node 12 or newer. Use node --version on the command line to find your local Node version. If you don't have node, you'll have to install it here.
To make a simple quick hello-world style blog using 11ty, open up your terminal and run
echo '# Page header' > README.md
npx @11ty/eleventy
After running the code above, your output would be
Writing _site/README/index.html from ./README.md (liquid)
Wrote 1 file in 0.03 seconds (v1.0.0)`
You can add content in the README.md. The power of 11ty would automatically convert your markdown file into raw HTML.
Run npx @11ty/eleventy --serve to start up a web server. Then open http://localhost:8080/README/ in your web browser of choice to see your Eleventy output. You can view my example here
Utilizing Existing 11ty Template
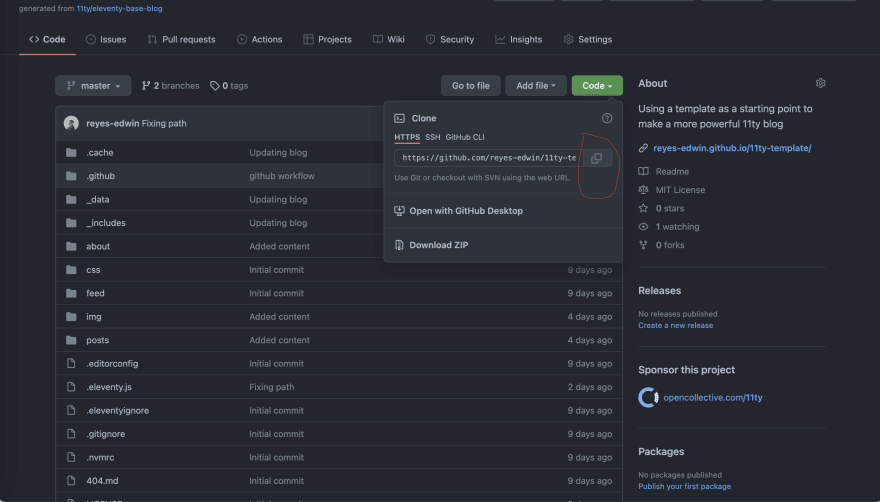
We will be using an existing 11ty template. To get started, first head over to the repo and click the "Use this template" button. You can also view my example here.
Next, clone the repository to your local files. Open up your terminal and run git clone (your repo url).
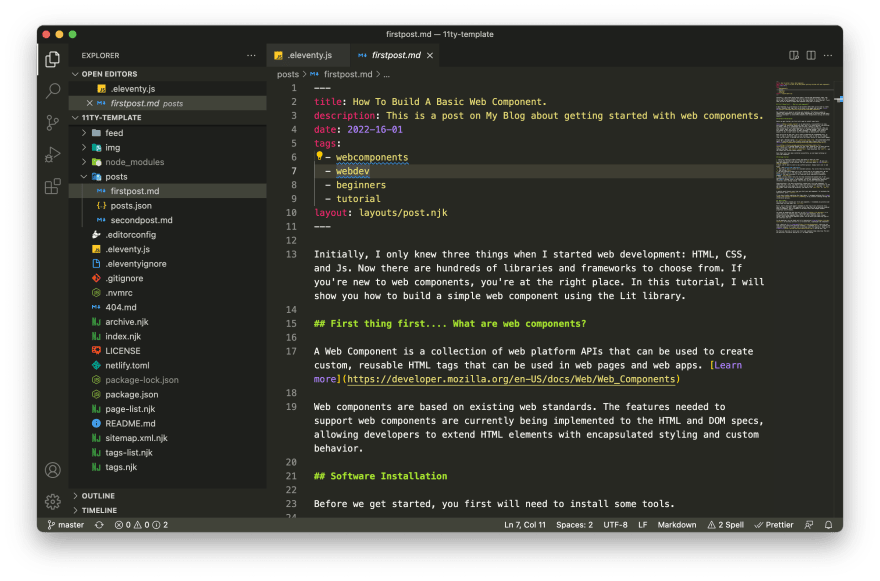
You can add or remove the content in the 'post' directory. This template comes with pre-generated CSS, but you can modify it in the CSS folder. 11ty would handle the backend and link your post to other blog posts. Here's an example on how to add content.
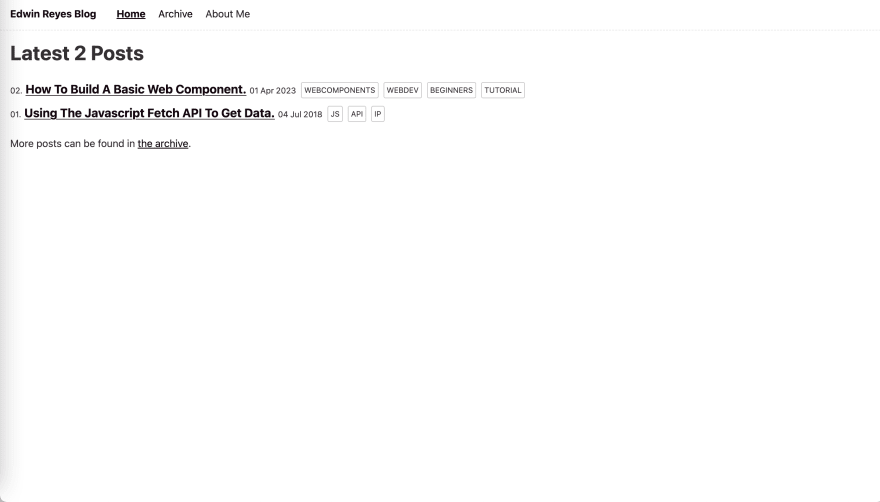
To view your blog, you must first install the required dependencies by running npm install. Then, run npx eleventy --serve. Your result should look like this.
You can view real-time updates as you modify your blog. To cancel the server, click ctrl + c.
Another existing template we can utilize would be Hax11ty. This is a pre-generated template by btopro.
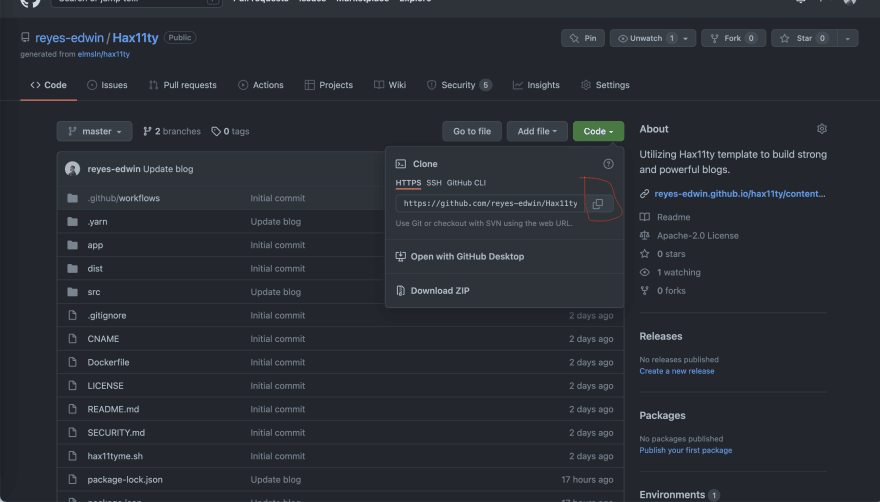
To get started first, head over to the repository and click the "Use this template" button.
Next, clone the repository to your local files. Open up your terminal and run git clone (your repo URL).
You can add or remove content in the contents folder. Here's an example of mines.
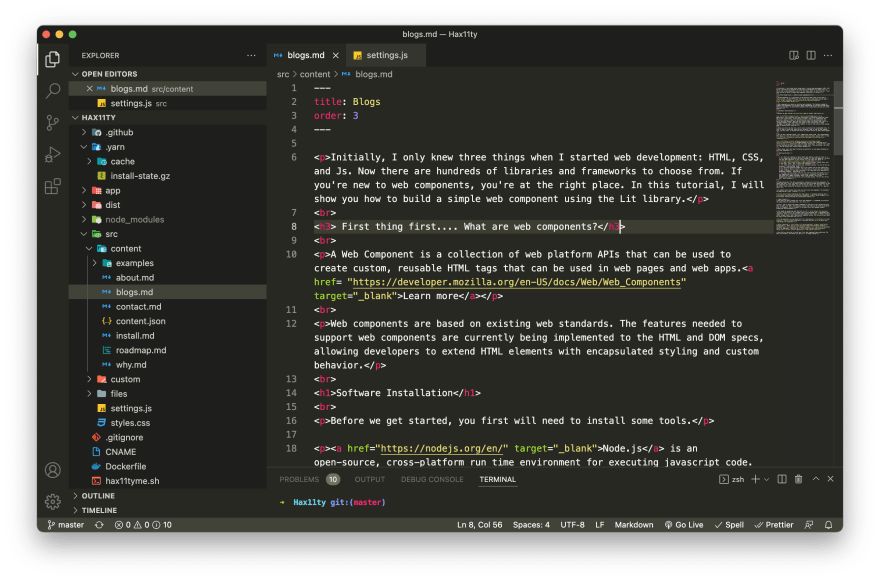
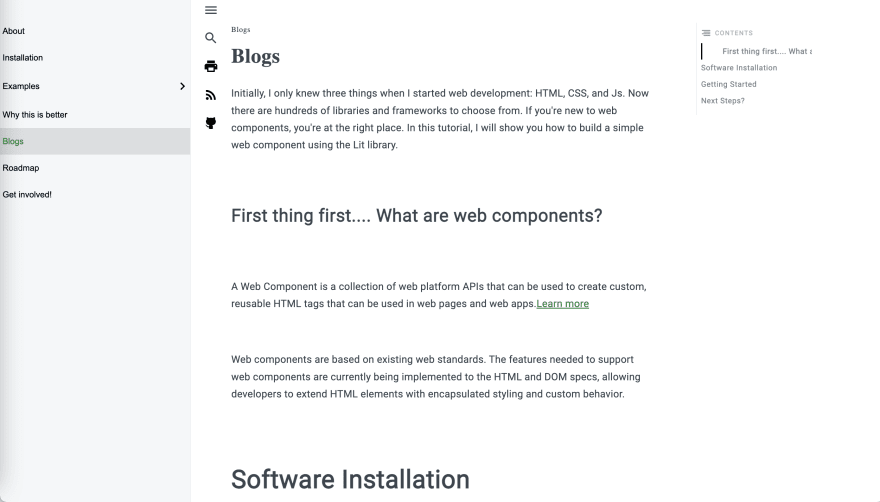
To view your blog, you must first install the required dependencies by running npm install. Then, run npm start. Your result would look like this. View my example here
Now that your blogs are up and running, you can select the best template to use and add as much desired content as you need.
11ty vs Hax11ty
The Hax11ty template is much cleaner and better organized compared to 11ty. Using the 11ty quick started requires more dependencies and a lot of coding to make your site more pleasing. Using a pre-existing template gives you more freedom as you most likely run into less bugs.
11ty is such a powerful tool allowing you to build quick static sites. You can check out how I did the three blogs above in the links below.
Repository
- 11ty hello-world: https://github.com/reyes-edwin/hello-world-11ty
- 11ty template: https://github.com/reyes-edwin/11ty-template
- hax11ty template: https://github.com/reyes-edwin/Hax11ty

Top comments (0)