
Auth0 is a flexible, drop-in solution to add authentication and authorization services to your applications. See how easy it is to add to your Vue application so you can register and login users with their email address and a password.
What we will be creating
We are going to create a very simple Vue application using the Vue CLI. We will modify the default scaffolded application so that we can use Auth0 to either register a new user or login an existing user. Once a user is logged in then they will have access to view the About page.
User's will be able to register with the application using the email and password authentication system in Auth0.
Creating our Project
I will be using the Vue CLI to scaffold out a project for us to start with. To do that you need to have the Vue CLI installed on your system. If you DO NOT have it installed, you can install it globally with this command:
npm install -g @vue/cli
Now we can use the Vue CLI to create our project. Create a new project using this command:
vue create vue-authentication-auth0
You will be asked to pick a preset. Choose "Manually select features" and then select "babel", "Router" and "Linter / Formatter".
You will be asked if you want to use history mode for router. Choose "Yes" (should be the default).
You can select any linter you want but for this tutorial I will be selecting "Eslint + Prettier".
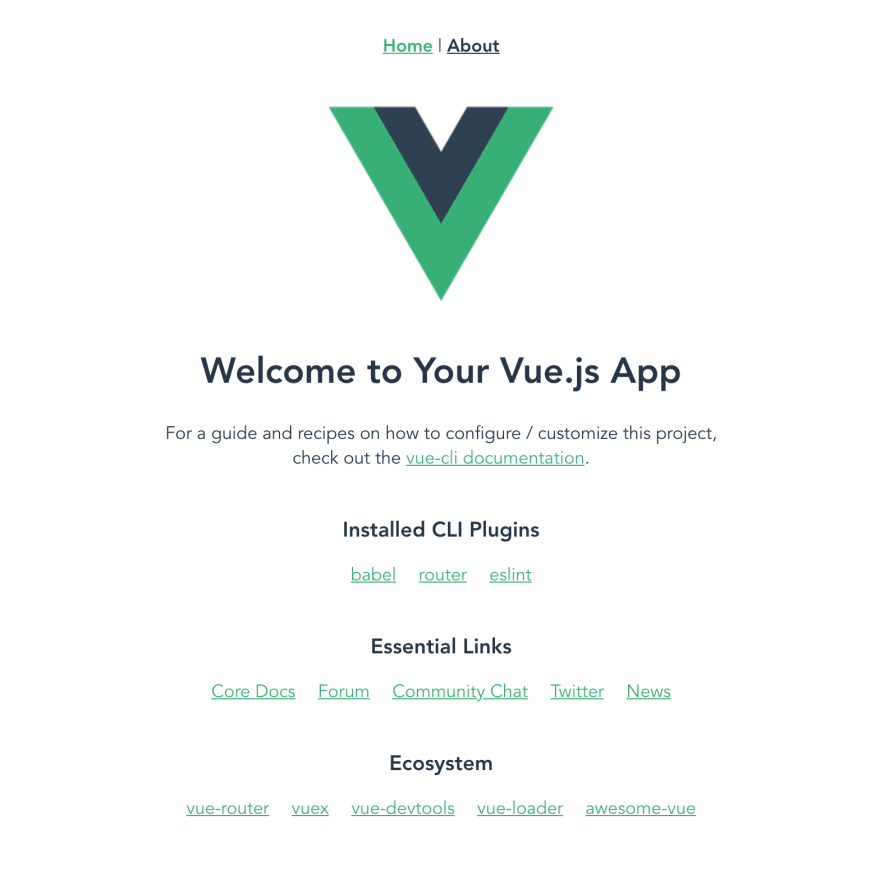
After the Vue CLI is finished, it will give you the commands to change into the new directory that was just created and the command to start the server. Follow those directions. Once the server is started you can open your browser to localhost:8080. You should see this:
Create An Auth0 Account
The first thing you will need to do is to create an account with Auth0 if you don't already have one. It is free to create an account. You can create your free account here.
Create Auth0 Application
Once you have created your free Auth0 account, login to your account. In the left-hand navigation, click on Applications.

From here click on the Create Application button.

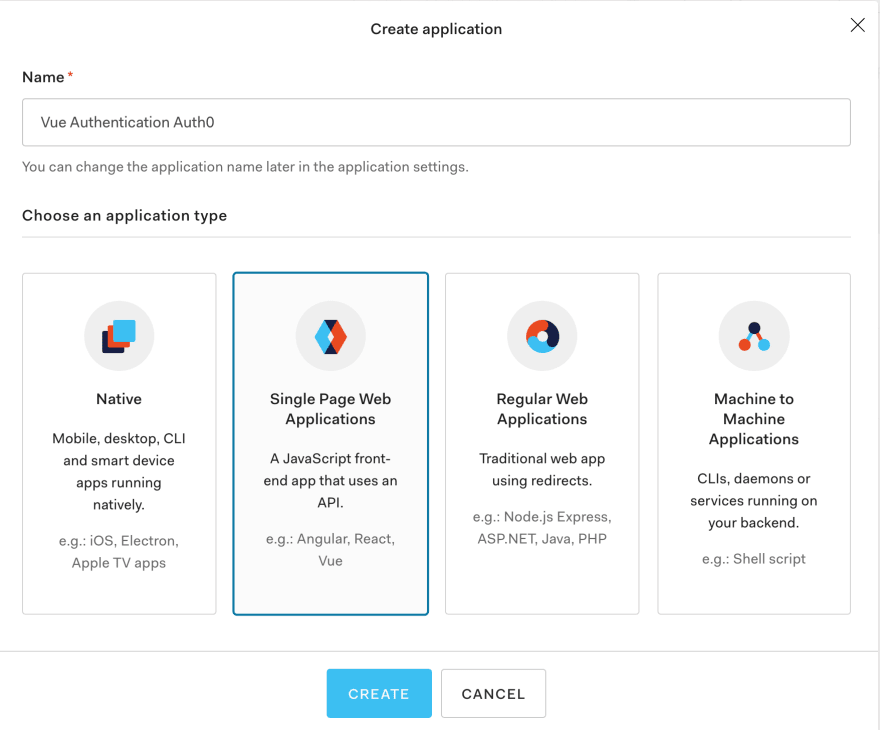
You will be presented with a dialog box for you to provide a name for your application and to specify what type of application you will be creating.
The name of my application is Vue Authentication Auth0. You can put whatever you want for the name of your application.
For the application type select Single Page Web Application.
After your application is created, the Quick Start tab will provide instructions on how to implement Auth0 in your web App using the most popular JavaScript frameworks.
Since we are using Vue.js for our application click on the Vue icon.

Auth0 provides very detailed instructions on how to implement their Authentication-As-A-Service product. For this tutorial we will implement their instructions in the Vue app that we have already created.
Configure Your Application Settings
You can access your settings by clicking on the Settings tab at the top of the page.
You will see your Domain and Client ID under Basic Information. We will come back to this later on because we will need to store these values for our application to work.
Under the Application URIs section we will need to define our Allowed Callback URLs, Allowed Logout URLs, and Allowed Web Origins.
For testing our application locally we will be using the URL of http://localhost:8080.
NOTE: if you decide to host your application somewhere like on Netlify or Heroku then you will need to update all of these settings with the URL of your hosted application.
Set your strong>Allowed Callback URLs, Allowed Logout URLs, and Allowed Web Origins to be http://localhost:8080.

Install Auth0 SDK
Go back to your Vue application and add the Auth0 Client SDK with this command:
npm install @auth0/auth0-spa-js
Create an Authentication Wrapper
The Auth0 SDK requires that it be initialized before your Vue application has started. Vue has lifecycle hooks that we could potentially use to initialize the SDK. You might think we could use a beforeCreate hook in the App.vue file but you would be wrong. Let me show you why.
Here is an image of the Vue lifecycle hooks.

beforeCreate is the very first Vue lifecycle hook to fire. But notice in that image that it fires after the Vue application is created with new Vue().
We need to be able to initialize the Auth0 SDK before the new Vue() that creates our Vue application. Vue provides a mechanism to do this with the Vue plugin.
In order to use a plugin you must call it with the Vue.use() command. This command must be done before your start your app by calling new Vue().
The Authentication Wrapper we will be creating will actually be a Vue plugin.
In the src directory create a new directory called auth. Inside that auth directory create a file called index.js.
We will copy the code provided from the QuickStart tab and paste it into this file. Here is the code:
import Vue from "vue";
import createAuth0Client from "@auth0/auth0-spa-js";

/** Define a default action to perform after authentication */
const DEFAULT_REDIRECT_CALLBACK = () =>
  window.history.replaceState({}, document.title, window.location.pathname);

let instance;

/** Returns the current instance of the SDK */
export const getInstance = () => instance;

/** Creates an instance of the Auth0 SDK. If one has already been created, it returns that instance */
export const useAuth0 = ({
  onRedirectCallback = DEFAULT_REDIRECT_CALLBACK,
  redirectUri = window.location.origin,
  ...options
}) => {
  if (instance) return instance;

  // The 'instance' is simply a Vue object
  instance = new Vue({
    data() {
      return {
        loading: true,
        isAuthenticated: false,
        user: {},
        auth0Client: null,
        popupOpen: false,
        error: null
      };
    },
    methods: {
      /** Authenticates the user using a popup window */
      async loginWithPopup(options, config) {
        this.popupOpen = true;

        try {
          await this.auth0Client.loginWithPopup(options, config);
        } catch (e) {
          // eslint-disable-next-line
          console.error(e);
        } finally {
          this.popupOpen = false;
        }

        this.user = await this.auth0Client.getUser();
        this.isAuthenticated = true;
      },
      /** Handles the callback when logging in using a redirect */
      async handleRedirectCallback() {
        this.loading = true;
        try {
          await this.auth0Client.handleRedirectCallback();
          this.user = await this.auth0Client.getUser();
          this.isAuthenticated = true;
        } catch (e) {
          this.error = e;
        } finally {
          this.loading = false;
        }
      },
      /** Authenticates the user using the redirect method */
      loginWithRedirect(o) {
        return this.auth0Client.loginWithRedirect(o);
      },
      /** Returns all the claims present in the ID token */
      getIdTokenClaims(o) {
        return this.auth0Client.getIdTokenClaims(o);
      },
      /** Returns the access token. If the token is invalid or missing, a new one is retrieved */
      getTokenSilently(o) {
        return this.auth0Client.getTokenSilently(o);
      },
      /** Gets the access token using a popup window */

      getTokenWithPopup(o) {
        return this.auth0Client.getTokenWithPopup(o);
      },
      /** Logs the user out and removes their session on the authorization server */
      logout(o) {
        return this.auth0Client.logout(o);
      }
    },
    /** Use this lifecycle method to instantiate the SDK client */
    async created() {
      // Create a new instance of the SDK client using members of the given options object
      this.auth0Client = await createAuth0Client({
        ...options,
        client_id: options.clientId,
        redirect_uri: redirectUri
      });

      try {
        // If the user is returning to the app after authentication..
        if (
          window.location.search.includes("code=") &&
          window.location.search.includes("state=")
        ) {
          // handle the redirect and retrieve tokens
          const { appState } = await this.auth0Client.handleRedirectCallback();

          // Notify subscribers that the redirect callback has happened, passing the appState
          // (useful for retrieving any pre-authentication state)
          onRedirectCallback(appState);
        }
      } catch (e) {
        this.error = e;
      } finally {
        // Initialize our internal authentication state
        this.isAuthenticated = await this.auth0Client.isAuthenticated();
        this.user = await this.auth0Client.getUser();
        this.loading = false;
      }
    }
  });

  return instance;
};

// Create a simple Vue plugin to expose the wrapper object throughout the application
export const Auth0Plugin = {
  install(Vue, options) {
    Vue.prototype.$auth = useAuth0(options);
  }
};
Create Config File
The options object passed to the plugin is used to provide the values for clientId and domain which I mentioned earlier and said we would get to it later.
In the root directory of your application create a new file called auth_config.json. We will populate the values from your application for domain and clientId. Put this code into auth_config.json file and be sure to update it with the values for your application.
{
  "domain": "yourAppValuesHere",
  "clientId": "yourAppValuesHere"
}
This configuration file contains non-sensitive values relating to your Auth0 application. This file should not be committed into source control. We can do that by adding the filename to the .gitignore file.
Open the .gitignore file and add auth_config.json in the file.
Add Plugin To Our Vue Application
Now that we have created our plugin we need to tell Vue to use it. Open up the main.js file. Add these two import statements which import our plugin as well as our domain and clientId from the auth_config.json file.
// Import the Auth0 configuration
import { domain, clientId } from "../auth_config.json";

// Import the plugin here
import { Auth0Plugin } from "./auth";
Next we need to tell Vue to use our plugin. After the import statements add this code:
// Install the authentication plugin here
Vue.use(Auth0Plugin, {
  domain,
  clientId,
  onRedirectCallback: appState => {
    router.push(
      appState && appState.targetUrl
        ? appState.targetUrl
        : window.location.pathname
    );
  }
});
Login to the App
If you look at the plugin code in the auth/index.js file you will notice that there are two different login methods provided: loginWithPopup and loginWithRedirect.
Auth0 provides a hosted login page that any application can use to login or register users for their application. The loginWithRedirect method will access the hosted login page. That means that when users click the login button the URL will change to point to Auth0 website where the user will enter their login details. After they have successfully authenticated they will be redirected back to our application.
If we don't want to do this redirect, Auth0 provides the option to login or register users via a popup that shows on our website.
I will show you how to use both of these login methods.
Open up the App.vue file. The nav currently has two entries for the Home and About pages. We need to add two buttons to Login. Add this code in the nav which should look like this:
  Home |
  About |

    |

      Login

    |

      Login Popup

    |
Notice that the buttons are wrapped in a directive that makes sure $auth.loading is false. If you review the code for our plugin there is a data section with a value of isAuthenticated. This value is set if a user successfully authenticates with Auth0. If the user is authenticated then we do not want to show the two login buttons.
When we add the div then the buttons appear on the row below the links for the Home and About button. I want them to all be on the same line so update the CSS styles to be this:
#nav {
    display: flex;
    justify-content: center;
    padding: 30px;
}

#nav a {
    font-weight: bold;
    color: #2c3e50;
    padding: 0 5px;
}
Now when you view the application you will see the two buttons.

The two buttons are calling methods login and loginPopup. Let's implement them now.
Add a methods object with two methods. Here is the code:
methods: {
    login() {
        this.$auth.loginWithRedirect();
    },
    loginPopup() {
        this.$auth.loginWithPopup();
    },
}
The this.$auth is a handle for our plugin. We are then calling the methods available in our plugin.
Now go back to your application. If you click the login button you should be taken to Auth0's hosted login page.
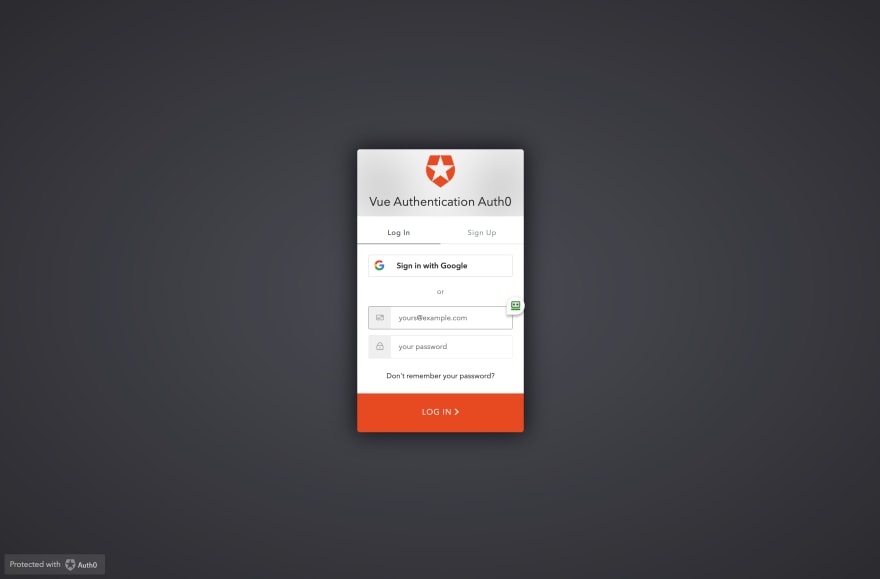
If you click on the Login Popup button you will see a login modal in your application.

Regardless of which one you choose, you will see that you have the option to either log in or sign up. Go ahead and create an account. When you return to the application you will see that both the login buttons are hidden. They are hidden because the isAuthenticated value in the plugin is now true.
Implement Logout
The next step is to implement a Logout. Open up the App.vue file. Add a button for logout like this:
Logout
Here we have a directive to only show this button if the user is currently authenticated. Go back to your application and you should now see the Logout button.

Add this method to implement the logout functionality:
logout() {
  this.$auth.logout();
  this.$router.push({ path: '/' });
}
In this method we call the logout function in our plugin. In case the user was on a page that is only visible to users that are authenticated, we redirect the user to the home page.
Only Show Pages to Authenticated Users
Currently our application on has a Home page and an About page. Instead of creating a new page, let's set the About page to be only visible if a user is logged in.
We only want to show the About page in the nav if the user is logged in. We will take the same directive we use for displaying the Logout button and put it on the About page in the nav. Update the nav to be this:
About
Adding a Route Guard
We have hidden the link to the About page in the nav if a user is not currently authenticated. But a user can type in the url /about to go directly to the page. This shows that an unauthenticated user can access that page. The way to avoid this is by using a route guard.
In the auth directory create a new file called authGuard.js.
Add this code to the file:
import { getInstance } from "./index";

export const authGuard = (to, from, next) => {
  const authService = getInstance();

  const fn = () => {
    // If the user is authenticated, continue with the route
    if (authService.isAuthenticated) {
      return next();
    }

    // Otherwise, log in
    authService.loginWithRedirect({ appState: { targetUrl: to.fullPath } });
  };

  // If loading has already finished, check our auth state using `fn()`
  if (!authService.loading) {
    return fn();
  }

  // Watch for the loading property to change before we check isAuthenticated
  authService.$watch("loading", loading => {
    if (loading === false) {
      return fn();
    }
  });
};
This code checks to see if the user is currently authenticated. If they are not it brings up the Auth0 hosted login page for the user to login. If the user fails to login or is not able to successfully login then it redirects the user away from the page they were trying to access that has the route guard.
Now let's implement this route guard in our vue router. Open up the index.js file in the router directory.
At the top of the file add an import for the authGuard file we just created:
import { authGuard } from "../auth/authGuard";
Next we need to add the route guard to the /about route. Update the /about route to be this:
{
    path: '/about',
    name: 'About',
    component: () =>
        import(/* webpackChunkName: "about" */ '../views/About.vue'),
    beforeEnter: authGuard
}
Go back to your application. If you are not currently authenticated then login to your application. You should see the About entry in the Nav. Now logout of the application. Manually try to go the url /about. You should be redirected to the Auth0 hosted login page.
Congratulations you have successfully added Auth0 authentication to your Vue application.
Get The Code
I have the complete code in my GitHub account here. If you get the code please do me a favor and star my repo. Thank you!
Using Other Authentication Methods
I have written several follow up articles on adding Authentication to your Vue application using other authentication methods.
Want to use Firebase for authentication, read this article.
Want to use AWS Amplify for authentication, read this article.
Conclusion
Auth0 is an Authentication-As-A-Service product that you can add to your application. It provides very easy to use Authentication.
Hope you enjoyed this article. If you like it please star or clap for it. Thanks for reading.

Top comments (0)