EC2 stands for Amazon Elastic Compute cloud.Simple way you will get a VM in the cloud just like your PC.
Advantage of this EC2 is scalable computing capacity, can launch as many as virtual servers as you required.
Now will see how to configure EC2 in AWS
Before configuration make sure that you have sign up in AWS
Step1
click on services on top left and click on EC2 under compute section

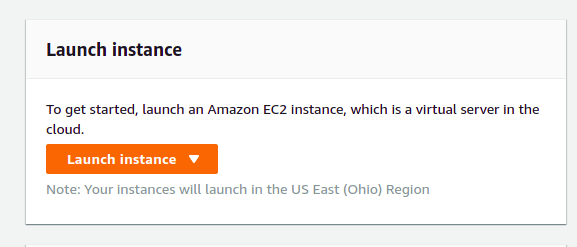
step2
click on launch instance
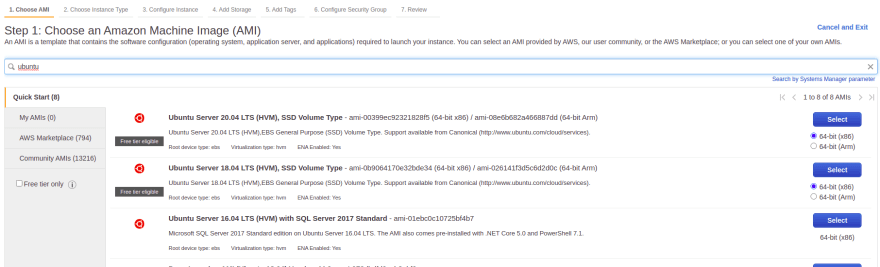
setp3
Here in the search box please search and select for your required operating system that needed to be present in the instance
step4
Choose instance type based on your requirement
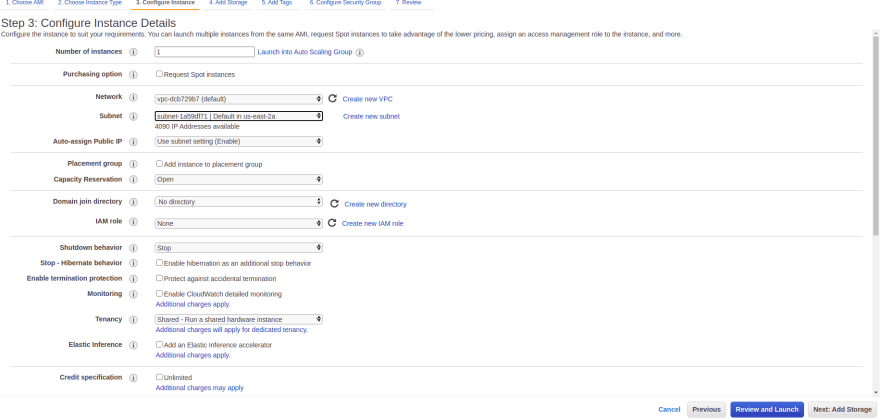
and click on next: configure instance details present below
step5
select your required region and number of instance and click on add storage
step6
select the storage and click on add tag

step7
click on add new tag name

step8
Here configure your security group like click on add rule and add what ever the protocols you needed

step9
click on review and launch instance
create new .pem file like it creates public key and private key
where you download private key which is used for connecting to instance from your machine
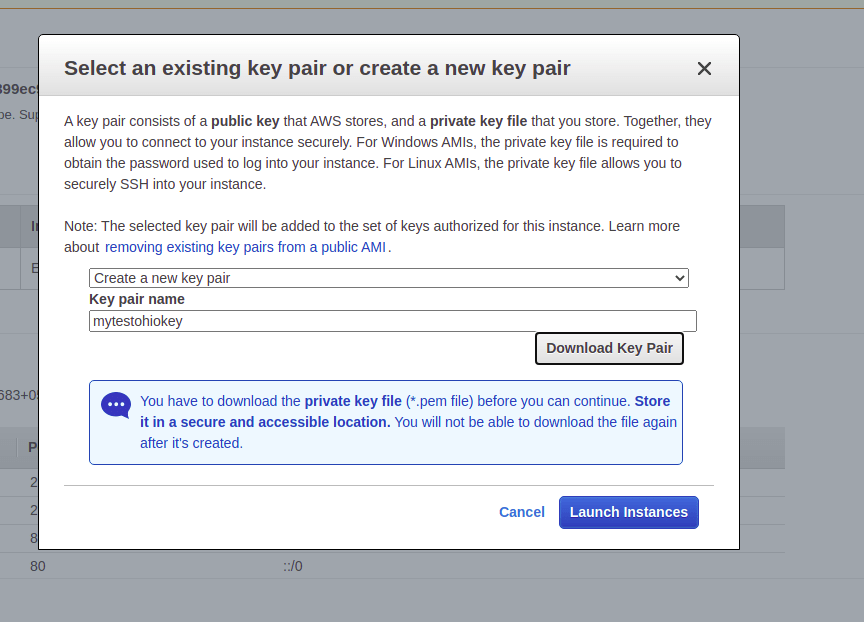
make sure that you .pem file only works for the selected region instance only
click on launch instance
Again click on service , EC2 and click on running instances

select and click on connect on top

You will find ssh client and ssh cmd

use that in your git bash or terminal to connect to server
Make sure you use 'sudo' if you get permission denied error
Note: Please select free instance if you are new to AWS

Top comments (0)