Background
Github Actions are one of the fairly newer tools that have entered into the CI/CD tool arena.
What is CI/CD?
The term refers to Continous Integration/Continuous Deployment. Although the terms are coupled together there different. Continuous integration is process of building code and ensuring passes the intergration and code quality of other components in the system. Continous Deployment are tools/process that allow for continous deployment of code.
CI/CD with ARM Templates
ARM templates are one of many approaches to building Azure Resources (VMs, appservices, vnets, xyz) as code or (json template) and allowing software engineering principles to improve the quality of deployments in the cloud.
Why Github Actions?
I would point out Github Actions are still pretty lightweight. Gitlab Runners and Azure Pipelines pack on additional tools such as manual deployments, pipeline stages, approvals etc. So if you need one of those you may have to migrate to something more enterprise but its Github Actions meets a lot scenarios today.
There are certainly a lot of pros. You now have a single location that can houses your source code management and you're CI/CD pipeline.
Another pro with using Github Actions, is there numerous positive community contributions. There are a plethora plugins/marketplace connectors for your deployment simplifying the amount lines you need to script out. You'll see an example of that in later.
What you need
I will walk through setting up a quick Azure Resource Manager (ARM) deployment with Github Actions.
- A Github Account
-
Access to an Azure Subscription as Owner Role
- The Owner Role will allow us to create a resource group and assign roles/permissions to it; we also need a service principal for workflow to run as
- In Azure AD, the account your using has appropriate permissions to create a service principal
- User is typically good enough unless permissions were customized in AD (see this Required permissions for Service Principals )*
Azure CLI or Cloud Shell Access
Setting Up the Azure Environment
We will create the following*:
- A Resource Group to deploy our ARM Templates in GitHub Actions
- Service Principal Created that has contributor role to create resources in a Resource Group
*Note: If you have already identified a resource group and service principal created with contributor access, please go to the next step
Create a resource group
Azure CLI Commands
az login
az group create --name lab_resourcegroup --location eastus2
~~~
The first command authenticates us in azure with will be assumed has been been done before running the remainder of commands. It's assumed you're running <b>az login</b> using an account with Owner Role at the subscription and Azure AD Permission to create the Service Principal

I'm using location with eastu2 but feel free to use region thats closest to you.

## Create the Service Principal

Azure CLI Commands
az ad sp create-for-rbac -n "gha_administrator" --sdk-auth
~~~~
The output will be simular below save this information for later

Assign contributor role to Service Principal for the resource group
az role assignment create --assignee [clientId from previous output] --role contributor --resource-group lab_resourcegroup
~~~~
## Next Steps
Now that we have the resource group, service principal, and role assignments setup in Azure, we can move on to setting up github.
# GitHub Setup Steps for CI/CD
In this step, we will:
- Set up a new Github Repo
- Download a simple linux vm arm template for Microsofts ARM repo
- Create a github action workflow
- Commit and push changes to the remote branch
## Set up the Github Repo
- Log into Github
- Create a new repo
- Call it "GHActions"
*_Note: If you haven't done this in while, there will be a plus icon near the top-right right-corner; click that, then click "New repository"_
<img src='https://dev-to-uploads.s3.amazonaws.com/i/ge4gd0pi2bxmyxu6o76z.png' style='width:200px; height:75px' />
- On your local system, clone the repo, just created from above
~~~
git clone https://github.com/[your username]/GHActions.git
~~~
<table><tr><td>Warning: If you receive errors such as command not found, it is likely git is not installed in your environment. Please click here to download [https://git-scm.com/downloads](https://git-scm.com/downloads)</td></tr></table>
## Download the sample ARM Template
There are plethora of ARM Templates that can easily be accessed for Azure-QuickStart-Template repo [https://github.com/Azure/azure-quickstart-templates]
For the the Github Action Workflow, we're going go use a simple VM template.
Download two files from Azure-Quick Start Repo and save them in the current GHAction directory:
1. ARM Deployment Template
[Template File](https://raw.githubusercontent.com/Azure/azure-quickstart-templates/master/101-vm-simple-linux/azuredeploy.json)
2. ARM Deployment Parameter File
[Parameter File](https://raw.githubusercontent.com/Azure/azure-quickstart-templates/master/101-vm-simple-linux/azuredeploy.parameters.json)
The second file (ARM template parameter file) is used to conjunction with the deployment template to pass values for variables at deployment time.
### Make changes to the parameter file
At bear mininum the parameter file needs to be update with a username, pass, for the ARM template. Update the parameter file to something like below:
```
{
"$schema": "https://schema.management.azure.com/schemas/2019-04-01/deploymentParameters.json#",
"contentVersion": "1.0.0.0",
"parameters": {
"adminUsername": {
"value": "testadm"
},
"adminPasswordOrKey": {
"value": "Change2ASuperSecureP@ss"
},
"dnsLabelPrefix": {
"value": "labtest"
}
}
}
```
## Commit changes
```
git commit add .
git commit -m "include the arm template and arm parameter files"
git push origin
```
The repo should now reflect the new arm template files in Github
## Create Secrets for Github Actions
Next we'll create a Secret in the Github repository. Secrets provide a secure way store/retrieve credentials in your CI/CD workflow. Since we're using a Github hosted workloads this is reasonable solution.
- In Github, click on the "*Settings*" tab
- Click the "New Secret Button"
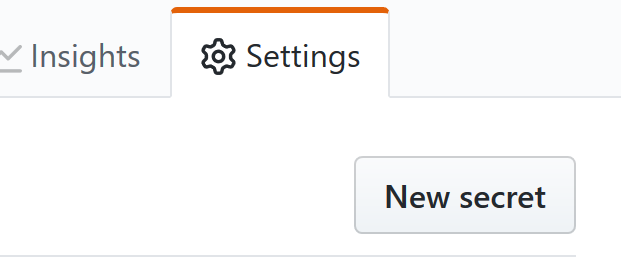
- Add the output of service principal json we saved earlier
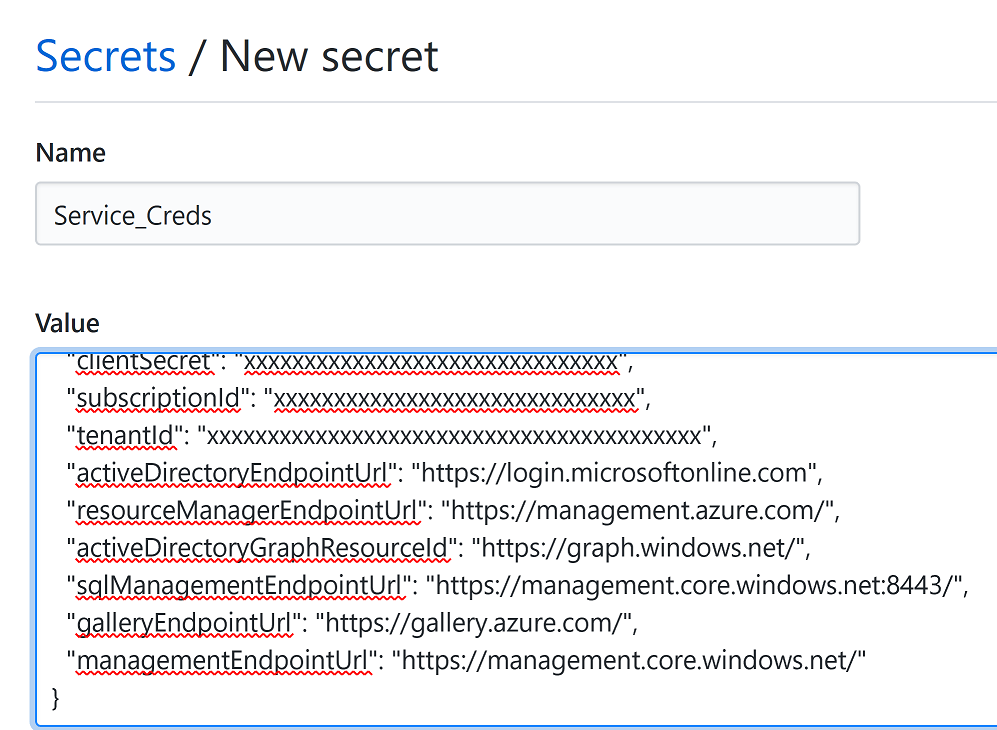
- Let's name the secret "service_creds"
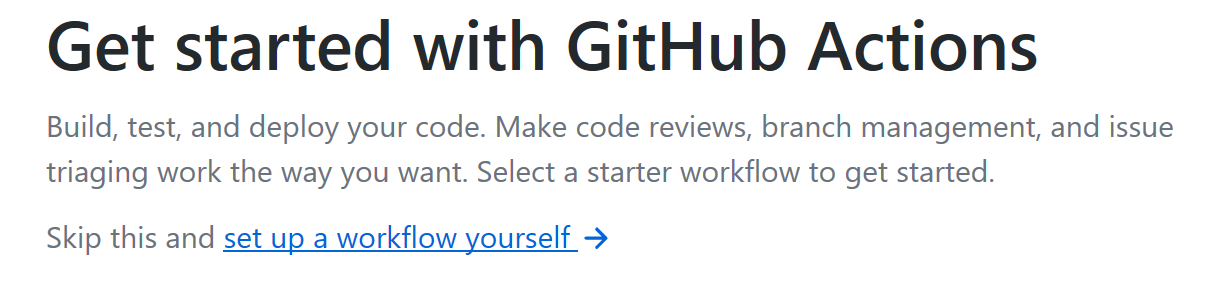
## Create Github Action Workflow
- Click on the Github action tab at the top
- Choose "Skip this and setup a workflow yourself"
## Setting up github actions workflow
Workflow actions behind the curtain is just a yaml and actually are stored in .\github\workflows
- You can have multiple workflow pipelines ie one for dev, test, prod and deploy to different resource groups or subscriptions. *But* In this example we just have one which will build deploy a linux vm.
Modify the workflow file to look like this
```
# This is a basic workflow to help you get started with Actions
name: CI
# Controls when the action will run. Triggers the workflow on push or pull request
# events but only for the master branch
on:
push:
branches: [ master ]
# A workflow run is made up of one or more jobs that can run sequentially or in parallel
jobs:
# This workflow contains a single job called "build"
build:
# The type of runner that the job will run on
runs-on: ubuntu-latest
steps:
# Checks-out your repository under $GITHUB_WORKSPACE, so your job can access it
- uses: actions/checkout@v2
- name: Azure Login
uses: Azure/login@v1.1
with:
# Paste output of `az ad sp create-for-rbac` as value of secret variable: AZURE_CREDENTIALS
creds: ${{ secrets.SERVICE_CREDS }}
# Runs a set of commands using the runners shell
- name: Deploy ARM Template
run: |
az group deployment create --template-file ./azuredeploy.json --template-parameter-file ./azuredeploy.parameters.json --resource-group lab_resourcegroup
```
## Structure of the YAML
This will look very similar if you've Azure Pipelines. At the top part the yaml the name of pipeline the name of the job specified <b>CI</b>
### Event Triggers
The "on" descriptor specifies the conditions that trigger a deployment. In this case its when ever a push occurs to master branch in github. Triggers are extremely customization. My triggers could be specific file or folder or specific wildcard.
### Jobs/Runners/Steps
A job is series of steps the Workflow does. In this Workflow yaml jobs are running on shared pool of "runners" virtual machines that Github graciously provides and are wiped after the workflow completion. There many flavors linux, windows, etc. you can choose (for this I'm using the ubuntu-latest). They also come preconfigured with binaries such as azcli, terraform, git.
Jobs have steps. Here we have a step to authenticate to azure. I'm using azurelogin from the marketplace instead of "az login." Why? Well it offers support azcli/and powershell. The cred variable is configured to read repo secret we set up earlier.
Lastly, the next step is deployment command it self deploying to resource group lab_resourcegroup that was set up in the pre-work
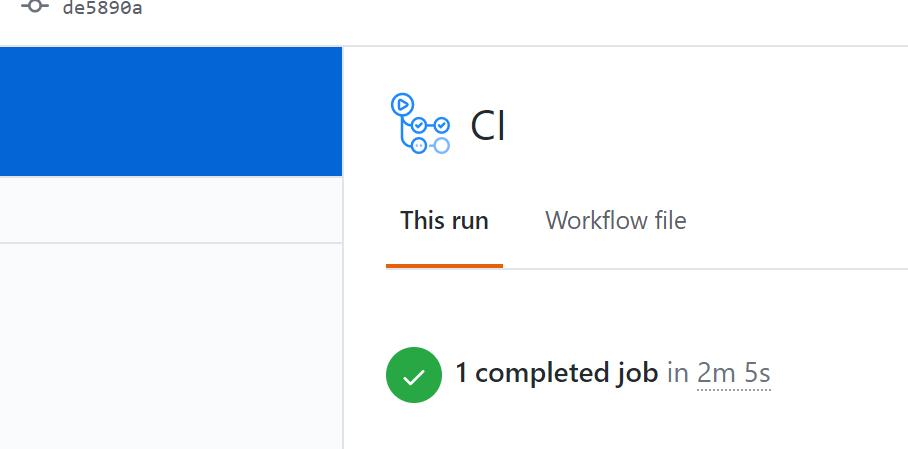
## Build Outcome
Once you committed you workflow you should see the results of your deployment in actions
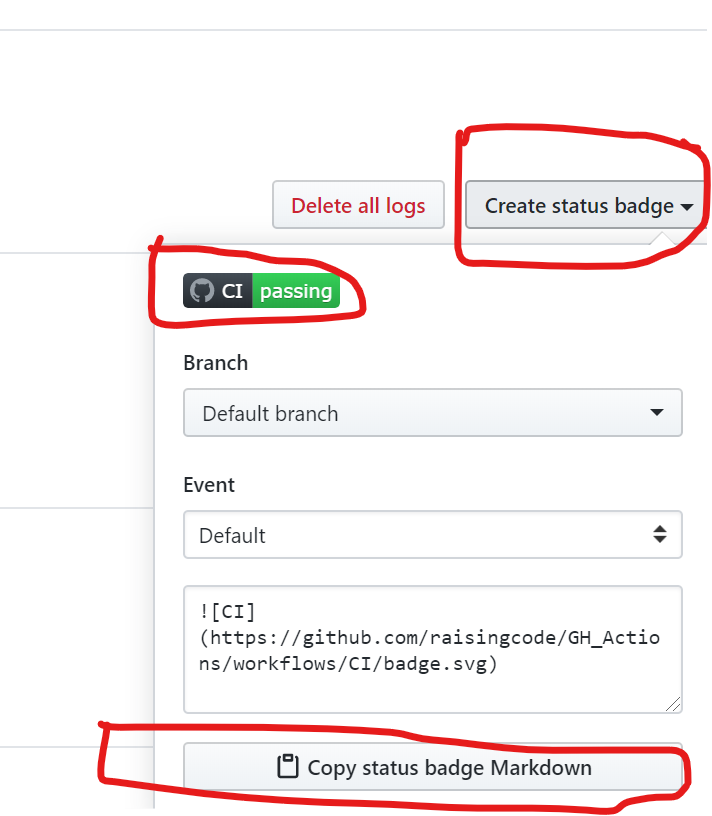
### Create a Badge
GH Actions allows you easily provide a status to the users on latest build status of the ARM template
# Summary
This was simple, yet rather long example of how to use ARM Templates with Github Actions. I hope you see the potential for using GitHub Workflows as a quick/free solution to automate deployments of your Cloud Infrastructure.
One Azure Virtual Machine might not really be the prime candidate. However as infrastructure and app dependencies grow the need to consistently and repeatable deploy the exact replica is where Actions show it's true promise.


Top comments (0)