
The form template is possibly one of the most under-appreciated or under-utilized tools of Dynamics 365 Marketing while its immediate descendant, marketing form, plays a critical role in digital marketing.
After some tinkering with form templates, a good portion of D365 Marketing users or even consultants would most likely give up trying to create scalable templates and seek help from the front-end developers. This is mostly due to the fact that element styles of the a form template would not be applied to new fields added if configured using the form designer.
Here is a default form template which you would see in any D365 Marketing instance:
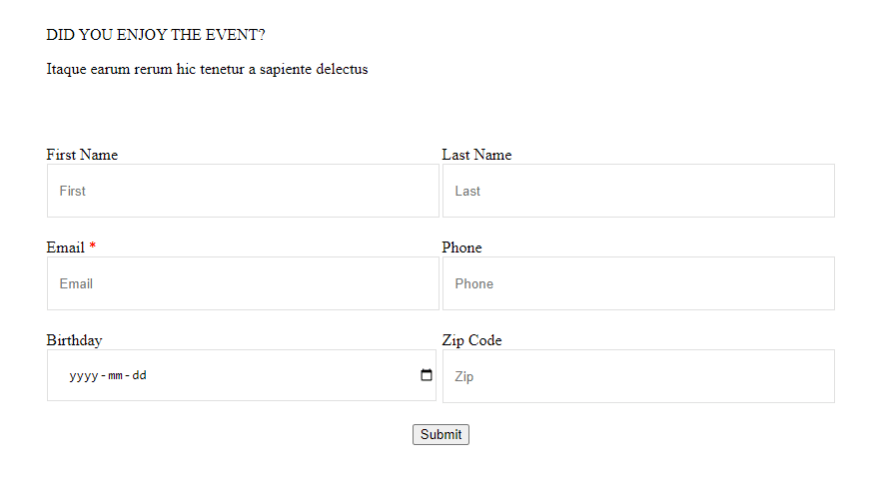
If any other types of fields are added to the form template (or the form created using the template), this somewhat consistent form template will break.
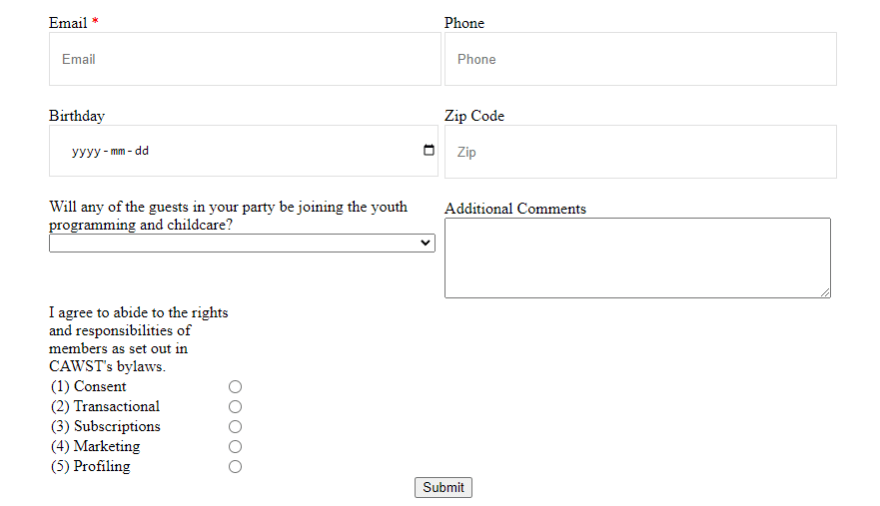
The dropdown field, text-area input and the radio buttons cannot be styled using the form designer so people without the necessary HTML/CSS toolset will be stranded. One can try to get some assistance from a developer what if help is not available? Trying to get your dev team's attention to update the border color is probably not very efficient and surely would not be appreciated by the devs.
Luckily, there is a solution so that you need to ask your developer for favors only once. The solution is documented here in MS Docs about D365 Marketing but I will give a quick run down since certain parts of the document might not be very clear.
Usually, users would need to apply styling changes to a certain type/group of form elements to keep the form consistent. For example, it makes more sense to change the color of all input labels instead of only one. To achieve this, you would need a custom attribute to manage color of all input labels.
The following part is for people with HTML/CSS knowledge, simply skip this part and pass it to your development resources
- Go to the HTML editor of the form template and add one meta tag as follows:
<meta type="xrm/designer/setting" name="label-color" value="#66b6e3" datatype="color" label="Label Text Color">
Use '-' instead of empty space in the name attribute since this will be referenced in form's CSS. The value attribute can be any hex color and setting "datatype" attribute equal to "color" will enable a color-picker on the form designer UI. Finally, the label attribute is what will be shown on the form designer.
Next part is slightly trickier. You need to locate the label elements in HTML body and inspect the direct parent elements (or one more level up) so that you can write CSS selectors to apply styling to the target label elements.

- Do not use a single generic CSS selector like below. The CSS created here will collide with existing CSS on the page where marketing forms will be hosted:
label {

}
Do not create a custom CSS class and add the class name to all label elements since new field labels added to the form using designer will not have the custom class name attached.
Be specific and target all label elements using the pre-existing class names. Note that we have to wrap the hex color attribute value with two comment blocks and the "label-color" text corresponds to the name attribute of the meta tag we created. The hex color code here also needs to be the same as value of the meta tag so they can be synchronized:
.marketing-field > .lp-form-field > .lp-ellipsis {
  color: /* @label-color */ #66b6e3 /* @label-color */;
}
- Once the form template is saved, you will see a customizable field under "Properties" tab of the form designer:

- Clicking on the colored box beside the input, you can start using the color-picker to modify the color of all labels directly.
As a demonstration, I have added all the following meta tags (and CSS) to enable multiple general controls designer would need.
<meta type="xrm/designer/setting" name="input-row-gap" value="2.5rem" datatype="text" label="Input Field Row Gap">
<meta type="xrm/designer/setting" name="label-input-gap" value="0.5rem" datatype="text" label="Label Input Gap">
<meta type="xrm/designer/setting" name="label-color" value="#66b6e3" datatype="color" label="Label Text Color">
<meta type="xrm/designer/setting" name="input-height" value="30px" datatype="text" label="Input Height">
<meta type="xrm/designer/setting" name="input-border-radius" value="3px" datatype="text" label="Input Border Radius">
<meta type="xrm/designer/setting" name="input-border-width" value="1px" datatype="text" label="Input Border Width">
<meta type="xrm/designer/setting" name="input-border-color" value="#ccc" datatype="color" label="Input Border Color">
<meta type="xrm/designer/setting" name="input-focus-color" value="#2b95b8" datatype="color" label="Input Focused Color">
<meta type="xrm/designer/setting" name="button-background" value="#38C6F4" datatype="color" label="Button Background Color">
<meta type="xrm/designer/setting" name="button-text-color" value="#000" datatype="color" label="Button Text Color">
<meta type="xrm/designer/setting" name="button-background-hover" value="#2b95b8" datatype="color" label="Button Hover Background Color">
<meta type="xrm/designer/setting" name="button-text-size" value="1.25rem" datatype="text" label="Button Font Size">
<meta type="xrm/designer/setting" name="button-position" value="center" datatype="text" label="Submit Button Position (start,center,end)">

Now the end users and consultants can apply stylings to groups of elements without always bugging the developers. The users will need the developers' help only when they need additional controls enabled and this will be a rare occation if the available controls are planned out in the beginning. When a new marketing form is created using this template, the custom controls will be immediately available on the form designer and styling changes will be applied to new fields added too.
This solution greatly improves consistency of marketing form stylings and efficiency of individuals involved so I would definitely recommend trying out.


Top comments (0)