So, you have heard about EFS and wondering what are their use cases are and how to get started with it. No worries, I have got your back, let's get started with it right now!
Introduction
Amazon Elastic File System (EFS) is a fully managed Network File System (NFS) Service. NFS is a protocol, network file sharing protocol, that defines the way how we can access storage volumes that are across the network.
Scenario: Static website content
Assume that you have to serve the same static content via multiple EC2 instances. You would create a separate EBS (Elastic Block Storage) for all of the EC2 instances, mount it on them and then store the same content across them.
This is a perfect way to do this but you are not utilizing other services and your billing is also getting bigger.
Instead what you can do is, create a single NFS file system, mount it across all of the EC2 fleets, and store content in it which would be accessible to all of them.
In this way, you will have consistent content, will be easier to manage, and have a lower bill on the cost side.
How to do it? We will get on that now.
Setting up EFS
Prerequisites
You need to have an AWS account with the permission of EFS as well as of EC2 as we will be testing it on that.
Creating EFS
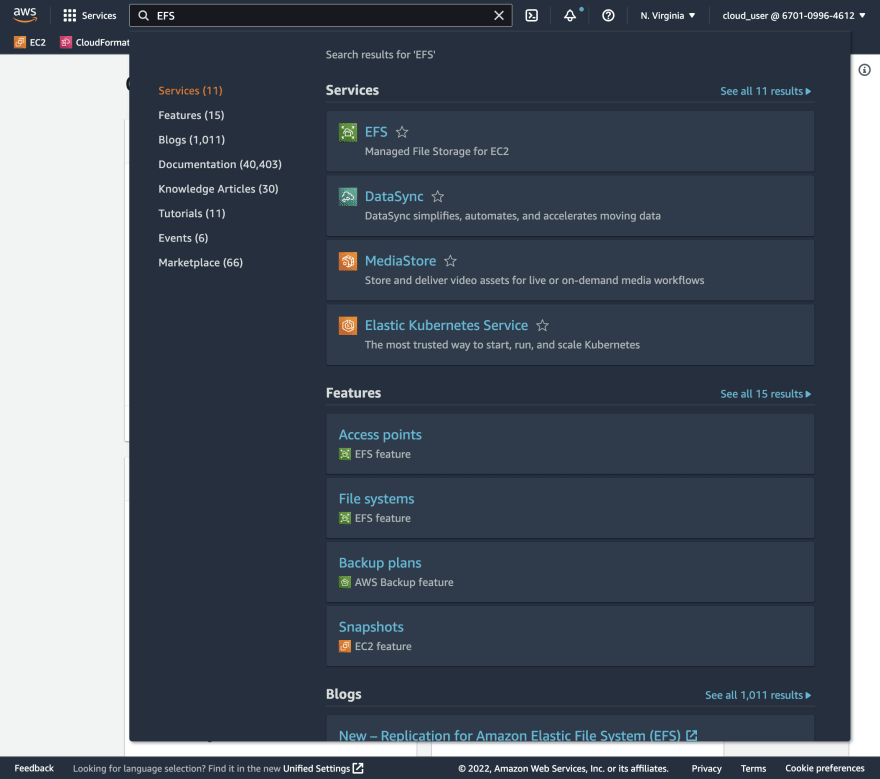
To set up EFS, move over to the search bar and search for EFS.
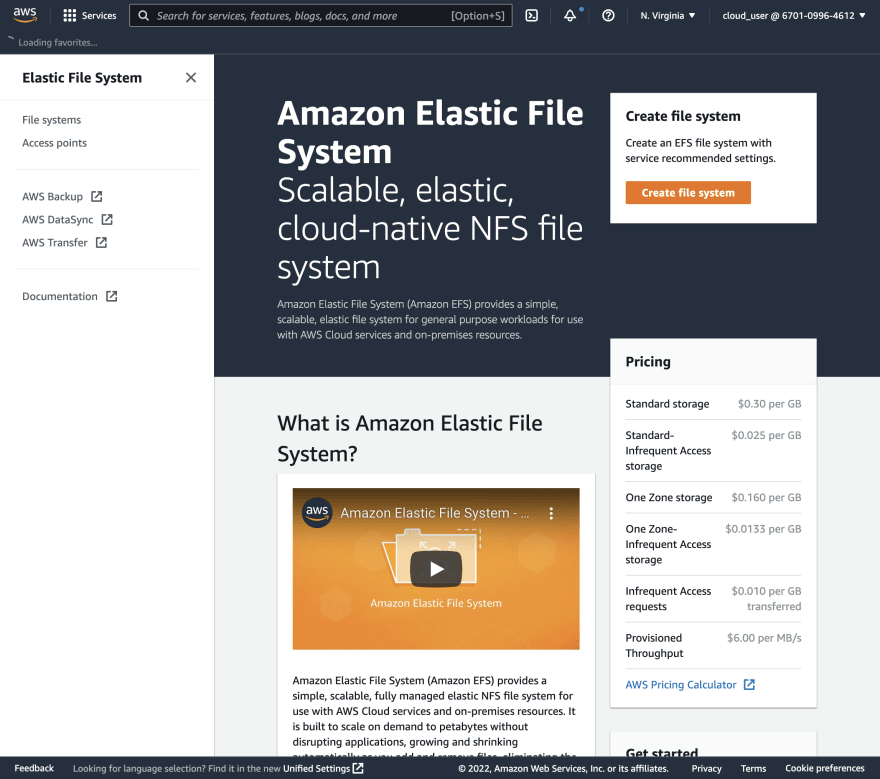
Next, create on the Create file system button.
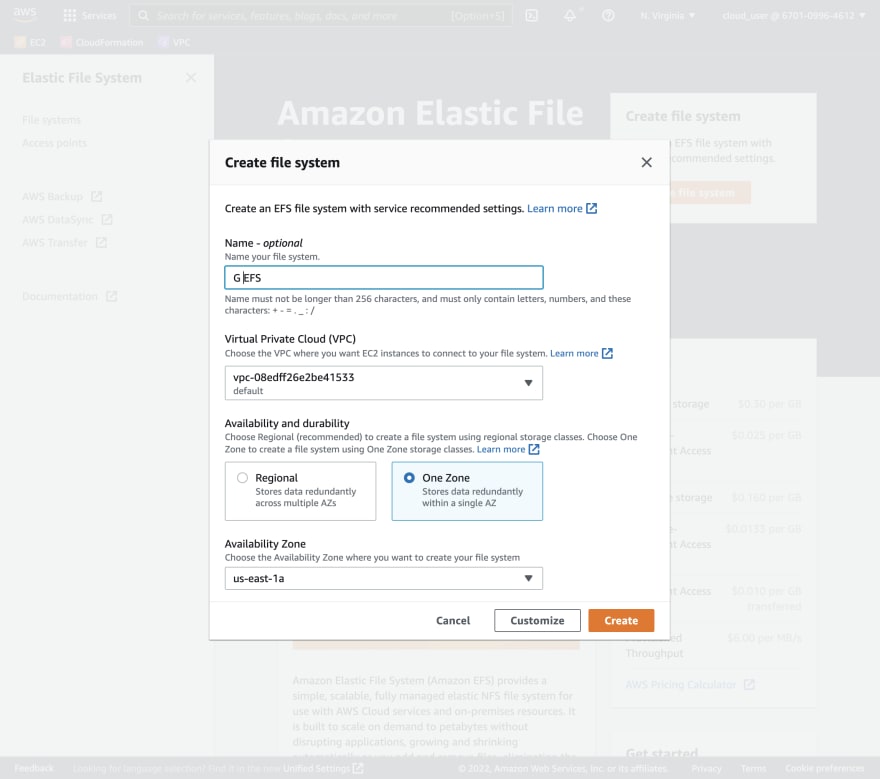
You would need to provide the name for the file system (which is an option, but it's good to assign it a name) and the VPC to which it should be associated as we know it operates over the network. We also need to choose whether it should be regional or One Zone. One Zone will have less availability and durability than regional and it will be mounted within a single subnet only whereas with regional we can have one mount target in each subnet. Of course, it will have high durability and availability percentage than OZ.
A mount target provides an IP to which we can connect to access it.
To keep stuff simple, I have chosen the OZ option and have set the AZ to us-east-1a.
Now, I have to make sure that all of the instances that I need to mount this EFS on are in the
us-east-1a.
After clicking on the Create button, our EFS is created almost instantaneously.
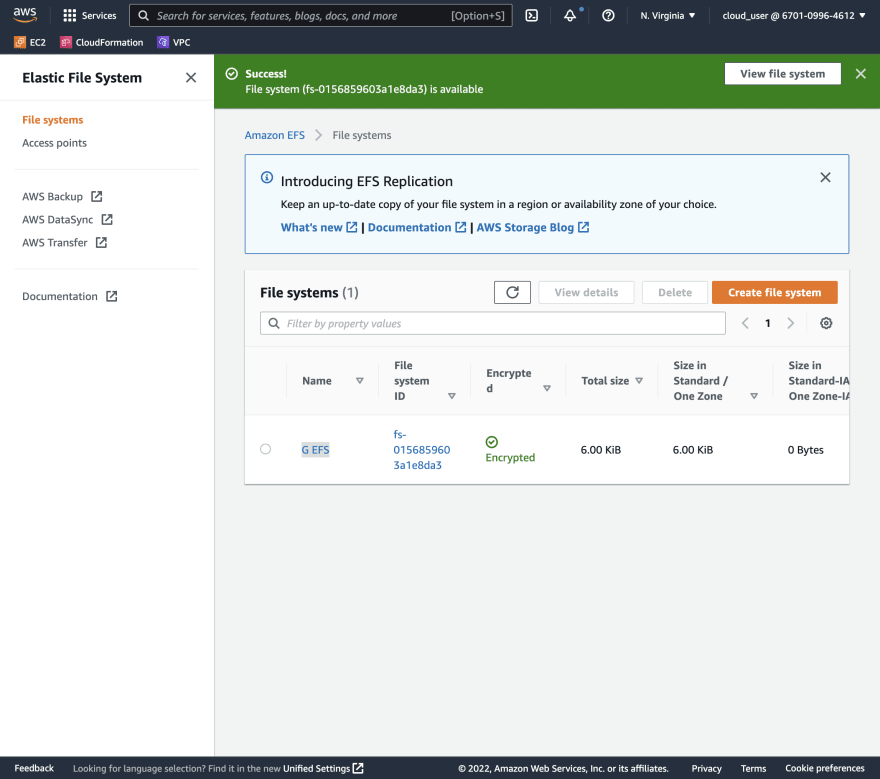
We can now select the EFS instance that we just created and look at its details of it.
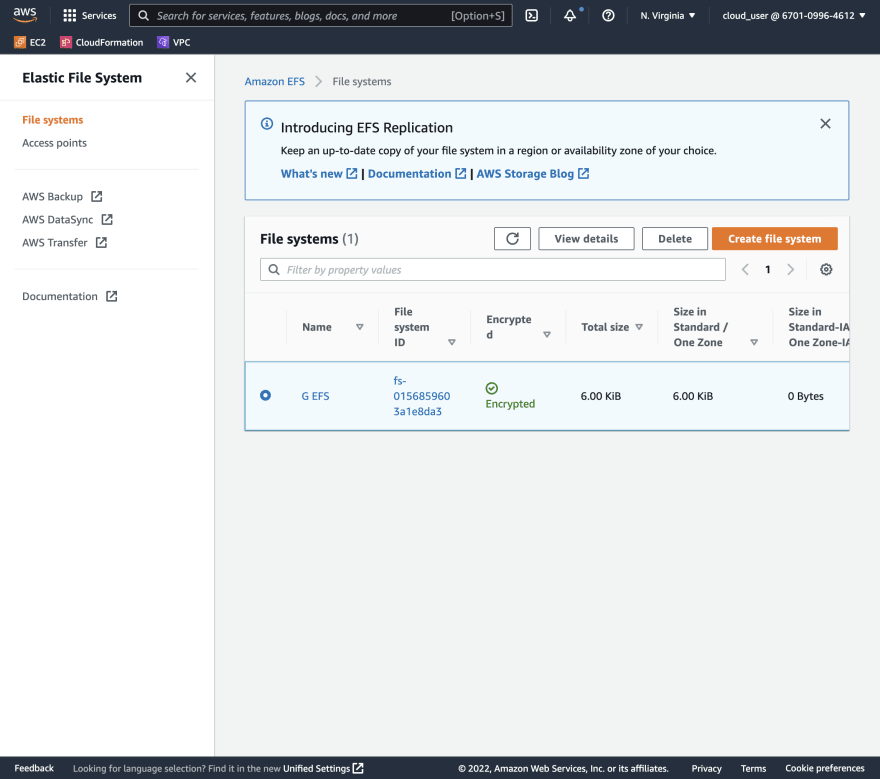
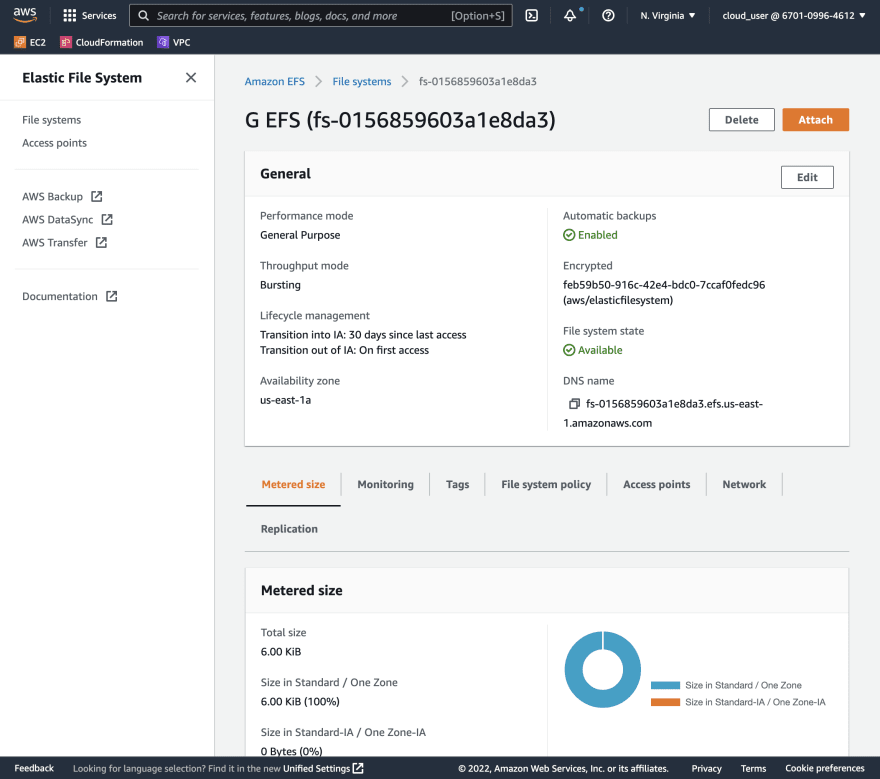
We have the general information regarding it and some other information regarding size etc.
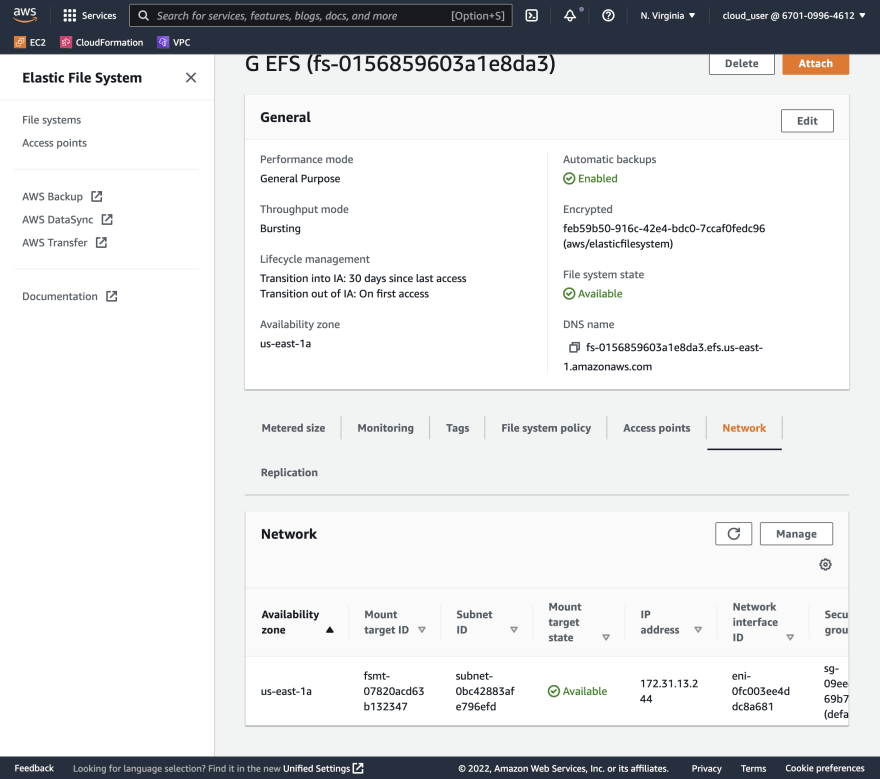
But the section we want to have a look at is the Network. It contains the mount target information such as the subnet, AZ, IP address, etc.
Congratulations, You have just created an EFS. Next, we will launch an EC2 instance and mount EFS on it.
Launching EC2 instances
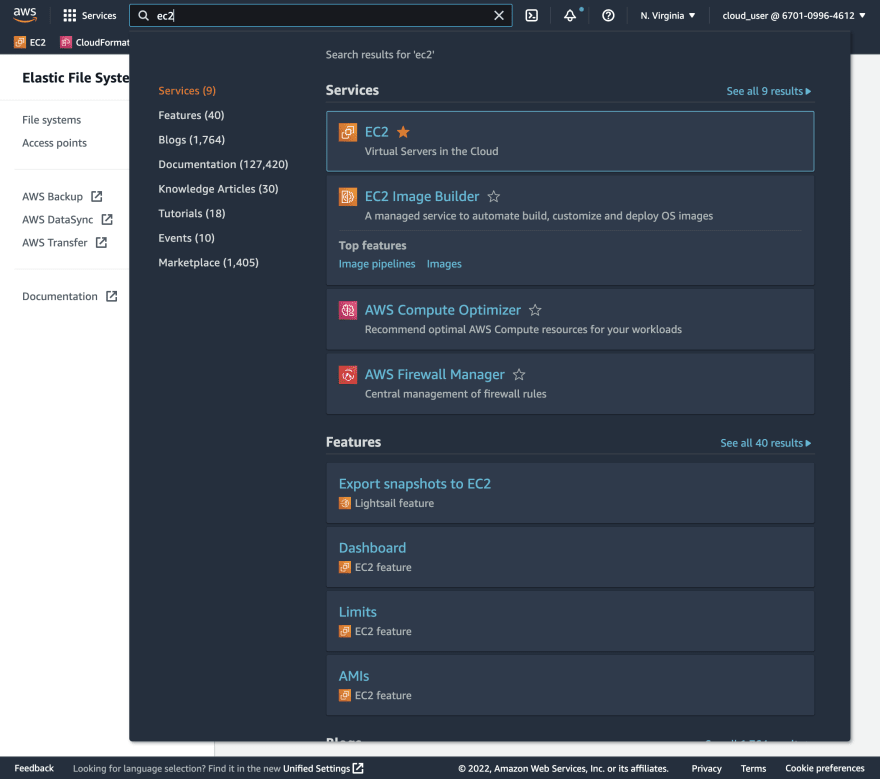
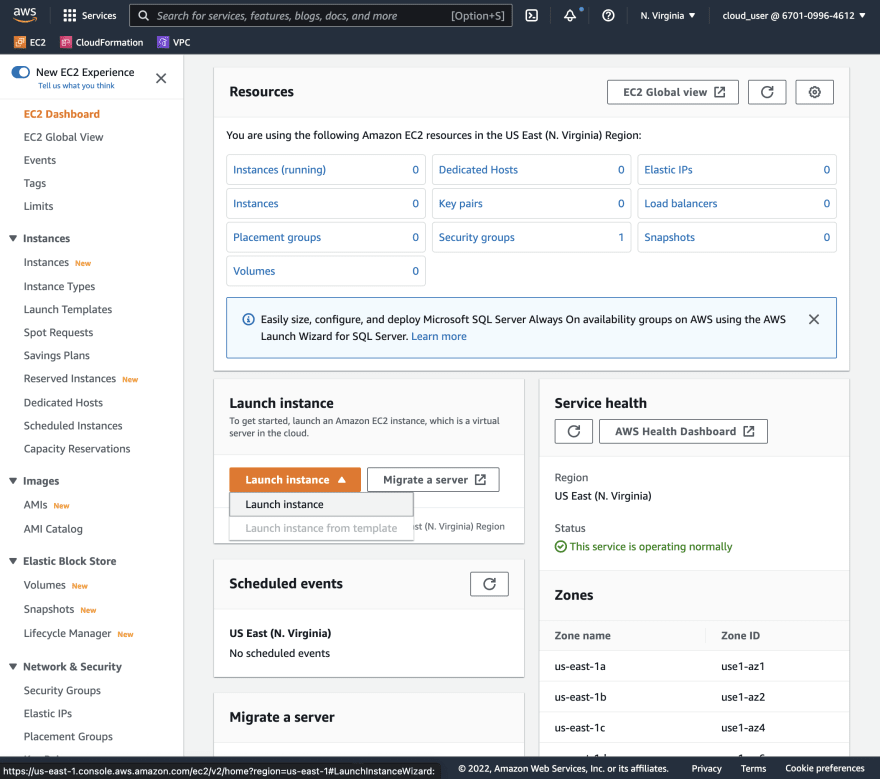
We can move over to the EC2, again through the search bar.
I will now click on the Launch instance button and set up a simple EC2 instance.
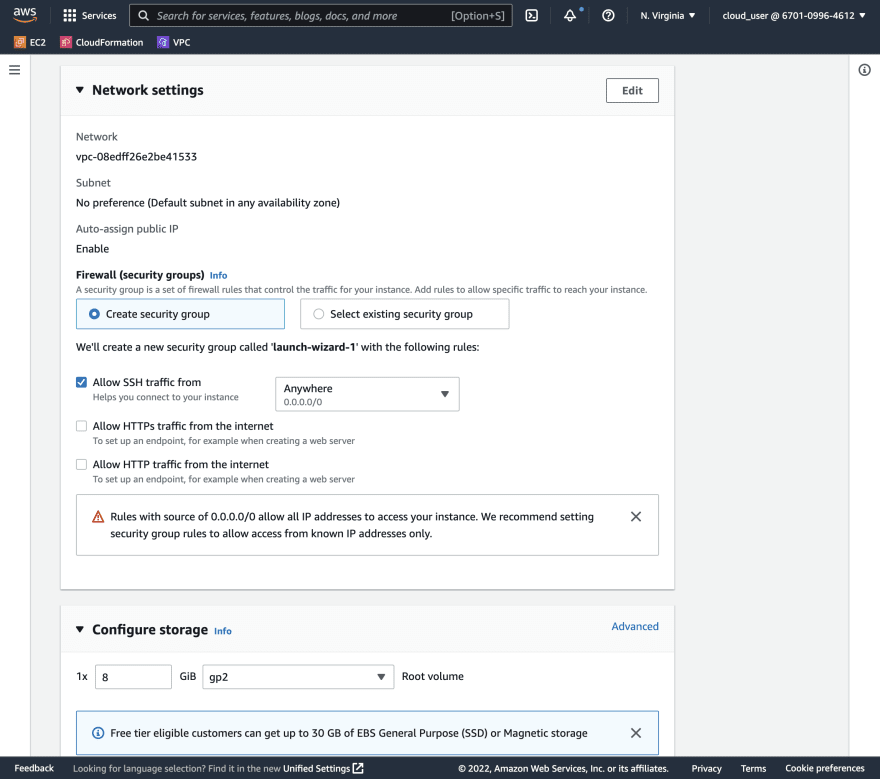
I named it G's EC2 and have chosen Amazon Linux and all others default to keep things simple. However, we need to make sure that it gets provisioned inside the us-east-1 AZ as our EFS is provisioned there. we need to allow port 2049 access as NFS operates over it as. For that, we need to move over to the Network section and click on the Edit button
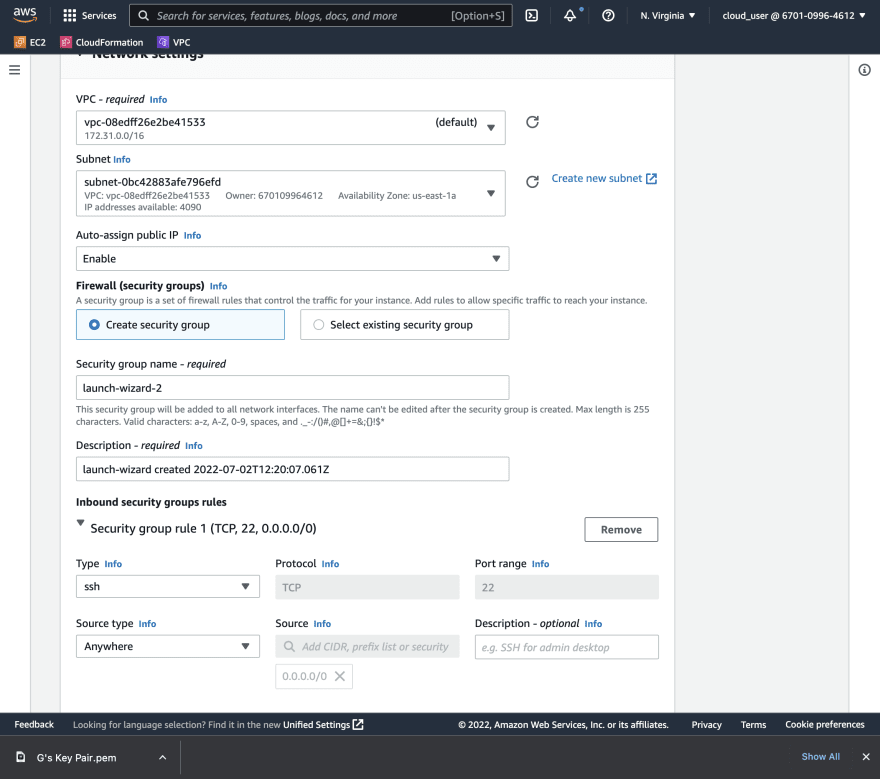
Click on the Subnet dropdown and choose the us-east-1a option

It will look like something like this afterward.
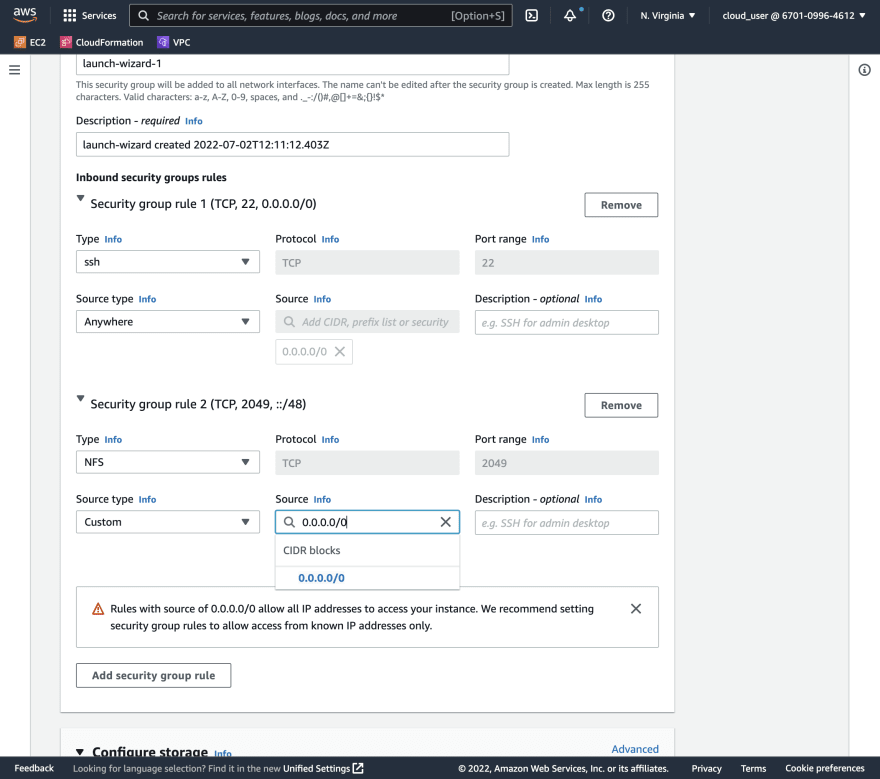
Then, we can rename the security group name to something like EC2-EFS-Access but for the sake of simplicity, I will leave it as default. Now, click on the Add Security group rule button. We can set the new rule type to NFS and source to 0.0.0.0/0
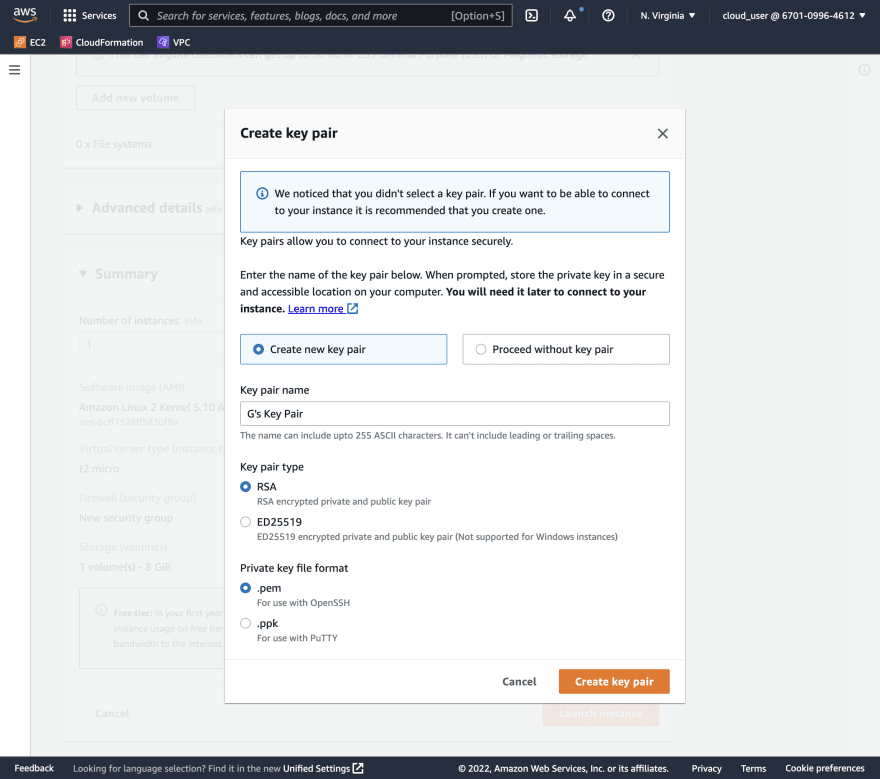
Next, we can just click on the Launch Instance button which is at the bottom after which we will be prompted with whether or not to choose a key pair so that we can access it. We can create one, use an existing one if you have, or proceed without it. If you clicked on proceed without it, you still will be able to access it via browser. But I like to operate it over a terminal hence, I will create one
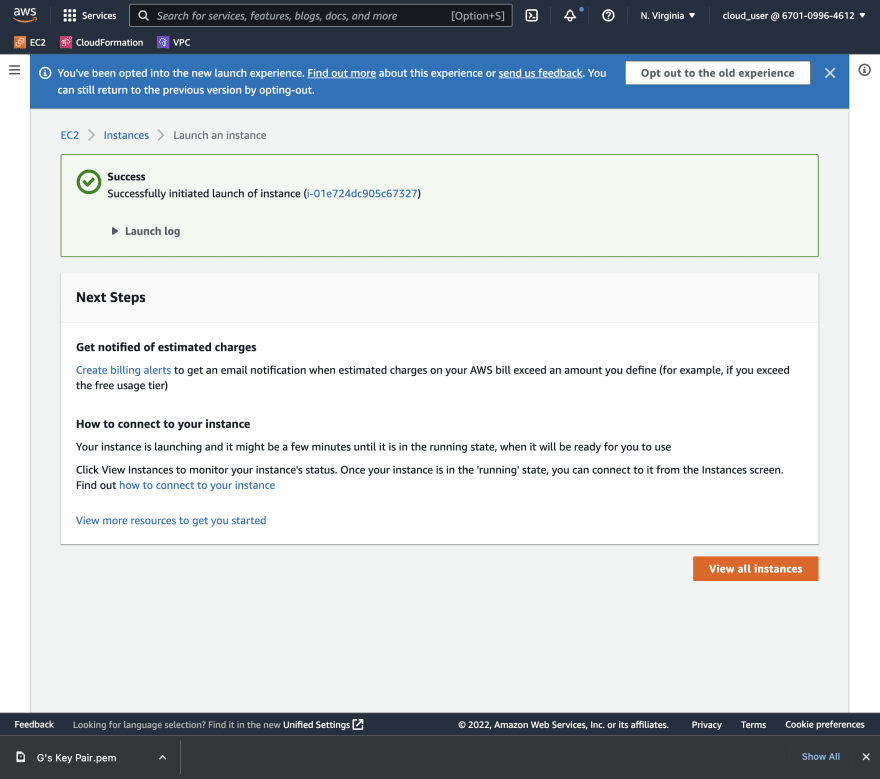
After that, we again need to click on the launch instance and one EC2 instance will be provisioned for us.
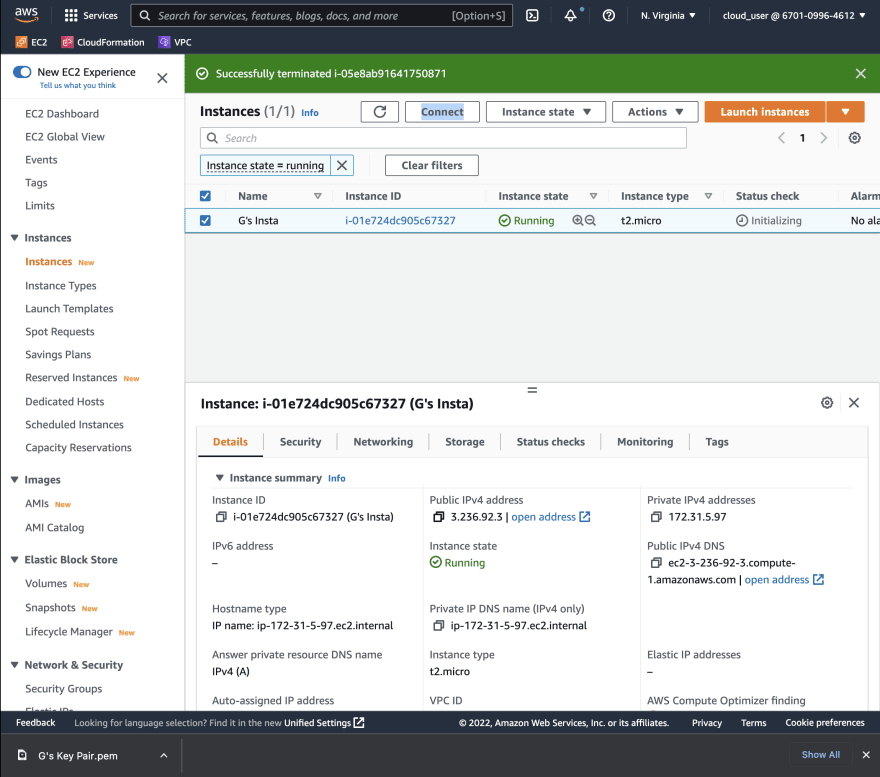
Let's click on the View all instances option which will take us over to the EC2 instances homepage.
Let's wait for a few minutes to complete its status checks. Once that's done, we can move over to our terminal.
Accessing EC2 and mounting EFS on it.
I have moved the PEM file inside my tmp folder.

Let's set the proper permissions and grab the IP address of our EC2 instance
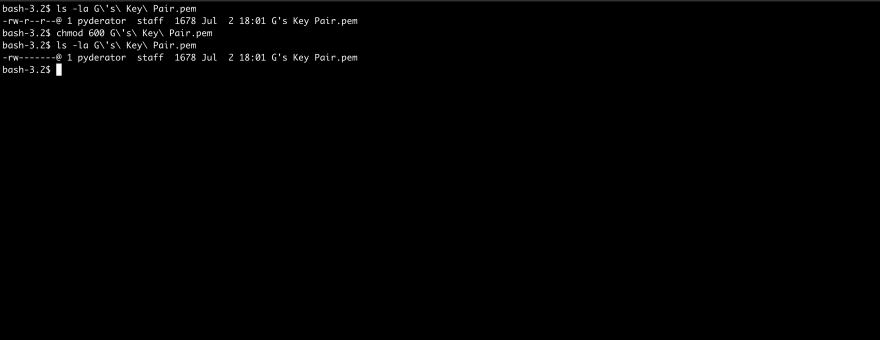
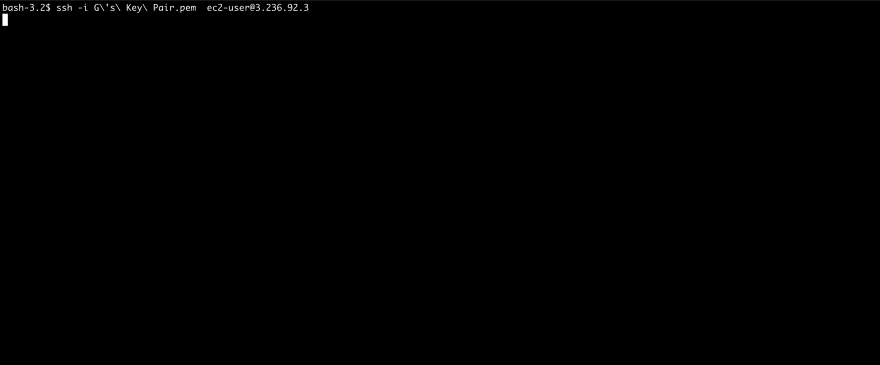
We can use this command to get connected
ssh -i <PEM_FILE> ec2-user@<IP_ADDRESS>
Creating folder to mount EFS
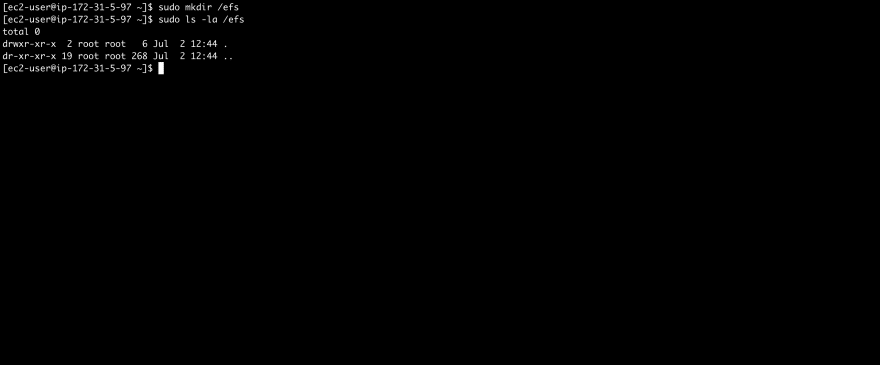
We need to mount EFS inside a folder so let's create that
sudo mkdir /efs
We will now navigate to our newly created EFS instance and click on that Attach button

Let's select the Mount via IP option and copy the command provided to us.
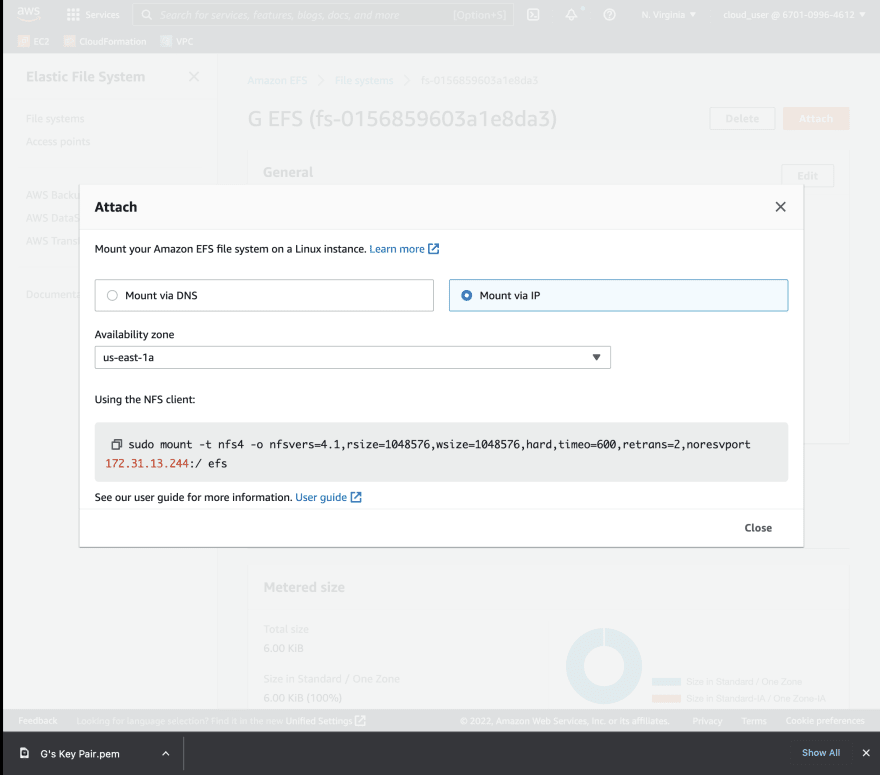
we just need to change efs to /efs and press enter.
Woah! It's in a stuck phase, nothing is working. No worries, it's expected because we have forgotten to configure security groups for the mount target itself. We also need to open the 2049 i.e. the NFS port.
To do that, we need to move to the Network section and click on the manage button

Now, we need to clear the default SG and select the launch-wizard-2 which we configured for EC2 just to make it simple. But in real life, you would create a new security group and assign that.

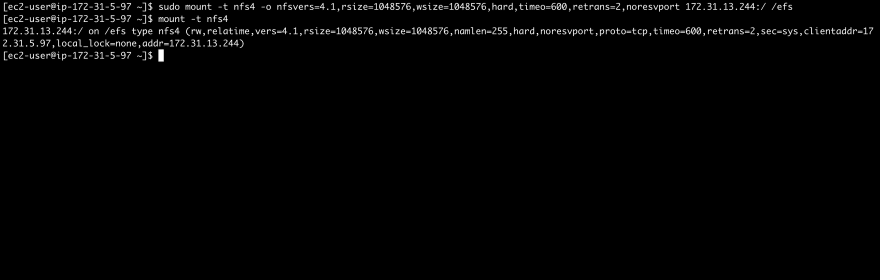
We will now click on save and give try the command again through the terminal.
And, it WORKED this time!!!!!. CONGRATS, You just mounted an EFS to an EC2 instance!!!
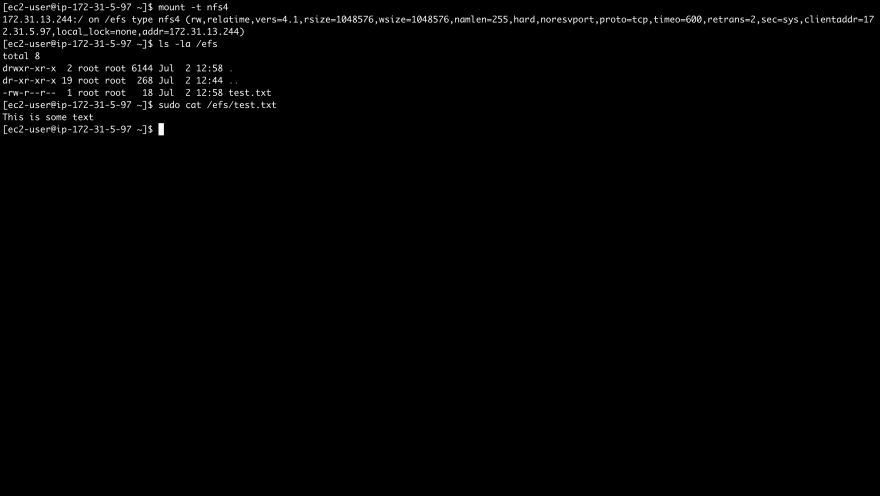
We can get more information about it through the below command
mount -t nfs4
Bonus
Okay, so you have mounted an EFS into a running EC2 instance, but what about its persistence, will it be there once you reboot it? The answer is no, but we can configure it to be there in every boot.
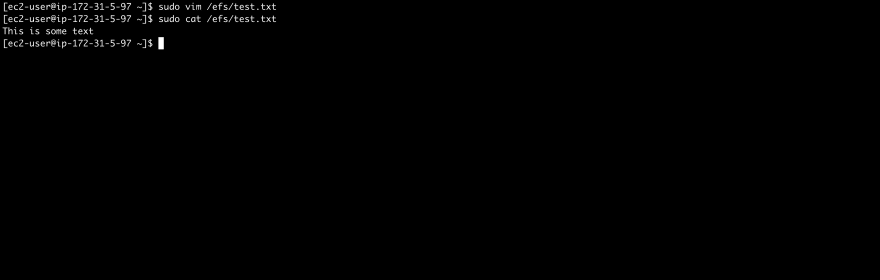
To make sure that happens, I will create a file inside /efs directory and save it with some content. I have used vim as my text editor
Now, to ensure that the mount persists we will configure the /etc/fstab file. For more information regarding that, please refer to this page.
For now, we will open the file and enter the following in a new line. The file is again at /etc/fstab.
<EFS_IP>:/ <MOUNT_PATH> nfs4 <EFS_OPTIONS> 0 0
The content can be replaced from the command that we used to mount it previously. Below is the diagram which breaks the command into the thing that we want.
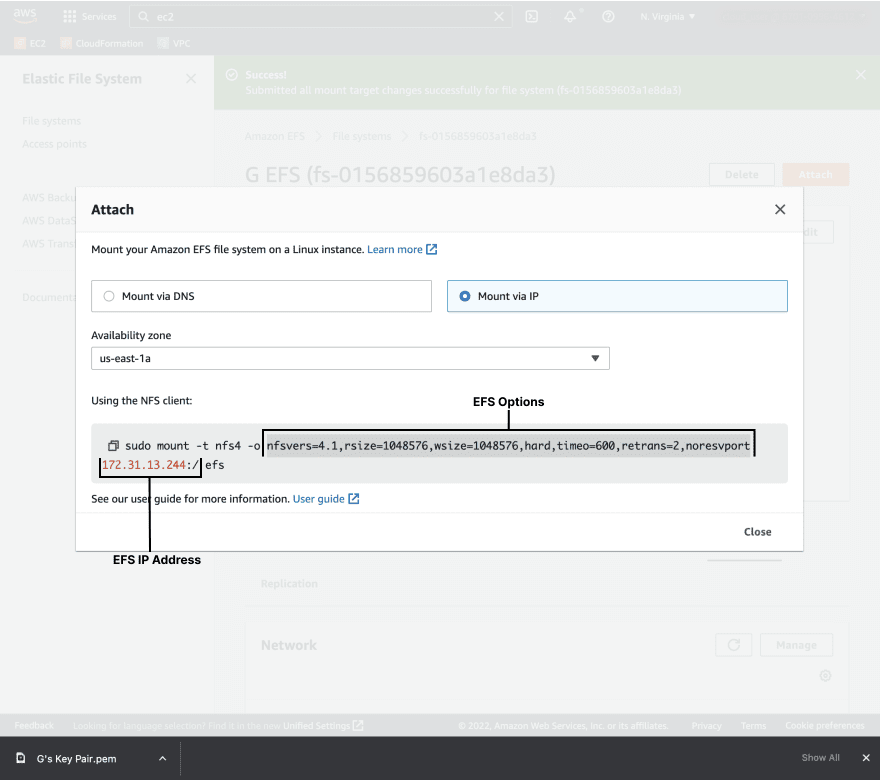
The final output should look something like this if you are following along, expect the difference in IP Address.
172.31.13.244:/ /efs nfs4 nfsvers=4.1,rsize=1048576,wsize=1048576,hard,timeo=600,retrans=2,noresvport 0 0
PS: Just rebooted it and it's there auto mounted
Connect with me @Linkedin

Top comments (1)
How can I create a file system? Amazon EFS: How does it works? Remove someone from your life spell
Some comments have been hidden by the post's author - find out more