Missed part 1? Catch up right here!
In this segment of the Let’s Develop with Salesforce Commerce Cloud we are going to setup a storefront. A storefront is basically the term SFCC uses for an e-commerce website, but it can also refer to just about any application, be it a native mobile app or an in-house employee benefits portal. A storefront is a foundational concept of SFCC development, as everything you develop for the platform is, ultimately, hosted on a storefront.
Setting up SiteGenesis
To help us get started quickly with our site, SFCC provides us with a full fledge sample e-commerce site called SiteGenesis which includes all sort of sample objects such as ISML templates, controllers and scripts.
To install the SiteGenesis storefront:
- In Eclipse, go to File > New > Other .
- Select SiteGenesis Storefront and click Next.
- Enter a root name and location for your storefront and select which digital server to attach the SiteGenesis to. Click finish.
When finished, you will see some new objects in your Project Explorer:
- A folder named _core — contains all the core elements of the website, such as: images, pages, css files etc.
- A folder named _controllers — contains all the JavaScript controllers that contain the logic of the site.
- A folder named _pipelines — the same as controllers, but uses legacy pipelines instead of JavaScript.
❤️ Please note :
These folders are, in essence, cartridges. Cartridges are a fundamental concept of Commerce Cloud, used for packaging and deploying code. In Part 3 we are going to build our very own cartridge so take a minute and have a look at the content of these folders and how they are organized.
The new cartridges will now be uploaded to the Business Manager site. In order to use any of them however, we will have to register them first.
Registering the SiteGenesis Cartridges
Registering a cartridge is done through Business Manager and is simply a matter of adding the cartridge name to a list of used cartridges.
It is important to note the order of importance of the list. Contrary to what you may expect, the order of importance goes from left to right, meaning the cartridges at the left take precedence over cartridges at the end of the path.
To register the core cartridges on your site:
- In Business Manager click Administrations > Sites > Manage Sites.
- Click the Settings tab.
- Under Cartridges add _core to the cartridges list as the first item.
- Add _controllers to the list (separated by a colon) to add the JavaScript controllers functionality, or _pipelines for the Pipelines functionality. Click Apply to save the changes.
The end result should be _core:_controllers in case of controllers, or _core:_pipelines for pipelines.
Viewing SiteGenesis
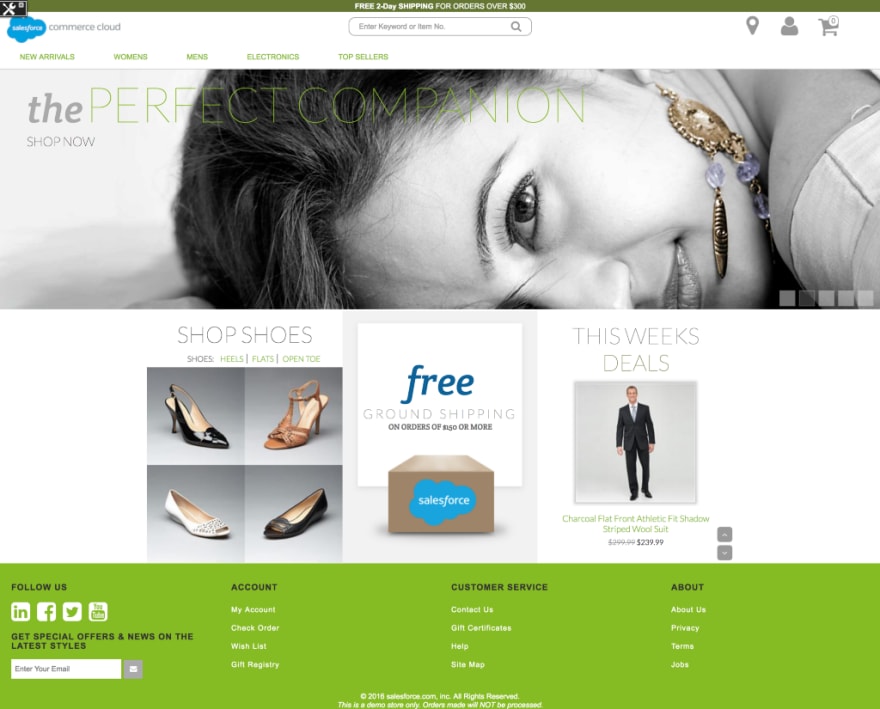
Now that our cartridges are uploaded and registered, we ready to roll! Head over to your site url, and if all went well you should be greeted with the following:
And there you have it. A full fledged e-commerce website running on SFCC waiting for our custom cartridge 🎉.
In Part 3, we will develop a custom cartridge — which is how you can add custom business logic and functionality to your site.
To read more about SFCC and its capabilities, refer to the official documentation located at:
https://documentation.demandware.com/DOC2/index.jsp


Top comments (1)
Apart from Salesforce CRM, there are various platforms that are important in managing your business processes. You can check out how salesforce configuration can enhance your business performance too