After my recent OEM 13.4 Installation I needed to start adding targets to it.
Like previously, I just followed Oracle-Base article to complete the same: Oracle Enterprise Manager Cloud Control 13c Post-Installation Setup Tasks
I added the Software Library location in the OEM host, but skipped the MOS configuration and Update, to go directly to add Agents and Targets
Install Agents
Let's add Agents to a couple of our raclab, rac2-node1 and rac2-node2
To do that, just go to Configuration > Add Target > Add Targets Manually

Select Install Agent on host

Add the hosts where you want the Agents installed, and make sure you add the host FQDN to avoid issues

Select Oracle and root credentials (you can also use SSH keys if you want to)
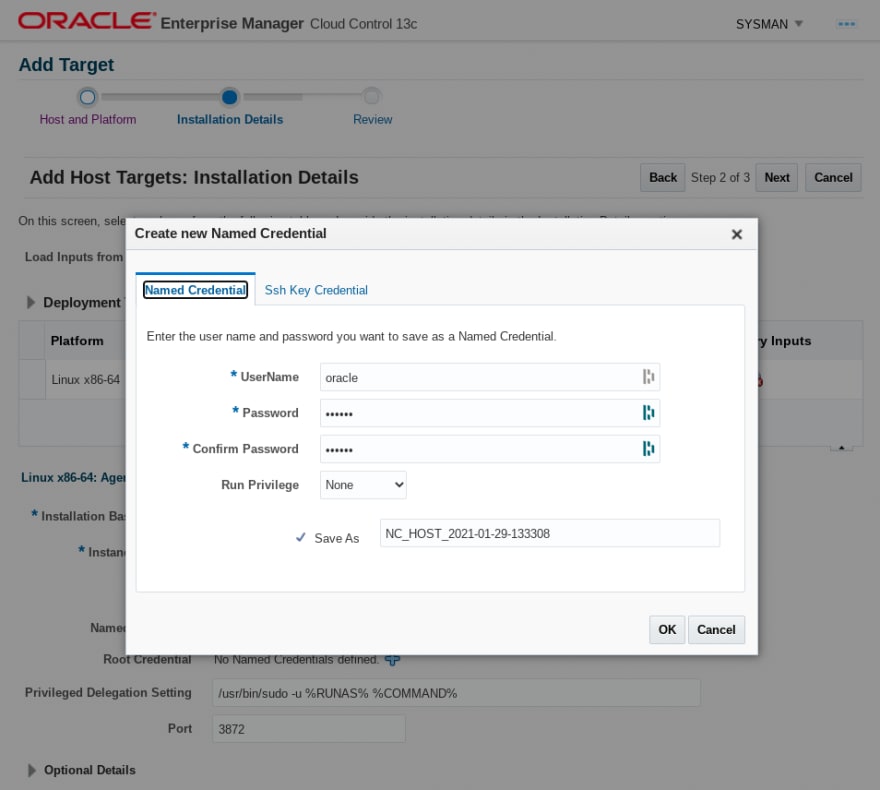
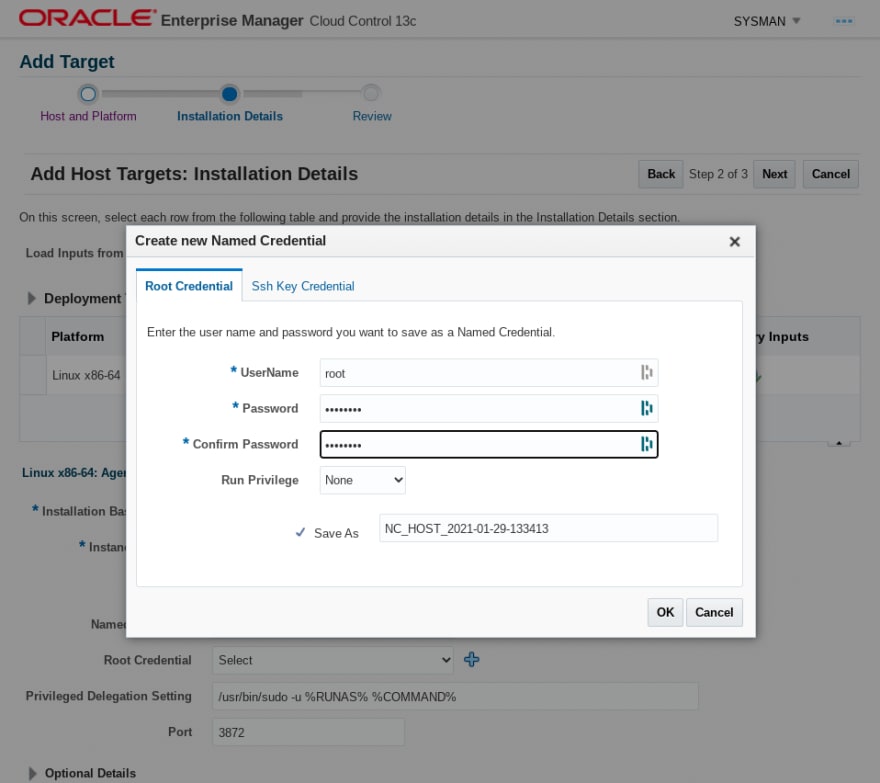
Add now Agent Installation location details

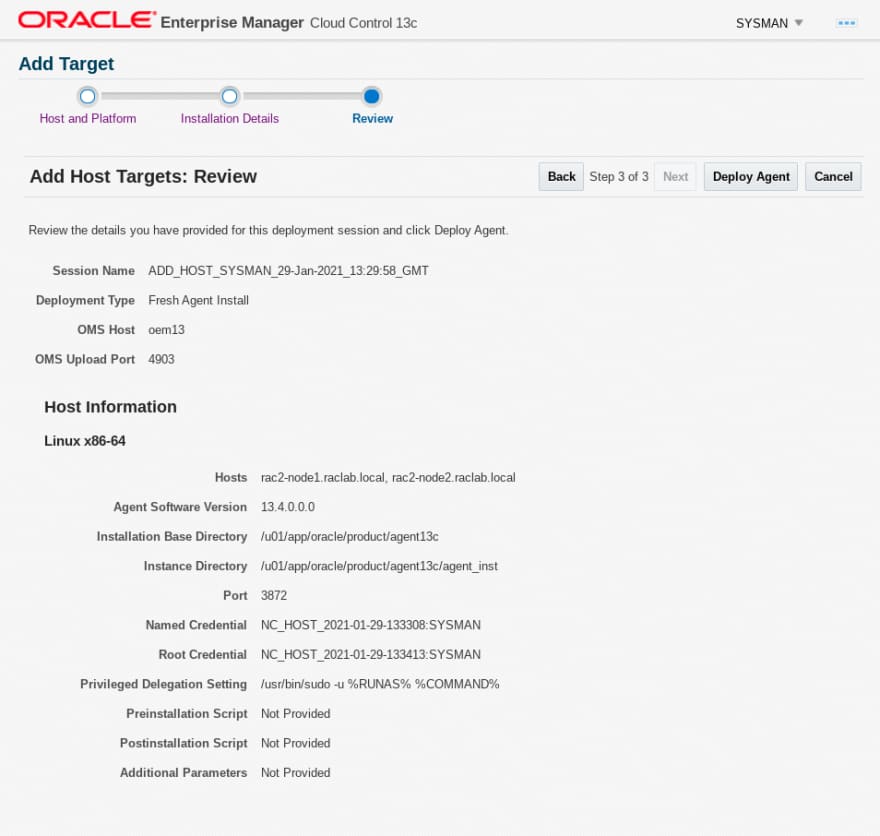
Now just review the details and click in Deploy Agent
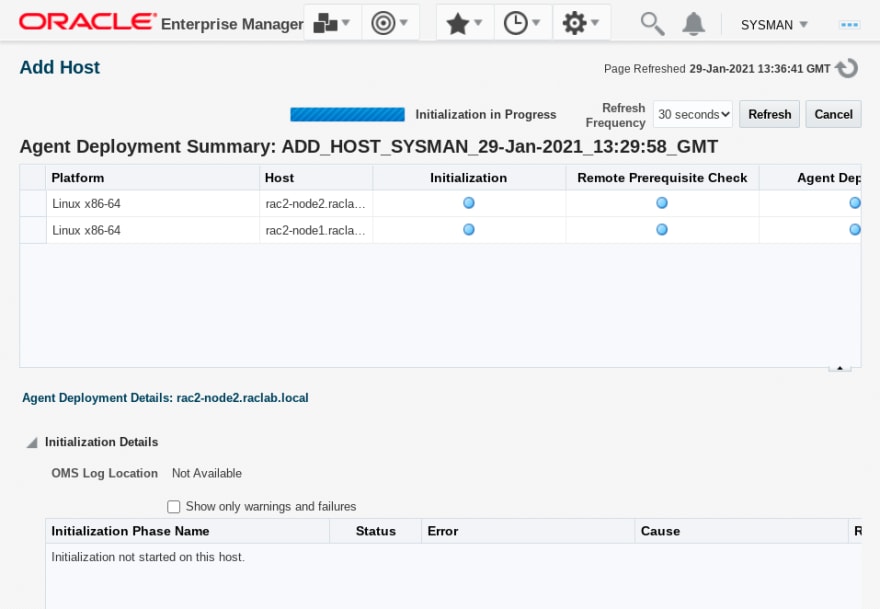
You can also monitor the deplyomet checking the OEM agentpush logs:

[oracle@oem13 ~]# cd /u01/app/oracle/gc_inst/em/EMGC_OMS1/sysman/agentpush/2021-01-29_13-29-58-PM/applogs/
[oracle@oem13 applogs]# ls -lrth
total 312K
-rw-r----- 1 oracle oinstall   0 Jan 29 13:36 ui.log.lck
-rw-r----- 1 oracle oinstall 39K Jan 29 13:44 ui.log
-rw-r----- 1 oracle oinstall 74K Jan 29 13:44 rac2-node1.raclab.local_deploy.log
-rw-r----- 1 oracle oinstall 74K Jan 29 13:45 rac2-node2.raclab.local_deploy.log
-rw-r----- 1 oracle oinstall 14K Jan 29 13:45 deployfwk.log
[oracle@oem13 applogs]#

[oracle@oem13 ~]# tail -f /u01/app/oracle/gc_inst/em/EMGC_OMS1/sysman/agentpush/2021-01-29_13-29-58-PM/applogs/rac2-node2.raclab.local_deploy.log
2021-01-29_13-39-39:INFO:Install Args OMS_HOST=oem13
2021-01-29_13-39-39:INFO:Install Args EM_UPLOAD_PORT=4903
2021-01-29_13-39-39:INFO:Install Args AGENT_INSTANCE_HOME=/u01/app/oracle/product/agent13c/agent_inst
2021-01-29_13-39-39:INFO:Install Args b_doDiscovery=false
2021-01-29_13-39-39:INFO:Install Args START_AGENT=false
2021-01-29_13-39-39:INFO:Install Args b_forceInstCheck=true
2021-01-29_13-39-39:INFO:Install Args -force
2021-01-29_13-39-39:INFO:Install Args AGENT_PORT=3872
2021-01-29_13-39-39:INFO:Action description Execution of command /bin/sh -c 'cd /u01/app/oracle/product/agent13c/ADATMP_2021-01-29_13-29-58-PM;/u01/app/oracle/product/agent13c/ADATMP_2021-01-29_13-29-58-PM/agentDeploy.sh -ignorePrereqs ORACLE_HOSTNAME=rac2-node2.raclab.local AGENT_BASE_DIR=/u01/app/oracle/product/agent13c OMS_HOST=oem13 EM_UPLOAD_PORT=4903 AGENT_INSTANCE_HOME=/u01/app/oracle/product/agent13c/agent_inst b_doDiscovery=false START_AGENT=false b_forceInstCheck=true -force AGENT_PORT=3872'  on host rac2-node2.raclab.local
2021-01-29_13-39-39:INFO:Attempt :1 pty required false  with no inputs
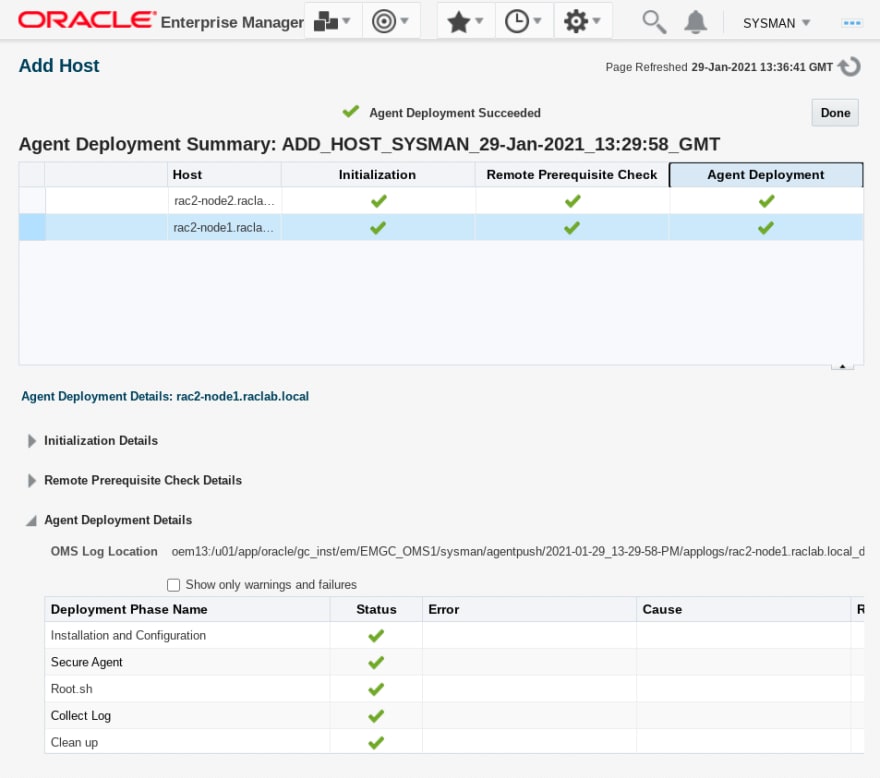
After some time, you should get the Agent Deployment completed
Discover Targets on Host
Let's now add some Targets from the systems we added Agents to


Let's add the Cluster Components of our Rac2

Fill the Cluster details making sure you have the right details for you GI home and Scan name and port


Let's now add a Cluster Database

Make sure you complete all the details including ORacle Home path, service, etc..

Add at least one instance adding the details for the DBSNMP user and connection details

You can do a Test Connection to make sure is all fine
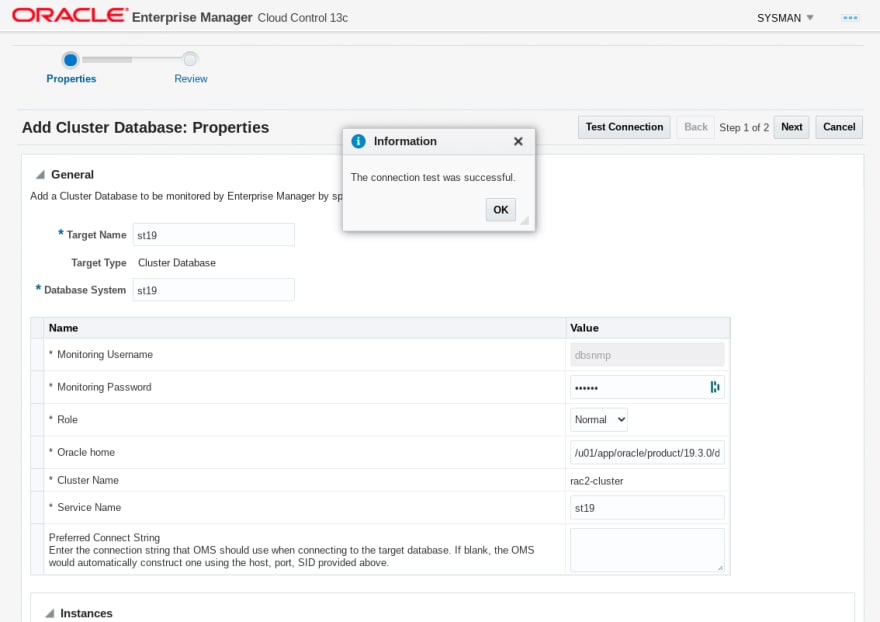
Review the details and Submit

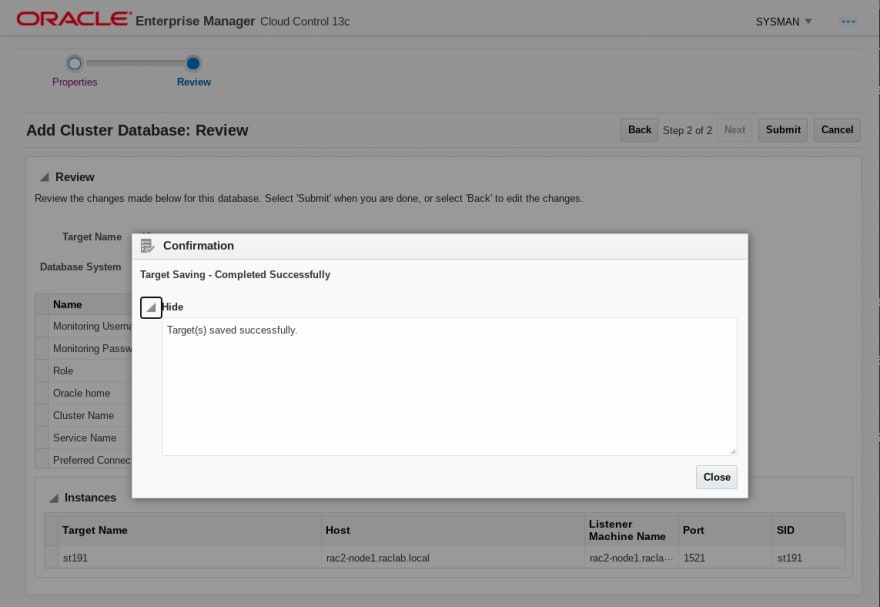
We can now check the system from our Targets > Databases

Database Performance
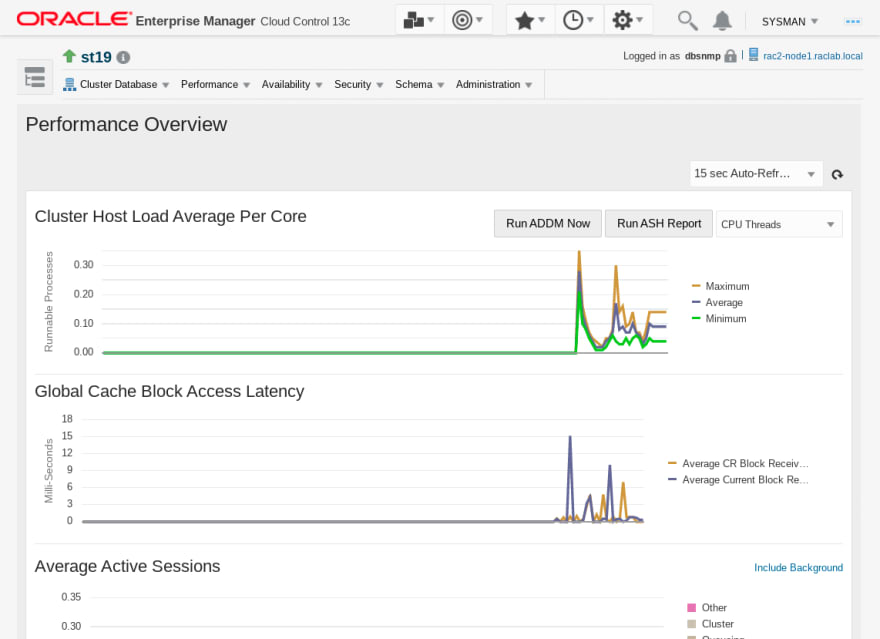
We can now check our System performance from the Target Performance Home (No Adobe Flash needed!!)
Select the Database and go to Performance > Performance Home.
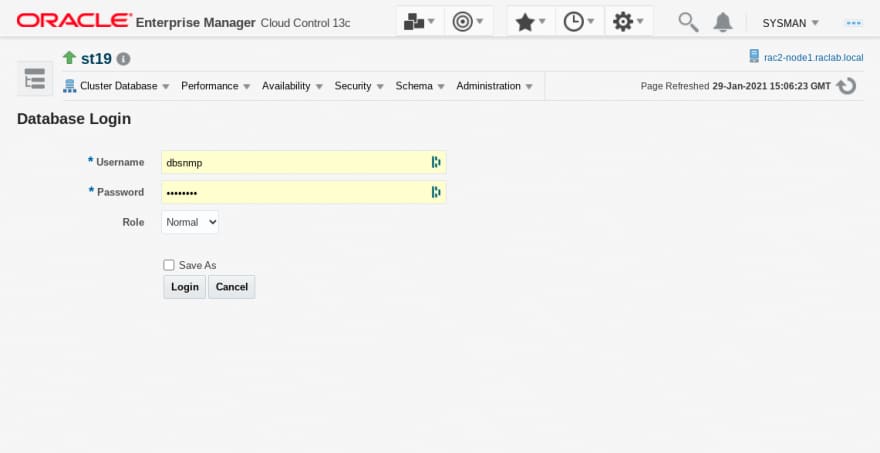
You will get prompted to use Database login (you can use dbsnmp, but you can also use sys changing the role to "dba")

If we enable some workload using Swingbench, we can see some nice Performance graphics
You can also go to Performance Hub and see more detailed Performance details including Active Session History (ASH) analytics


There is much more about it than these simple tasks, but wanted to start from the beginning and see if I start to use OEM more regularly and can learn to do much more with it




Top comments (0)