SSH which stands for Secure Shell is a protocol used for Secure Remote Login and File Transfer. In order to protect the confidentiality and integrity of the data transferred between the client and server, it employs powerful symmetric encryption and hashing methods.
This article is focused to use SSH to make connections to remote machines on any cloud provider's end like AWS or Azure. For more information on how SSH works please look at SSH Protocol – Secure Remote Login and File Transfer
Here I will discuss the three basic way of connecting to any remote machine;
- Using the Private Key / Password of the remote machine on every connection.
- Adding local machine's public key as authorized_keys on remote machine.
- Making a config file in local machine in
.sshdirectory.
Whenever we make a new virtual machine on azure or an EC2 instance on AWS we have the option to down the SSH key or set a Username and Password for authentication.
1. Using the Private Key / Password of the remote machine on every connection.
This is the simplest mode of establishing the connection with the remote machine; the command for this are as follows;
a. Password based authentication
ssh username@hostname

Eg:

ssh prashant@1.1.1.1
You will be prompted to enter the password, once the password is entered, the connection is established with remote machine.
b. SSH key based authentication
- Here, it is assumed that you have
.sshfolder in home directory. - Download the SSH key for the remote machine from your respective cloud platform. For Azure, you are asked to download the one as soon as you create a New VM. Example Key File:
NewVM_key.pem - Place this key in the .ssh folder
- Change the permission of the file with following command
chmod 400 <Key File Name>
Once this setup is done, one can easily authenticate and create an SSH session using the below command
ssh username@hostname -i <location of key file>

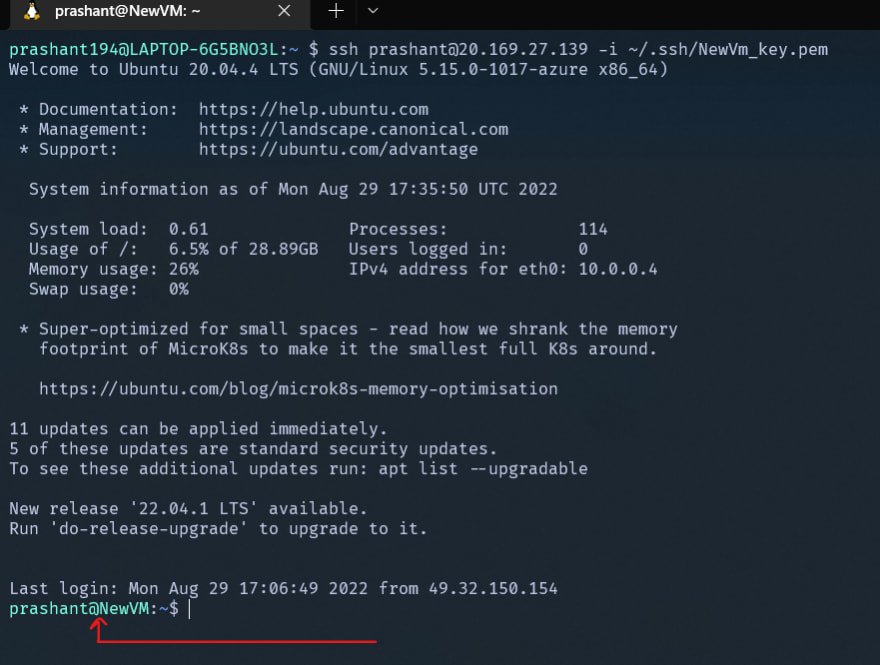
Eg: ssh azureuser@1.1.1.1 -i ~/.ssh/NewVM_key.pem
As soon as the command is executed the connection is established, see image below
2. Adding local machine's public key as authorized_keys on remote machine.
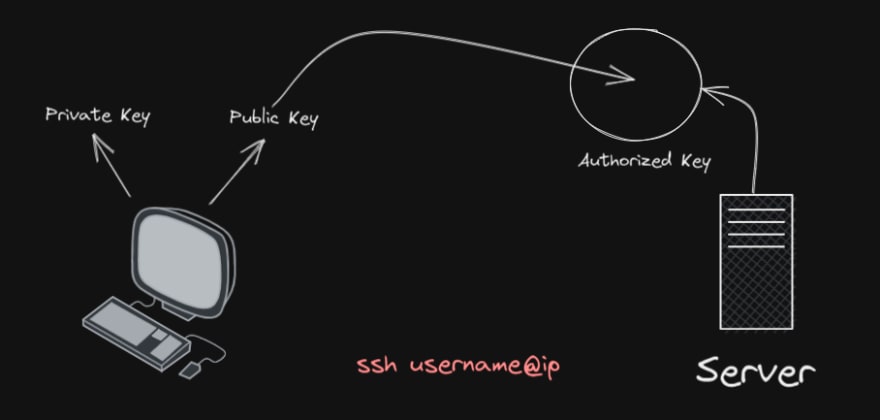
Another good method of connecting to a remote machine is to save the local machine ( client's machine ) public key in authorized_keys of server.
Once this is done, next time we don't need to given the SSH key of server for connection ( as in method 1 ). The moment we ask for connection to the server, since server has our public it uses it for further authentication.
Steps to Save the public key in server:
Generate the public and private key pair on local machine ( client's machine ). Using the below command;
ssh-keygen -m PEM -t rsa -b 4096

Detailed:
ssh-keygen \
    -m PEM \
    -t rsa \
    -b 4096 \
    -C "azureuser@myserver" \
    -f ~/.ssh/mykeys/myprivatekey \
    -N mypassphrase
The above command generates the two files id_rsa and id_rsa.pub, which are Private and Public keys of client's machine. Do not share your Private Key anywhere.
Now add the id_rsa.pub as authorized_keys on server. Use below command,
ssh-copy-id -i ~/.ssh/id_rsa.pub username@hostname
To add the Public manually, use the below command
cat ~/.ssh/id_rsa.pub | ssh user@remote-host 'cat >> ~/.ssh/authorized_keys'
Once the above two steps are completed successfully, one can connect to remote server just by using the hostname and username without the need of Password or SSH key of server.
For a diagrammatic representation of above process, I prepared an image for the same;
3. Making a config file in local machine in .ssh directory.
Third way of doing the same stuff and probably the most efficient and recommended way doing the things is to maintain a config file in .ssh directory.
This file contains the information of all the remote machines like host, hostname, username, password/shh key, etc. We can now ssh into the remote server only by using two word command, viz. ssh and host.
Procedure to create the config file
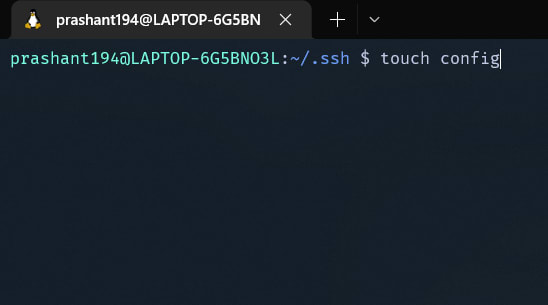
a. Go to .ssh directory
b. Now create the config file
touch config
c. Now open the file in you favorite editor, I will use vim here.
vim config
d. Now enter all your remote machines' information in following manner
Host NewVM
   HostName 20.129.27.139
   User prashant

Host OldVM
   HostName 21.36.12.596
   User azureuser
   IdentifyFile ~/.ssh/OldVM_key.pem
For more information on config file please look at this beautiful article https://linuxize.com/post/using-the-ssh-config-file/
Now as we have our config file set, we can ssh into any remote machine by just using the host.
ssh NewVM

or

ssh OldVM
That covers all third and the last method in this article. Hope you enjoyed reading and it added up to your knowledge.
Please feel free to communicate in comments and let me know if any mistakes and suggestions.
Thank You!
Cover Image Credits: https://askme4tech.com/how-use-ssh-powershell


Top comments (0)