Hello Guys! In this blog, I'm going to explain to you how to make a cursor effect using HTML, CSS, and JavaScript. This will be a step-by-step guide. Let's get started 🚀.
Visit codingtorque.com for more projects like this!
Step 1: HTML Code
<!DOCTYPE html>
<html lang="en">

<head>
    <!-- Required meta tags -->
    <meta charset="utf-8">
    <meta name="viewport" content="width=device-width, initial-scale=1">

    <title>Cursor effect using JavaScript - @code.scientist x @codingtorque</title>

</head>

<body>
    <div class="cursor"></div>
</body>

</html>
No output here...
Step 2: CSS Code
body {
  background: black;
  display: flex;
  justify-content: center;
  align-items: center;
  height: 100vh;
  font-family: poppins;
}

.cursor {
  z-index: 999;
  position: fixed;
  background: #2696E8;
  width: 20px;
  height: 20px;
  border-radius: 50%;
  pointer-events: none;
  box-shadow: 0 0 20px #2696E8,
      0 0 60px #2696E8,
      0 0 100px #2696E8;
  animation: colors 5s infinite;
  transform: translate(-50%, -50%);
  display: none;
}

@keyframes colors {
  0% {
      filter: hue-rotate(0deg);
  }

  100% {
      filter: hue-rotate(360deg);
  }
}

.cursor:before {
  content: '';
  position: absolute;
  background: #2696E8;
  width: 50px;
  height: 50px;
  opacity: 0.2;
  transform: translate(-30%, -30%);
  border-radius: 50%;
}
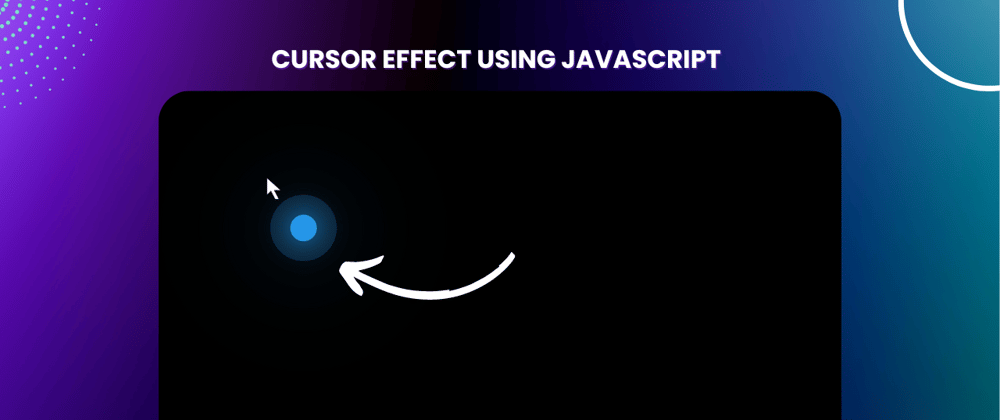
Output Till Now

Step 3: JavaScript Code
const cursor = document.querySelector(".cursor");
var timeout;

//follow cursor on mousemove
document.addEventListener("mousemove", (e) => {
    let x = e.pageX;
    let y = e.pageY;

    cursor.style.top = y + "px";
    cursor.style.left = x + "px";
    cursor.style.display = "block";

    //cursor effects when mouse stopped
    function mouseStopped() {
        cursor.style.display = "none";
    }
    clearTimeout(timeout);
    timeout = setTimeout(mouseStopped, 5000);
});

//cursor effects when mouseout
document.addEventListener("mouseout", () => {
    cursor.style.display = "none";
});


Top comments (0)