Editing files on a remote server using the Visual Studio Code Remote extension is that easy.
If you find yourself ever configuring a service on a server you probably had to edit files directly via the terminal using nano, vim, emacs or some other text based editor.
By no means are those editors bad, but they are also not the easiest to use, at least for most of us. I know some of that vim magic myself and also am capable of exiting it, but sometimes I wish I could just use a good IDE like Visual Studio Code to edit my files on the server.
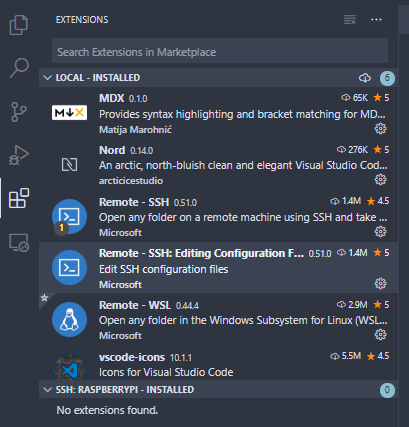
Install the Visual Studio Code Remote extension
Go to the extension menu in VS Code and search for remote.
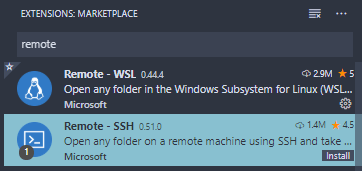
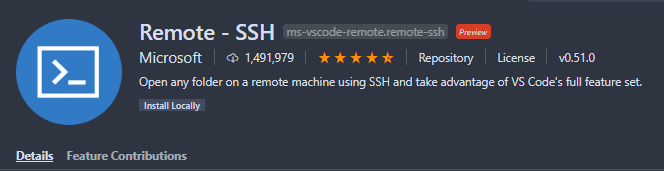
Click on Remote - SSH and later install, after the installation click reload. You can also install it by visiting the Visual Studio Marketplace Website and click install.
Visual Studio Code Remote should now be installed and you should be able to connect to servers with SSH.
Connect to a server
You might notice a new icon on the bottom left of the VS Code window.
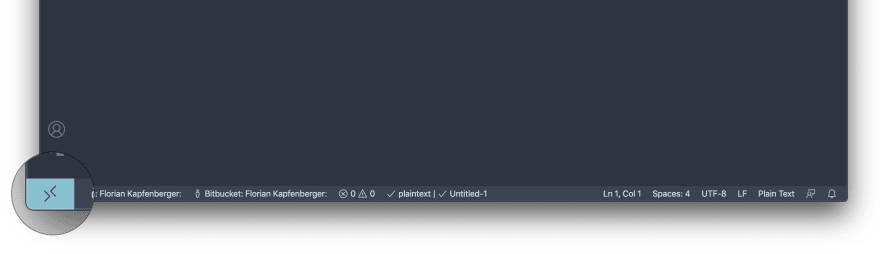
To connect to a server you just have to click it. Next you need to enter which user and server IP or hostname you want to connect to.
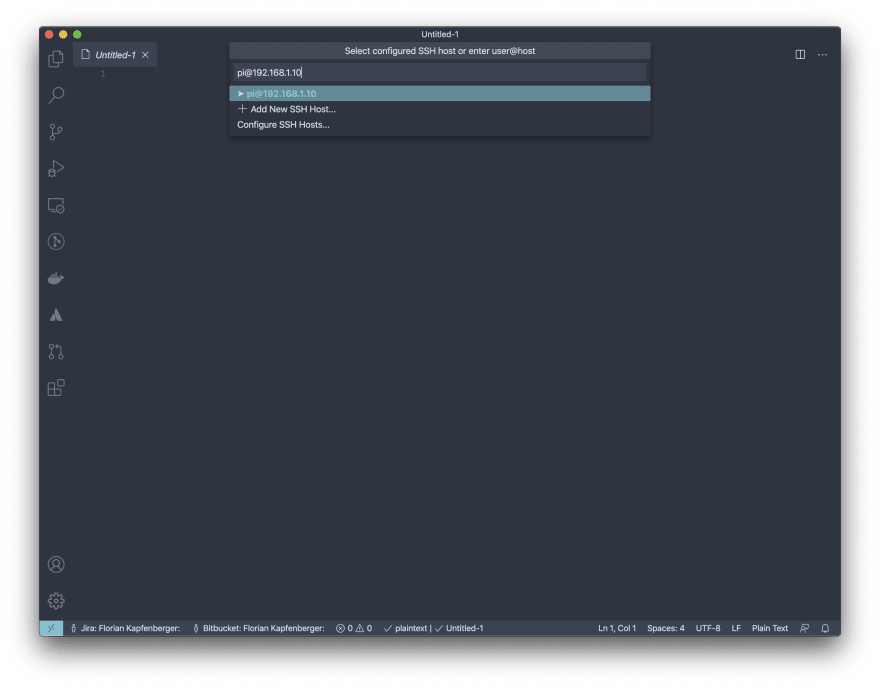
[user@]hostname is the syntax how you connect to a server using SSH. In my case I am connecting to the server 192.168.1.10 with the user pi.
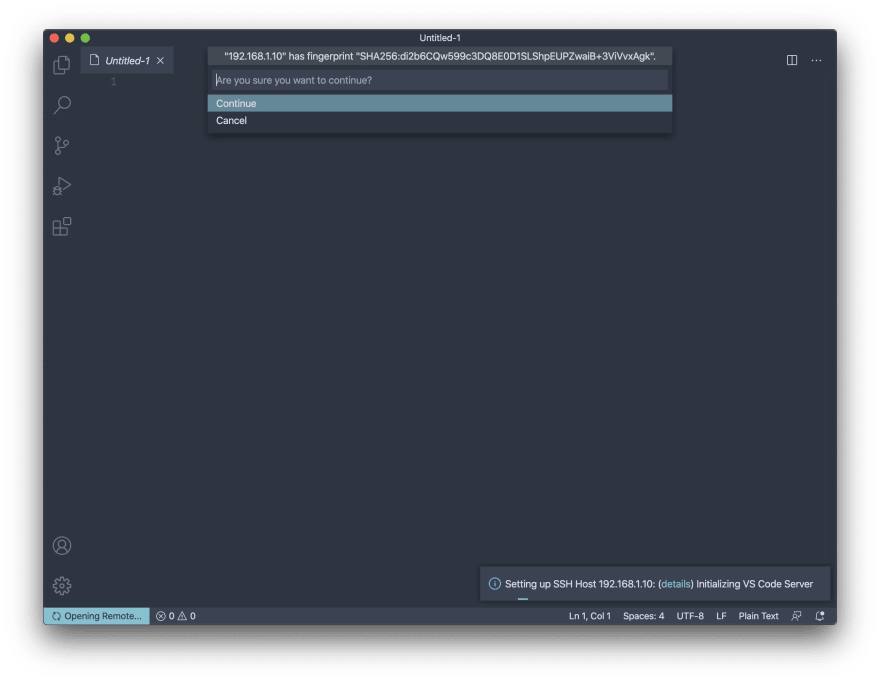
The first time you connect to a server it will ask you to confirm the servers fingerprint. This is a security measure from SSH to be safe for future connections that the server will always be the same and was not compromised.
If for any reason you get an error saying the fingerprint does not match with the one saved on the computer, your server might have been altered.
This might also happen if you connect to a server with the same private IP address (RFC 1918), but in a different network. If it is the later and you are sure no one messed with your server, you can ignore the warning and update the fingerprint with the following command:
ssh-keygen -R IP
After the fingerprint confirmation VS Code Remote will ask you to put in the password for the specified user.
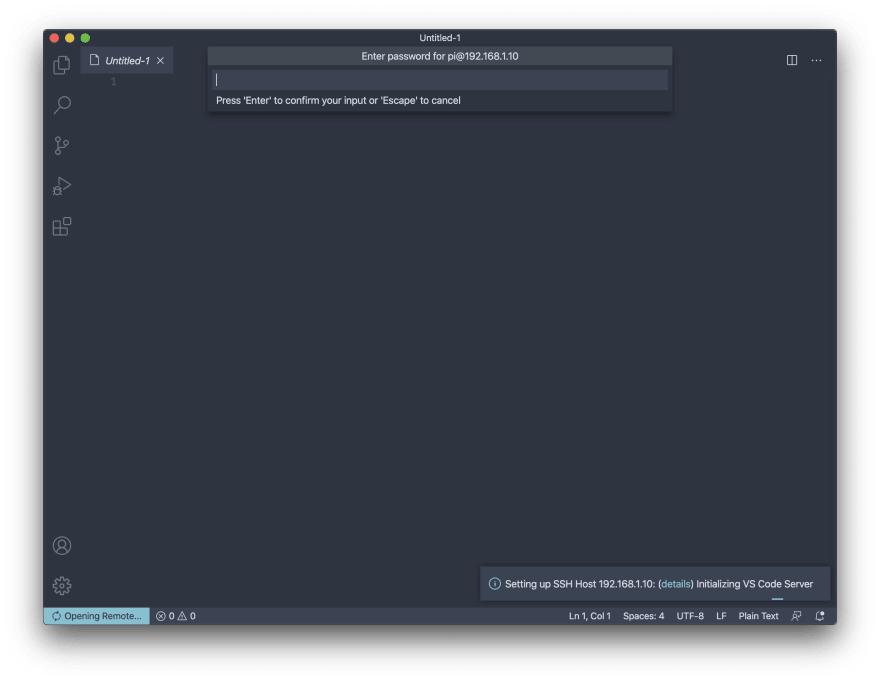
Entering the password each login is cumbersome, so later in this post I will show you how you can skip this step using SSH Public Key authentication.
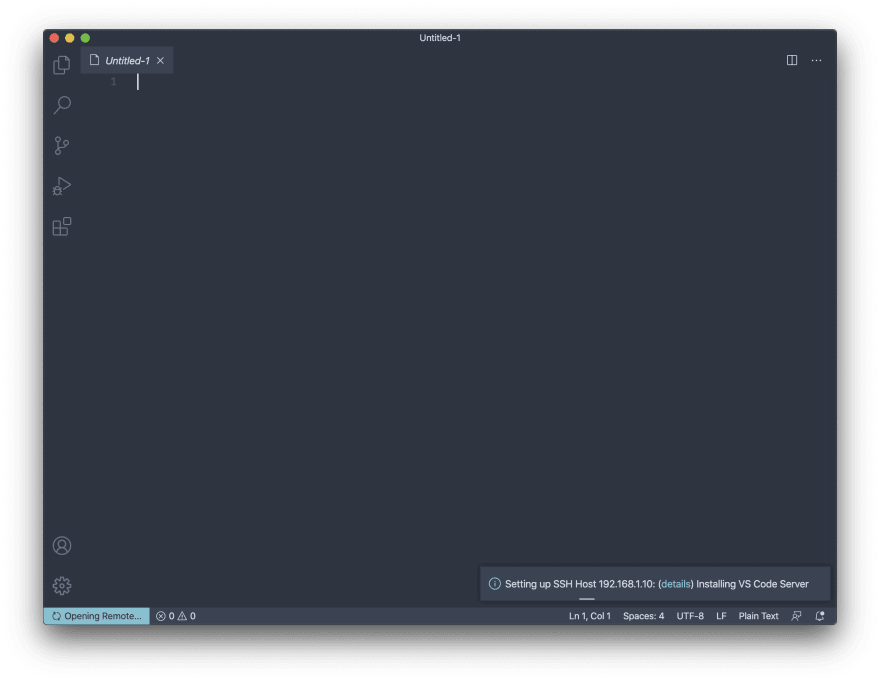
After a successful login, VS Code Remote will start installing Visual Studio Server on the remote server which might take a while.
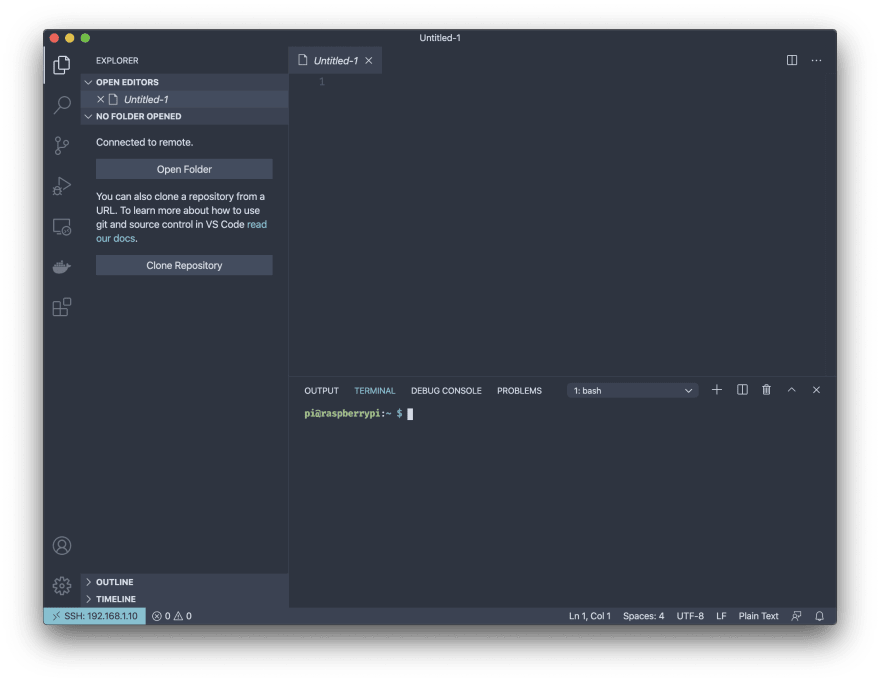
If everything went fine you should now be connected to your server. You can start opening files right from VS Code and use the integrated terminal to enter commands!

Developing on a remote server with Visual Studio Code
The inspiration for this blog post came actually while developing a small Node.js application that needs to access the hardware GPIOs on the Raspberry Pi.
I was not satisfied using vim or copy the files over to the server over and over again.
Visual Studio Code Remote was the perfect solution for my problem. I already love to develop in VS Code and now I can develop on the Raspberry Pi without sitting in front of it or moving files!
One thing you might notice when you start developing on a remote server with VS Code is that you won't have all your extensions available.
This is because you have to install them on the remote server too. So if you want to use eslint you have to install the extension on the server using VS Code. It is not complicated, but an extra step to think about.

Skip passwords with public key authentication
This is a optional step and not really mandatory to do
Public key authentication is a secure way to connect to a server with SSH using a set of key pairs.The public key is saved on the server and the private key should be kept on your local machine. This is the key to unlock the server and must never be leaked or shared with someone else.
If you are using Windows you must have Git for Windows installed and use the following commands inside the Git Bash.
The following commands should be the same for Windows and macOS except you might have to end the commands on Windows with .exe.
Generating SSH Key
If you already have an SSH key that you might already use with git you can skip this step.
ssh-keygen -b 4096
Which results in the following output.
Generating public/private rsa key pair.
Enter file in which to save the key (/c/Users/flori/.ssh/id_rsa):
Enter passphrase (empty for no passphrase):
Enter same passphrase again:
Your identification has been saved in /c/Users/flori/.ssh/id_rsa.
Your public key has been saved in /c/Users/flori/.ssh/id_rsa.pub.
The key fingerprint is:
SHA256:xxxxxxxxxxxxxxxxxxxxxxxxxxxxxxxxxxxxxxxxxx flori@Windows
You can set a passphrase for the key if you want, but than you have to enter a password for the login which we want to avoid.
Copy the public key to the server
You can either manually paste the key to the server or you can use a program called ssh-copy-id which I prefer.
On macOS you have to install ssh-copy-id using brew on Windows it should be already present in the Git Bash.
brew install ssh-copy-id
To copy the key to the server you just have to login to the server using the ssh-copy-id utility.
ssh-copy-id pi@192.168.1.10
/usr/bin/ssh-copy-id: INFO: Source of key(s) to be installed: "/c/Users/flori/.ssh/id_rsa.pub"
/usr/bin/ssh-copy-id: INFO: attempting to log in with the new key(s), to filter out any that are already installed
/usr/bin/ssh-copy-id: INFO: 1 key(s) remain to be installed -- if you are prompted now it is to install the new keys
pi@192.168.1.10's password:
Permission denied, please try again.
pi@192.168.1.10's password:

Number of key(s) added: 1

Now try logging into the machine, with: "ssh 'pi@192.168.1.10'"
and check to make sure that only the key(s) you wanted were added.
Verifying the public key authentication
Now if you try to login with ssh you should not be asked for a password.VS Code should now also work with the public key authentication.
If you are still asked for a password, check if you are using the correct ssh configuration. Also check if the permissions on the authorized_keys file on the server are correct:
ls -l ~/.ssh
drwx------ 2 pi pi 4096 Jul 9 15:56 .
drwxr-xr-x 8 pi pi 4096 Jul 9 13:29 ..
-rw------- 1 pi pi 739 Jul 9 15:56 authorized_keys
If your permissions are different you might have to change them:
chmod 700 ~/.ssh
chmod 600 ~/.ssh/authorized_keys
Conclusion
Visual Studio Code Remote is a great extension that allowed me to program on a remote server without changing my way to develop.
In the future when I have to configure multiple files on a remote server I will probably use Visual Studio Code.
For simple changes or to check something quickly I probably will still use a terminal based editor.

Top comments (0)