Introduction
Augmented Reality (AR) is a tech used to superimpose computer-generated images on a user's view of the real world, providing a composite view. This can be viewable on a simple phone screen (think Pokemon Go) or with smart phone based Virtual Reality headsets.
Since Expo's AR component is deprecated, Viro Media have taken charge as one of the fastest, easiest ways to get augmented reality up and running on your iOS or Android device. Their documentation is impressively detailed and helpful.
Setup
If you're in OSX:
brew install node
brew install watchman
If you're in Linux:
apt-get install node
apt-get install watchman
For all distributions:
npm install -g react-native-cli
npm install -g react-viro-cli
react-viro init ViroSample --verbose
cd ViroSample
npm start
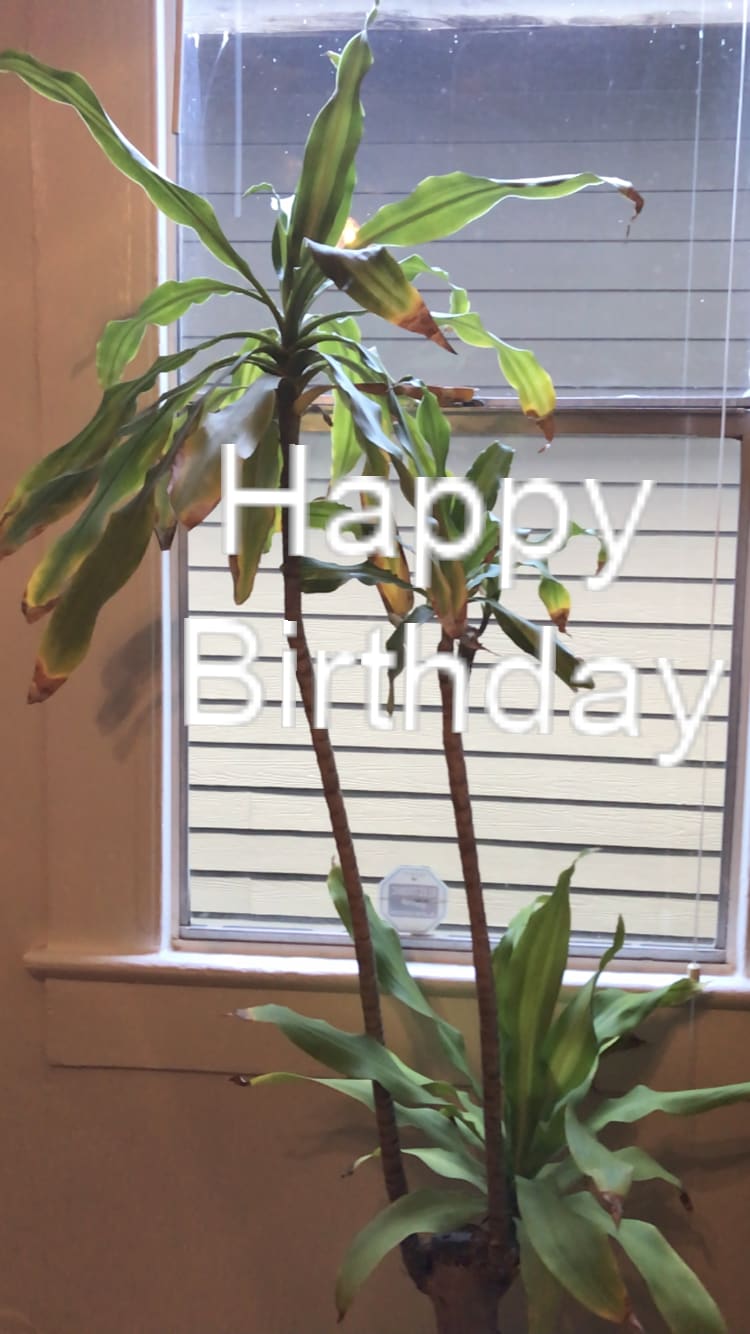
Now within the /js/HelloWorldSceneAR.js file, change line 38 so that "Hello World!" is a message of your choosing:
  _onInitialized(state, reason) {
    if (state == ViroConstants.TRACKING_NORMAL) {
      this.setState({
        text : "Happy Birthday" // was "Hello World"
      });
    } else if (state == ViroConstants.TRACKING_NONE) {
      // Handle loss of tracking
    }
  }
Then get the iOS Viro Media App or the Android Viro Media App
Open the Viro Media App, and press the icon in the top left, and then press "Enter Testbed". Scroll up in your Terminal to find your ngrok url, enter that into the text field, and press Go. You should see your message displayed on the scene!
3D Objects
Now that you've seen the message displayed on your phone, download this file, unzip it, and place it in your /ViroSample/js/ folder.
Now, replace the contents of your HelloWorldSceneAR.js with this code from the docs:
'use strict';

import React, { Component } from 'react';
import {StyleSheet} from 'react-native';
import {
  ViroARScene,
  ViroText,
  ViroMaterials,
  ViroBox,
  Viro3DObject,
  ViroAmbientLight,
  ViroSpotLight,
  ViroARPlaneSelector,
  ViroNode,
  ViroAnimations,
} from 'react-viro';
const createReactClass = require('create-react-class');
const HelloWorldSceneAR = createReactClass({
  getInitialState() {
    return {
      text : "Initializing AR..."
    };
  },

  render: function() {
    return (
      <ViroARScene onTrackingInitialized={()=>{this.setState({text : "Happy Birthday"})}}> // Again, change this text to your desired message
        <ViroText text={this.state.text} scale={[.1, .1, .1]} height={1} width={4} position={[0, .5, -1]} style={styles.helloWorldTextStyle} />

        <ViroAmbientLight color={"#aaaaaa"} />
        <ViroSpotLight innerAngle={5} outerAngle={90} direction={[0,-1,-.2]} position={[0, 3, 1]} color="#ffffff" castsShadow={true} />

          <Viro3DObject
            source={require('./res/emoji_smile/emoji_smile.vrx')}
            position={[0, 0, -1]}
            scale={[.2, .2, .2]}
            type="VRX"
            dragType="FixedDistance" onDrag={()=>{}} // allows user to drag 3D object around with finger
          />

      </ViroARScene>
    );
  },
});

const styles = StyleSheet.create({
  helloWorldTextStyle: {
    fontFamily: 'Arial',
    fontSize: 50,
    color: '#ffffff',
    textAlignVertical: 'center',
    textAlign: 'center',
  },
});

module.exports = HelloWorldSceneAR;
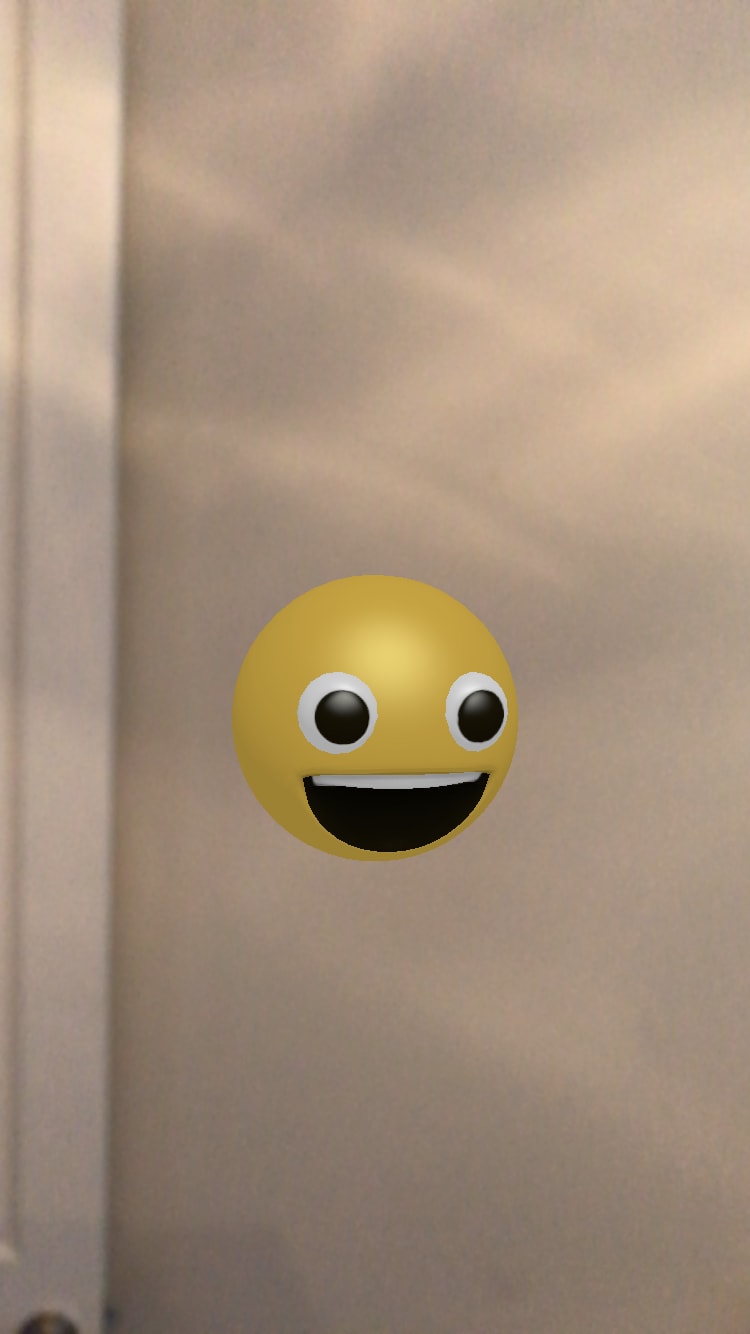
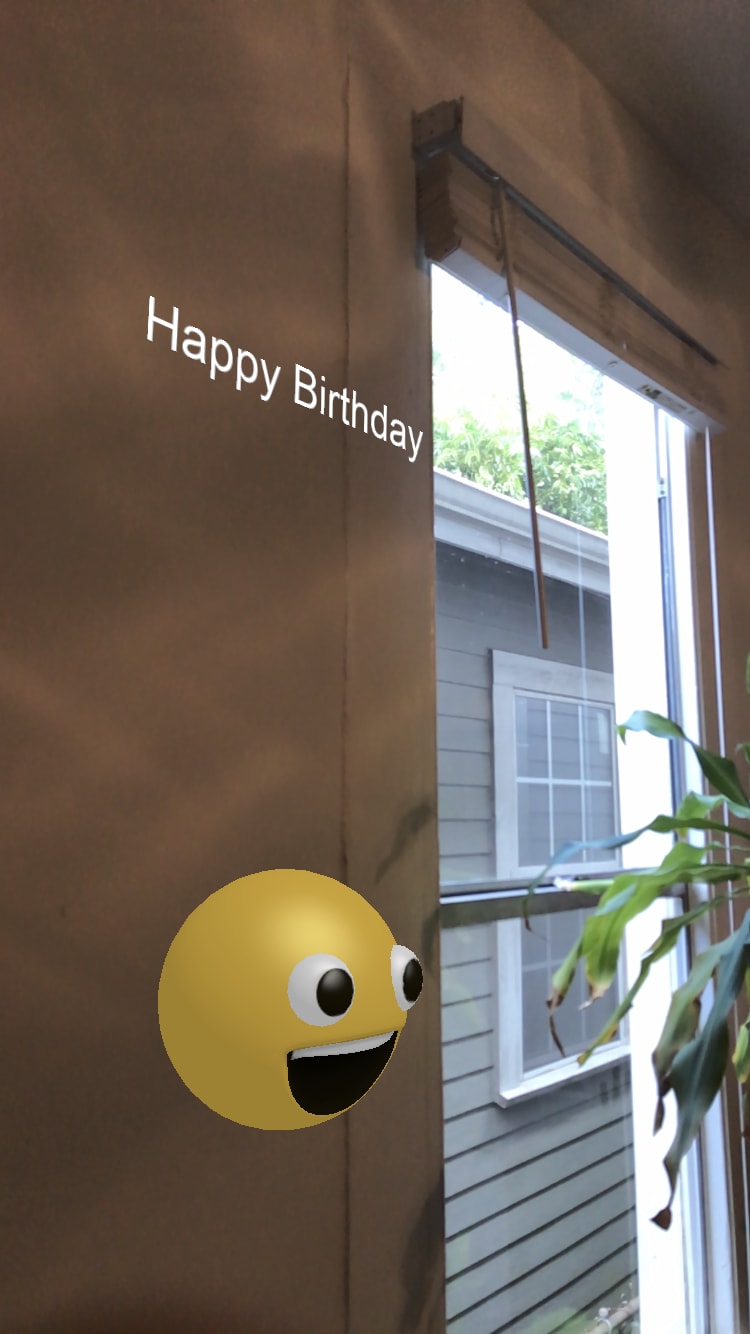
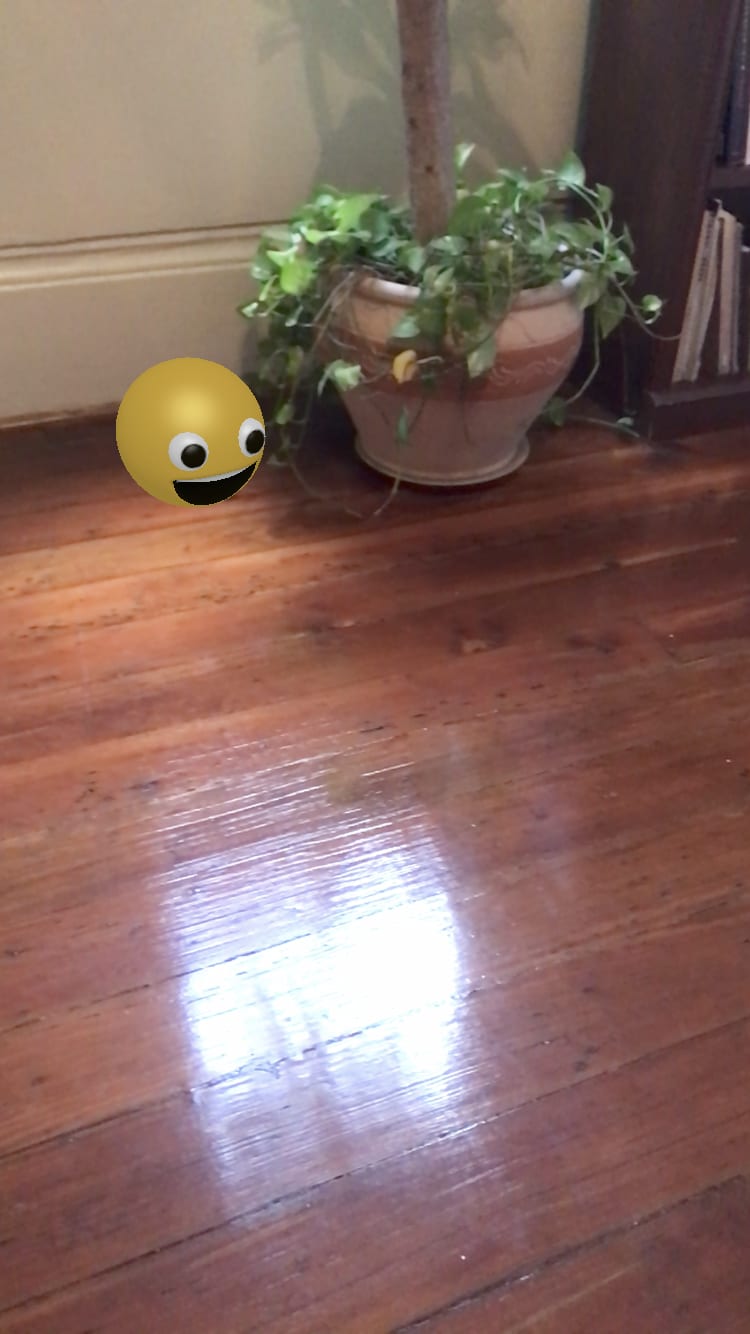
You should see a 3D smiley face beneath your message, like so:
Plane Detection
Now, on line 38, add
<ViroARPlaneSelector />
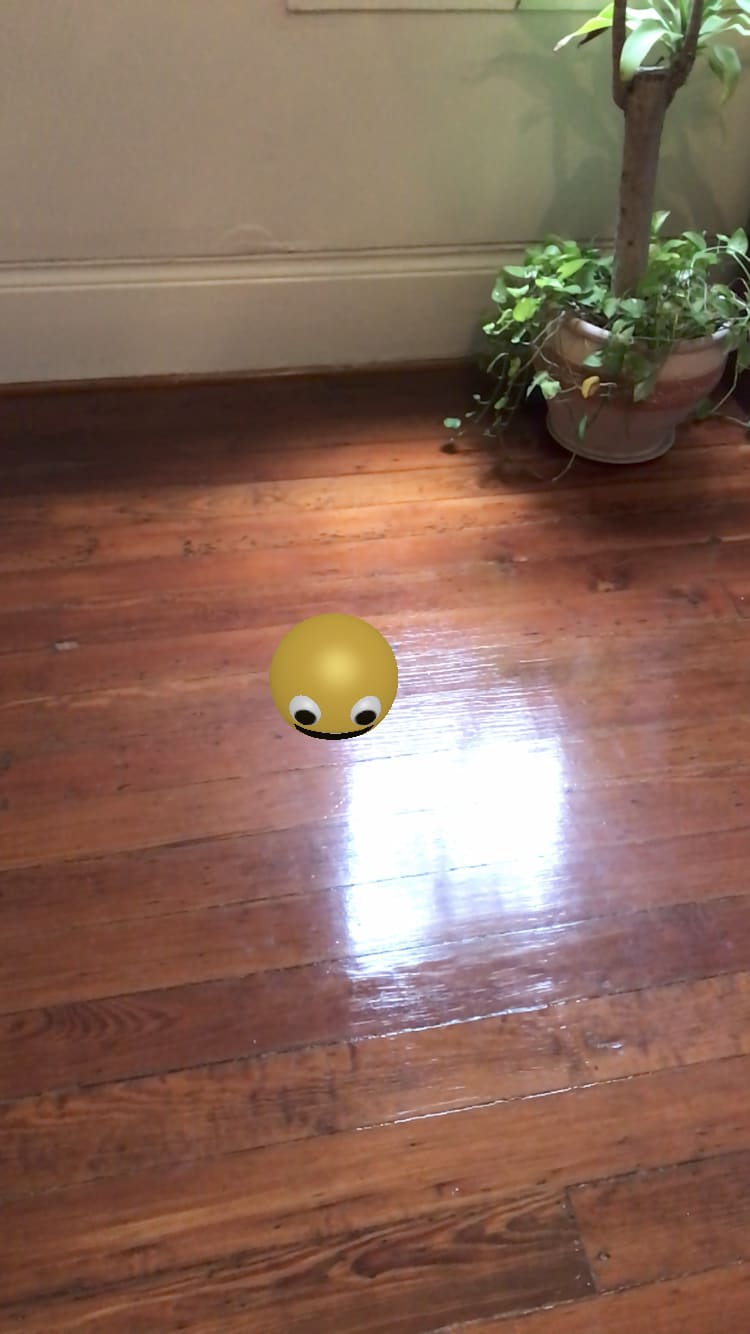
and reload. Save and reload test bed. You should see multiple planes detected as you move your device over different flat surfaces:
Now, replace
jsx <ViroARPlaneSelector />
with
<ViroARPlaneSelector>
  <Viro3DObject
    source={require('./res/emoji_smile/emoji_smile.vrx')}
    position={[0, .1, 0]}
    scale={[.2, .2, .2]}
    type="VRX"
    dragType="FixedDistance" onDrag={()=>{}} />
</ViroARPlaneSelector>
Save, and load up another test bed. Now, when you tap a plane with your finger, all planes should disappear and a 3D object should be generated on the plane that was tapped.
Now replace
<ViroARPlaneSelector>
  <Viro3DObject
    source={require('./res/emoji_smile/emoji_smile.vrx')}
    position={[0, .1, 0]}
    scale={[.2, .2, .2]}
    type="VRX"
    dragType="FixedDistance" onDrag={()=>{}} />
</ViroARPlaneSelector>
with
        <ViroNode
          position={[0, 0, -1]}
          dragType="FixedToWorld"
          onDrag={() => {}}
        >
          <Viro3DObject
            source={require('./res/emoji_smile/emoji_smile.vrx')}
            position={[0, 0.1, 0]}
            scale={[0.2, 0.2, 0.2]}
            type="VRX"
          />
        </ViroNode>
Save, and load up another test bed. Note how dragging a 3D object around moves along detected places/surfaces.
Particles
Now, let's add particles!
First, download the particles res.zip file, unzip it, and add the unzipped contents to your /ViroSample/js/res/.
Now, replace the code in HelloWorldSceneAR.js with the following:
'use strict';

import React, { Component } from 'react';
import {StyleSheet} from 'react-native';
import PropTypes from 'prop-types';

import {
  ViroSceneNavigator,
  ViroARScene,
  ViroNode,
  ViroAmbientLight,
  ViroDirectionalLight,
  ViroText,
  ViroAnimations,
  ViroParticleEmitter,
  Viro3DObject,
} from 'react-viro';

'use strict';
const createReactClass = require('create-react-class');
const MainScene = createReactClass({

  getInitialState() {
    return {
    };
  },

  render: function() {
    return (
     <ViroARScene>
      <ViroAmbientLight color={"#aaaaaa"} />
      <ViroDirectionalLight color="#ffffff" direction={[0,-1,-.2]}/>

      <ViroNode position={[0,-.5,-1]} scale={[.5,.5,.5]} dragType="FixedToWorld" onDrag={()=>{}}>
         <Viro3DObject
           source={require('./res/object_bday_cake/object_bday_cake.vrx')}
           type="VRX"
         />

         <ViroNode position={[0.18,.67,0.004]} scale={[.4,.4,.4]}>
             <ViroParticleEmitter
               duration={1200}
               visible={true}
               run={true}
               loop={true}
               fixedToEmitter={false}

               image={{
                 source:require("./res/particle_fire.png"),
                 height:0.3,
                 width:0.3,
                 bloomThreshold:0.0
               }}

               spawnBehavior={{
                 particleLifetime:[500,500],
                 emissionRatePerSecond:[30, 40],
                 maxParticles:800
               }}

               particleAppearance={{
                 opacity:{
                   initialRange:[0.2, 0.2],
                   factor:"time",
                   interpolation:[
                     {endValue:0.2, interval:[0,200]},
                     {endValue:0.0, interval:[200,500]},
                   ]
                 },
                 scale:{
                   initialRange:[[1,1,1], [1,1,1]],
                   factor:"time",
                   interpolation:[
                     {endValue:[0,0,0], interval:[150,500]},
                   ]
                 },

               }}

               particlePhysics={{
                 velocity:{initialRange:[[0,.3,0], [0,.5,0]]}
               }}
             />
          </ViroNode>
        </ViroNode>
     </ViroARScene>
    );
  },
});

module.exports = MainScene;
Save, run npm start oncemore, re-open your new test bed, and voila! You will see a birthday cake with an animated flame at the top of the candle.
Now, let's add animated smoke to an object. Once more, replace the code in HelloWorldSceneAR.js with the following:
'use strict';

import React, { Component } from 'react';
import {StyleSheet} from 'react-native';
import PropTypes from 'prop-types';

import {
  ViroSceneNavigator,
  ViroARScene,
  ViroNode,
  ViroAmbientLight,
  ViroDirectionalLight,
  ViroText,
  ViroAnimations,
  ViroParticleEmitter,
  Viro3DObject,
} from 'react-viro';

'use strict';
const createReactClass = require('create-react-class');
const MainScene = createReactClass({

  getInitialState() {
    return {
    };
  },

  render: function() {
    return (
     <ViroARScene>
      <ViroAmbientLight color={"#aaaaaa"} />
      <ViroDirectionalLight color="#ffffff" direction={[0,-1,-.2]}/>

      <ViroNode position={[0, 0, -2]} scale={[.5, .5, .5]} dragType="FixedToWorld" onDrag={()=>{}}>
        <Viro3DObject
          source={require('./res/emoji_angry_anim/emoji_angry_anim.vrx')}
          resources={[require('./res/emoji_angry_anim/emoji_angry_diffuse.png'),
                      require('./res/emoji_angry_anim/emoji_angry_normal.png'),
                      require('./res/emoji_angry_anim/emoji_angry_specular.png')]}
          type="VRX"
          animation={{name:"02", run:true, loop:true,}}
          />
          <ViroParticleEmitter
              position={[-.6, 0, .2]}
              scale={[.4, .2, .2]}
              duration={1100}
              delay={1100}
              visible={true}
              run={true}
              loop={true}
              fixedToEmitter={true}

              image={{
                source:require("./res/particle_smoke.png"),
                height:1,
                width:1,
              }}

              spawnBehavior={{
                particleLifetime:[500,500],
                emissionRatePerSecond:[200,200],
                maxParticles:200,
                spawnVolume:{
                  shape:"box",
                  params:[.7, .1, .1],
                  spawnOnSurface:false
                },
              }}

              particleAppearance={{
                opacity:{
                  initialRange:[0.0, 0.0],
                  interpolation:[
                    {endValue:0.4, interval:[0,200]},
                    {endValue:0.0, interval:[900,1500]}
                  ]
                },
              }}

              particlePhysics={{
                velocity:{initialRange:[[-2,2,0], [-2,-2,0]]},
                acceleration:{initialRange:[[0,0,0], [0,0,0]]}
              }}
          />

          <ViroParticleEmitter
              position={[.6, 0, .2]}
              scale={[.4, .2, .2]}
              duration={1100}
              delay={1100}
              visible={true}
              run={true}
              loop={true}
              fixedToEmitter={true}

              image={{
                source:require("./res/particle_smoke.png"),
                height:1,
                width:1,
              }}

              spawnBehavior={{
                particleLifetime:[500,500],
                emissionRatePerSecond:[200,200],
                maxParticles:200,
                spawnVolume:{
                  shape:"box",
                  params:[.7, .1, .1],
                  spawnOnSurface:false
                },
              }}

              particleAppearance={{
                opacity:{
                  initialRange:[0.0, 0.0],
                  interpolation:[
                    {endValue:0.4, interval:[0,200]},
                    {endValue:0.0, interval:[900,1500]}
                  ]
                },
              }}
              particlePhysics={{
                velocity:{initialRange:[[2,2,0], [2,-2,0]]},
                acceleration:{initialRange:[[0,0,0], [0,0,0]]}
              }}
          />
      </ViroNode>
     </ViroARScene>
    );
  },
});

module.exports = MainScene;
Tweaking Parameters
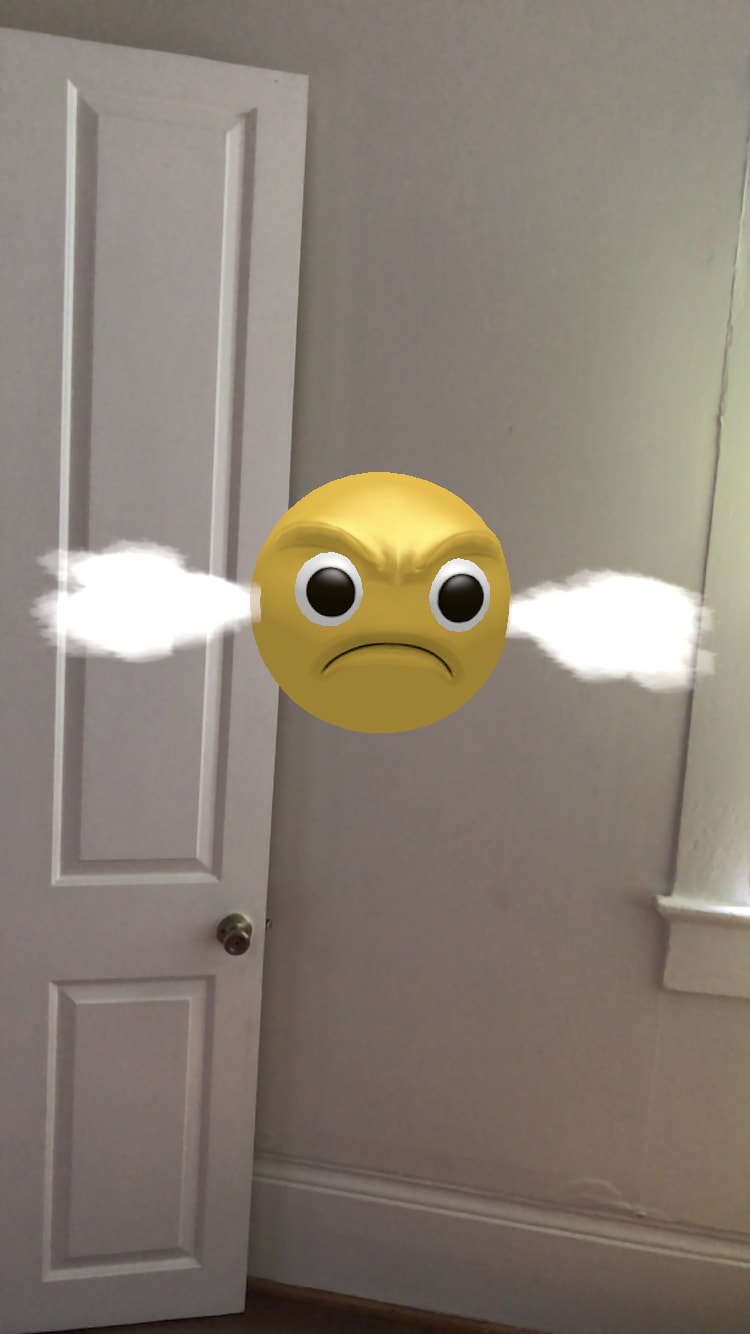
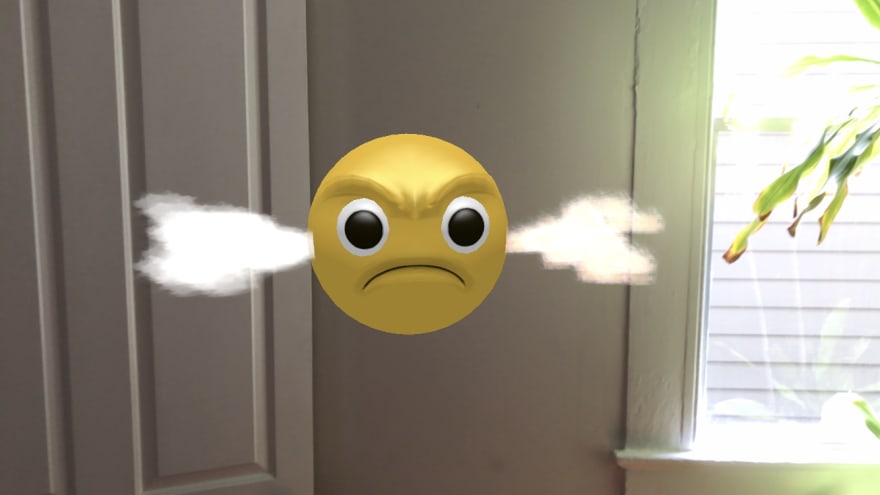
Save, run npm start, and you should see an angry smiley face with smoke coming out of its ears intermittently.
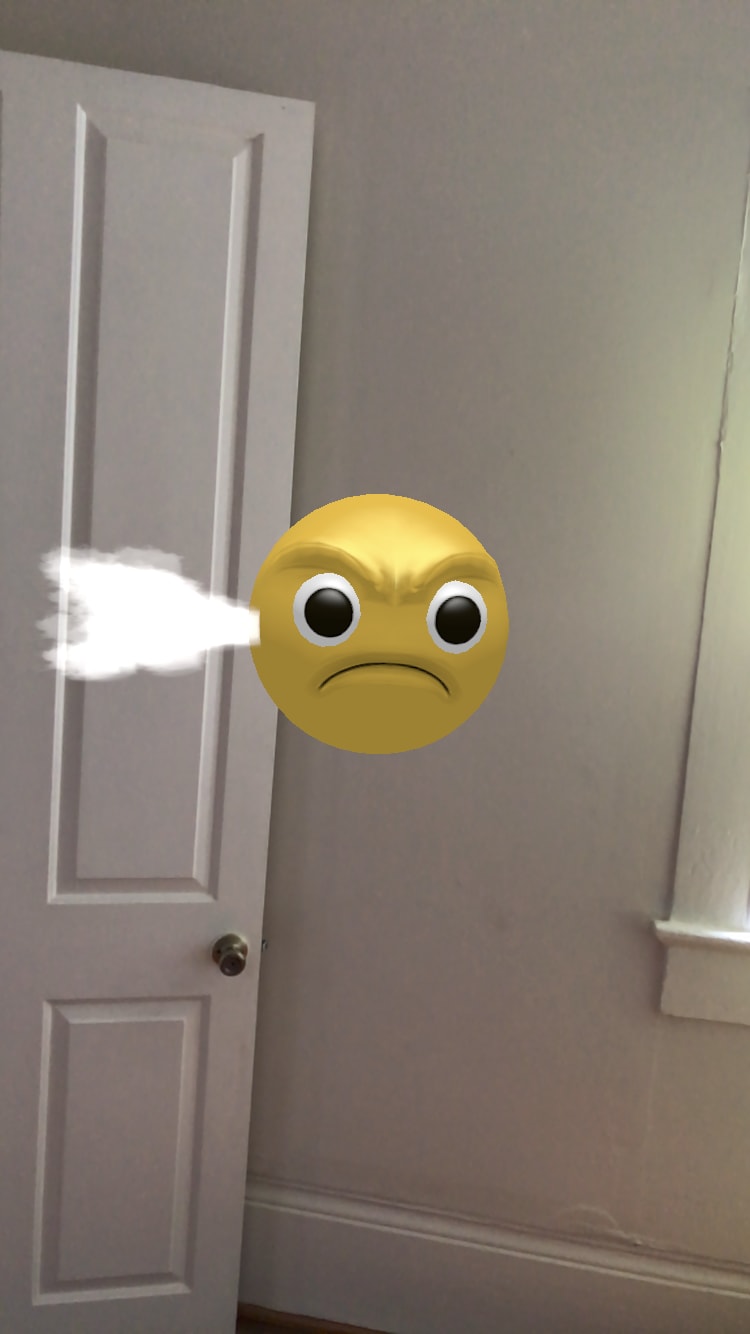
Now, let's mess with a few settings. On line 88, if we change the scale parameter from its initial value of [.4, .2, .2] to [.8, .4, .4], we can achieve more smoke coming out of the right side than the left:
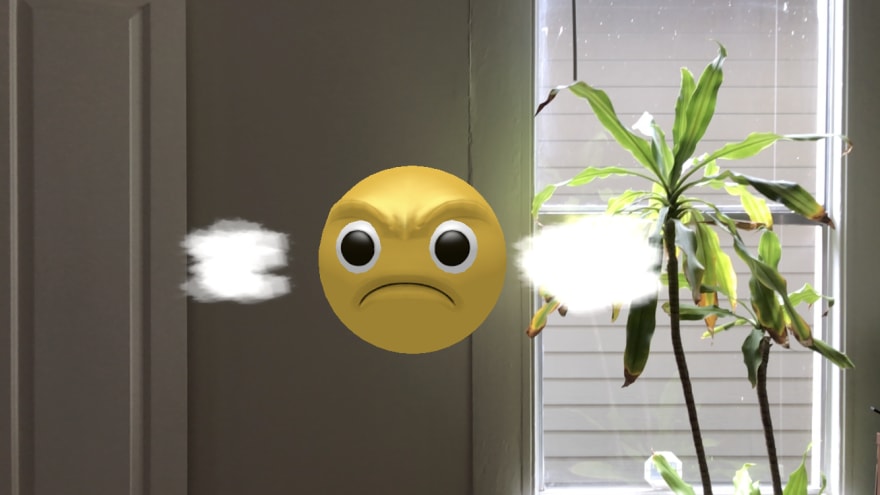
If we change the duration parameter on line 89, using a value of 2200 instead of 1100, the smoke on the right side will be emitted for double the duration of the left side, so now they both are emitted at the same time, the right lasts twice as long as the left, and the left starts again just as the right stops. Then, when the left stops, the right starts. Thus, they alternate between being emitted concurrently and starting another emission as the other side ceases.
Now, on line 104, change emissionRatePerSecond:[200,200], to emissionRatePerSecond:[800,800], and on line 105, change maxParticles:200, to maxParticles:800,. Now, the smoke coming out of the right side is significantly thicker and more filled in than that of the left: four times as many particles!
Now, on line 97, let's change source:require("./res/particle_smoke.png"), to
source:require("./res/particles_flame.png"),. You will now see particles more reminiscent of fire coming out of the right side, whereas the left side remains smokey.
If you want to change the left side, just change the parameters within the <ViroParticleEmitter></ViroParticleEmitter> tags above, between lines 43-84.
Conclusion
ViroReact is a fast an easy way to set up AR on your smart phone. Today we went through initial setup, displaying text, displaying 3D objects, displaying particles, and changing the way the particles behave. For further customization, I recommend playing around with the image files in the /res folder with a photo editor such as Adobe Photoshop. For added creative inspiration, try adding portals to your AR project.









Top comments (0)