Most of the frontend developers struggle with how to collect the data from the user and harder is to manage it. Some of us try to use third-party services offering trials to perform this task.
But we have a better way to collect the data and handle it. We all use that service in our day-to-day life. The service we are going to use is Google Sheets :)
Aren't you shocked? 😂
Now, let's begin and here is a step-by-step tutorial for it:
1. Create a Google Sheet: The first and foremost step is to create a Google Sheet. You can use this link to create a new spreadsheet. You can use any name to create the sheet and name the columns according to the details you want to collect data..
For example, if we want to collect the name, email and contact number, then we can create the columns using the fields name, email and number.

2. Create a Google Apps Script:
-> Click on extensions and open Apps Script from the dropdown.

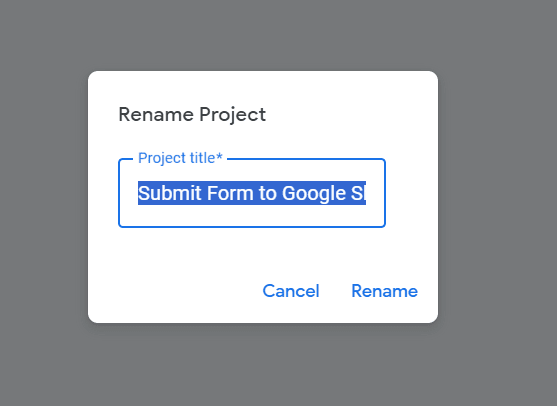
-> Now, rename the project name to: Submit Form to Google Sheets. Make sure you are using the same name in order to avoid bugs.
-> After renaming, now delete the definition of empty function myFunction(). The IDE should be empty now.
-> Now, paste the code given below:
var sheetName = 'Sheet1'
var scriptProp = PropertiesService.getScriptProperties()

function intialSetup () {
  var activeSpreadsheet = SpreadsheetApp.getActiveSpreadsheet()
  scriptProp.setProperty('key', activeSpreadsheet.getId())
}

function doPost (e) {
  var lock = LockService.getScriptLock()
  lock.tryLock(10000)

  try {
    var doc = SpreadsheetApp.openById(scriptProp.getProperty('key'))
    var sheet = doc.getSheetByName(sheetName)

    var headers = sheet.getRange(1, 1, 1, sheet.getLastColumn()).getValues()[0]
    var nextRow = sheet.getLastRow() + 1

    var newRow = headers.map(function(header) {
      return header === 'timestamp' ? new Date() : e.parameter[header]
    })

    sheet.getRange(nextRow, 1, 1, newRow.length).setValues([newRow])

    return ContentService
      .createTextOutput(JSON.stringify({ 'result': 'success', 'row': nextRow }))
      .setMimeType(ContentService.MimeType.JSON)
  }

  catch (e) {
    return ContentService
      .createTextOutput(JSON.stringify({ 'result': 'error', 'error': e }))
      .setMimeType(ContentService.MimeType.JSON)
  }

  finally {
    lock.releaseLock()
  }
}
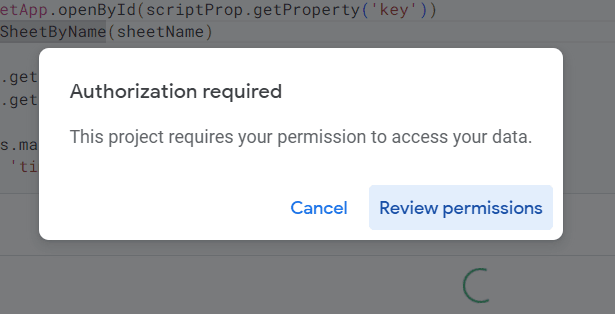
3. Run the Setup: After adding the code in the above step, now we have to run the setup and give some authorizations.
-> For this, we have to Click on the Run after selecting the initialSetup.

-> It'll give us a popup to ask for Review permissions:
-> It might show you some warning like this:

-> But we have to click on advanced and allow it to go further and it'll ask for few permissions, we have to click on allow.
-> If we are getting this type of result on screen, then it means that the setup is successful:

After making all the , we need to run the
doPost()on the submission of the form and for that thing, we have to add a trigger.
4. Add a trigger: In order to add a trigger, we need to follow these steps:
-> Go to triggers, on the left sidebar and click on it and then, click on add a new trigger.
-> In the Choose which function to run, select doPost and in Select event source, select From spreadsheet and in Select event type, select On form submit.
-> Click on save and then, it may ask you for permission review again.

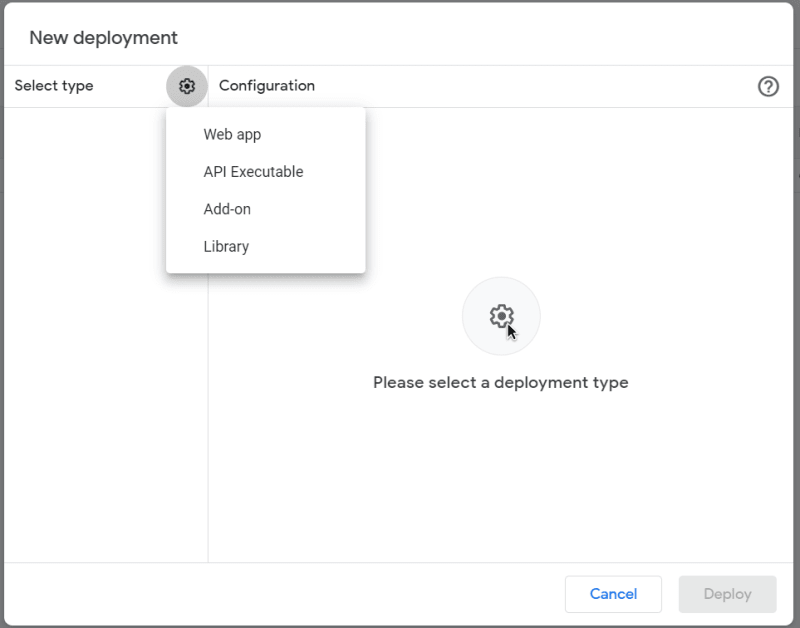
5. Deploy the project: After making all the required configuration, we need to deploy our project.
-> Select Web App in Select type:
-> Then, in the field of access, select Anyone.
-> Now, you'll recieve a link similar to this, copy it and store it at secure place:


6. HTML form: Open the index.html and paste the code for the form and form handling:
      <form name="submit-to-google-sheet">
      <input name="name" type="text" placeholder="Name" required>
      <input name="email" type="email" placeholder="Email" required>
      <input name="number" type="number" placeholder="Number" required>
      <button type="submit">Send</button>
      </form>

      <script>
      const scriptURL = '<SCRIPT URL>'
      const form = document.forms['submit-to-google-sheet']

      form.addEventListener('submit', e => {
      e.preventDefault()
      fetch(scriptURL, { method: 'POST', body: new FormData(form)})
      .then(response => console.log('Success!', response))
      .catch(error => console.error('Error!', error.message))
      })
      </script>
Now, you can test your form and check the output in the Google sheets.

Top comments (0)